Hey there, fellow cyclists! It’s been a while since I’ve written an article, but I’ve just come back from a ride where my chain was giving me all sorts of trouble. You know how it goes – you’re pedaling along, enjoying the breeze, when suddenly your chain starts slipping. It’s frustrating, right? Well, I thought I’d share what I’ve learned about fixing this common problem. So, grab a cup of coffee (or your favorite post-ride drink), and let’s dive in!
First Things First(Why Your Chain is Slipping)
Before we get our hands dirty, it’s important to understand why your chain might be slipping in the first place. Trust me, I’ve been there – ignoring the problem and hoping it’ll magically fix itself. Spoiler alert: it doesn’t work that way!
There are several reasons why your bike chain might be slipping:
- Worn-out chain: Just like how I wear out my favorite running shoes, chains wear out over time.
- Dirty or poorly lubricated chain: Remember that muddy trail ride last week? Yeah, that could be the culprit.
- Misaligned derailleur: This one’s a bit trickier, but don’t worry, we’ll cover it.
- Worn-out cassette or chainring: These are the teeth that your chain grips onto.
- Incorrect chain tension: This is more common on single-speed or fixed-gear bikes.
Now that we know what might be causing the problem, let’s get to the fixing part!
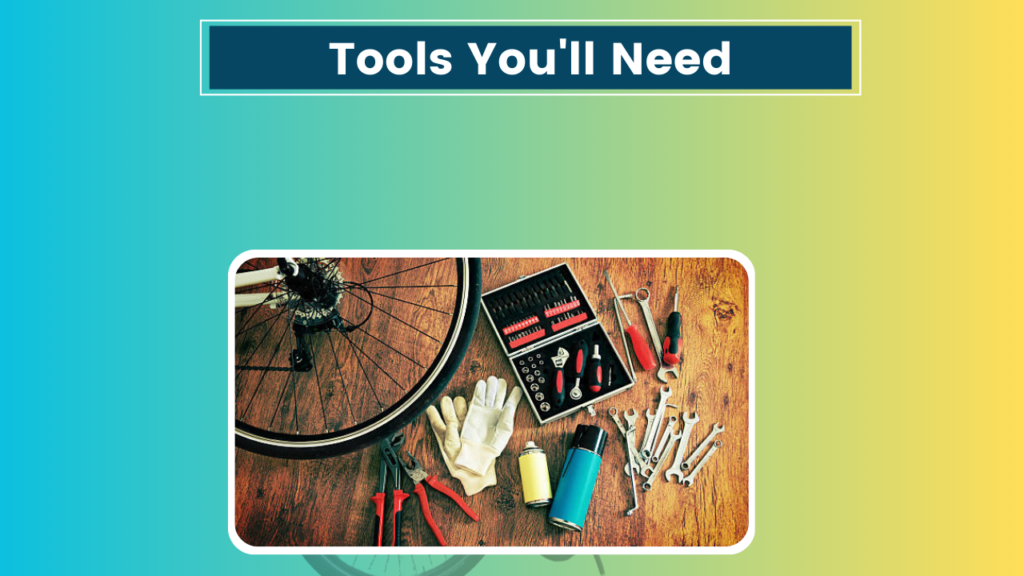
Tools You’ll Need
Before we start, let’s make sure we have all the tools we need. Don’t worry if you don’t have everything – I’ll mention some alternatives as we go along.
- Chain wear indicator tool (or a ruler if you’re in a pinch)
- Degreaser
- Clean rags
- Bike lubricant
- Screwdriver
- Allen keys
- Chain tool (if you need to replace the chain)
Alright, now that we’re all set, let’s get to work!
Step 1: Check for Chain Wear
The first thing we want to do is check if our chain is worn out. I remember the first time I did this – I was shocked at how worn my chain was!
To check for chain wear:
- Use a chain wear indicator tool. These are pretty cheap and super handy to have around.
- If you don’t have one, you can use a ruler. Measure 12 full links (24 pins) on your chain. If it measures more than 12 1/8 inches, your chain is worn and needs replacing.
If your chain is worn, it’s time to replace it. I know, I know – it’s not the most exciting way to spend your Saturday afternoon. But trust me, it’ll make a world of difference on your next ride.
Step 2: Clean and Lubricate Your Chain
If your chain isn’t worn out, the next step is to give it a good cleaning. This is something I try to do regularly, but let’s be honest – sometimes life gets in the way.
Here’s how to clean your chain:
Apply degreaser to a clean rag and wipe down the entire chain.
Use an old toothbrush to get into the nooks and crannies.
Wipe off the excess degreaser with a clean, dry rag.
Apply bike lubricant to the chain, making sure to get it into all the links.
Wipe off any excess lubricant – too much can attract more dirt!
I usually do this outside or in the garage. The last time I tried to do it in the kitchen, let’s just say it didn’t go over well with my roommate!
Step 3: Check and Adjust Your Derailleur
If cleaning and lubricating didn’t solve the problem, it’s time to check your derailleur. This can be a bit intimidating at first, but with a little patience, you’ll get the hang of it.
Here’s what to do:
Shift your bike into the smallest rear cog.
Check if the derailleur hanger is straight. If it’s bent, you might need to take it to a bike shop.
Adjust the high-limit screw so the derailleur pulley aligns with the smallest cog.
Shift to the largest cog and adjust the low-limit screw.
Fine-tune the cable tension using the barrel adjuster.
I remember the first time I adjusted my derailleur – I was so nervous I’d mess something up. But you know what? It wasn’t as hard as I thought, and the sense of accomplishment was worth it!
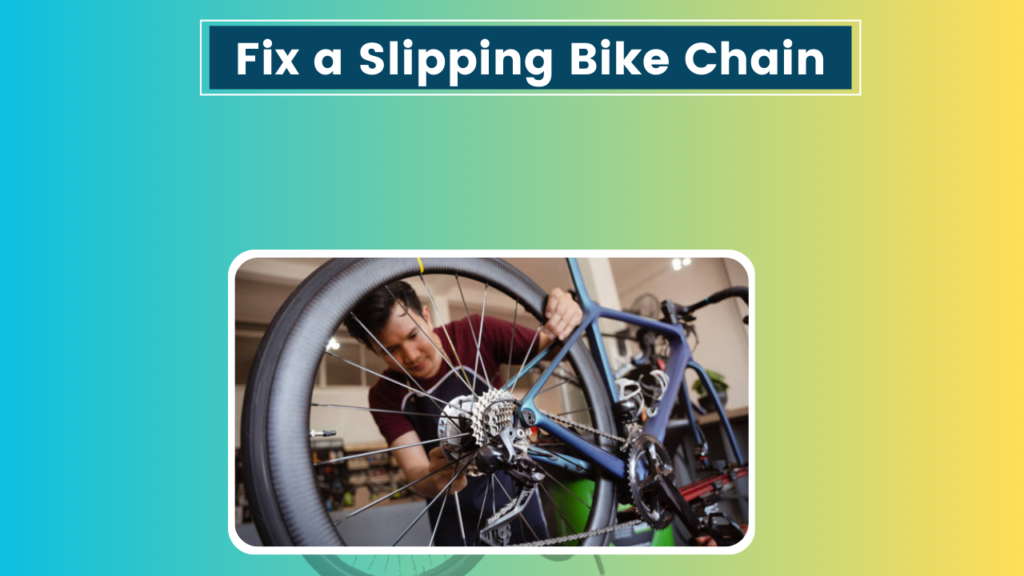
Step 4: Inspect Your Cassette and Chainring
If you’ve tried everything else and your chain is still slipping, it might be time to check your cassette and chainring. These are the teeth that your chain grips onto, and they can wear out over time.
Here’s what to look for:
Check for worn or broken teeth on both the cassette and chainring.
Look for a “shark fin” shape on the teeth – this is a sign of wear.
If you see significant wear, it’s time to replace these parts.
Replacing a cassette or chainring is a bit more involved, so if you’re not comfortable doing it yourself, don’t hesitate to take it to your local bike shop. There’s no shame in getting help – we all started somewhere!
Step 5: Adjust Chain Tension (for Single-Speed or Fixed-Gear Bikes)
If you’re riding a single-speed or fixed-gear bike, incorrect chain tension could be causing your chain to slip. Here’s how to adjust it:
- Loosen the rear wheel nuts or quick release.
- Pull the wheel back to increase tension or push it forward to decrease tension.
- Make sure the wheel is straight in the dropouts.
- Tighten the nuts or quick-release.
- Check the tension – you should have about 1/2 inch of vertical play in the chain.
I remember when I first got my fixed-gear bike – adjusting the chain tension felt like a dark art. But with practice, it becomes second nature.
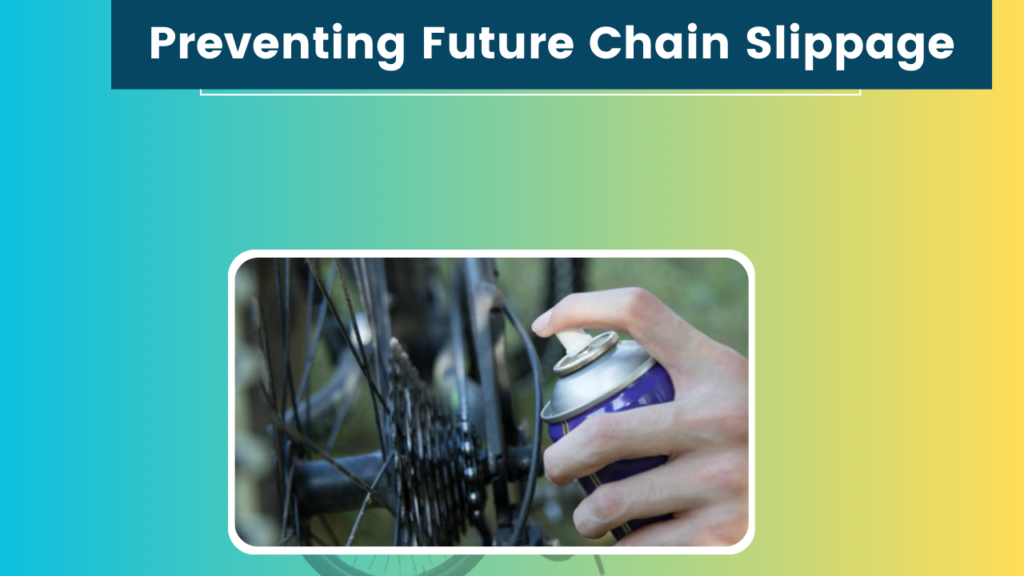
Preventing Future Chain Slippage
Now that we’ve fixed our slipping chain, let’s talk about how to prevent it from happening again. After all, prevention is better than cure, right?
Regular cleaning and lubrication: I try to clean and lube my chain every couple of weeks, or after riding in wet or muddy conditions.
Replace your chain before it’s too worn: This can help extend the life of your cassette and chainring.
Proper shifting technique: Try not to shift under heavy load, and avoid cross-chaining (using the big chainring with the biggest rear cog, or the small chainring with the smallest rear cog).
Regular maintenance: Give your bike a once-over every few rides. Check for loose bolts, proper tire pressure, and any unusual noises.
Know when to seek help: If you’re not sure about something, don’t be afraid to ask for help. Your local bike shop or cycling club can be great resources.
Wrapping Up
Well, there you have it – everything I know about fixing a slipping bike chain. I hope you’ve found this guide helpful. Remember, maintaining your bike is all part of the cycling experience. It might seem daunting at first, but with practice, you’ll be fixing your bike like a pro in no time.
You know, writing this article has reminded me how much I love tinkering with my bike. There’s something satisfying about getting your hands dirty and solving a problem. Plus, the better you know your bike, the more you can enjoy your rides without worrying about mechanical issues.
Speaking of rides, I think I’m going to head out for a quick spin now that my chain is running smoothly again. The weather’s perfect, and there’s a new trail I’ve been meaning to check out. Maybe I’ll write about that next time!
Until then, keep pedaling, stay safe, and enjoy the ride. And remember, if you ever see me out on the trails with a slipping chain, feel free to remind me of my advice!
Happy cycling, everyone!


