Hey there, fellow cyclists! I’ve been meaning to write this article for a while now, but you know how it goes – life gets busy, and before you know it, weeks have passed. Anyway, I finally sat down to share my thoughts on choosing tubeless-ready tires. Trust me, after years of cycling and countless tire changes, I’ve learned a thing or two about this topic.
So, grab a cup of coffee (or your beverage of choice), and let’s dive into the world of tubeless-ready tires!
What Are Tubeless-Ready Tires?
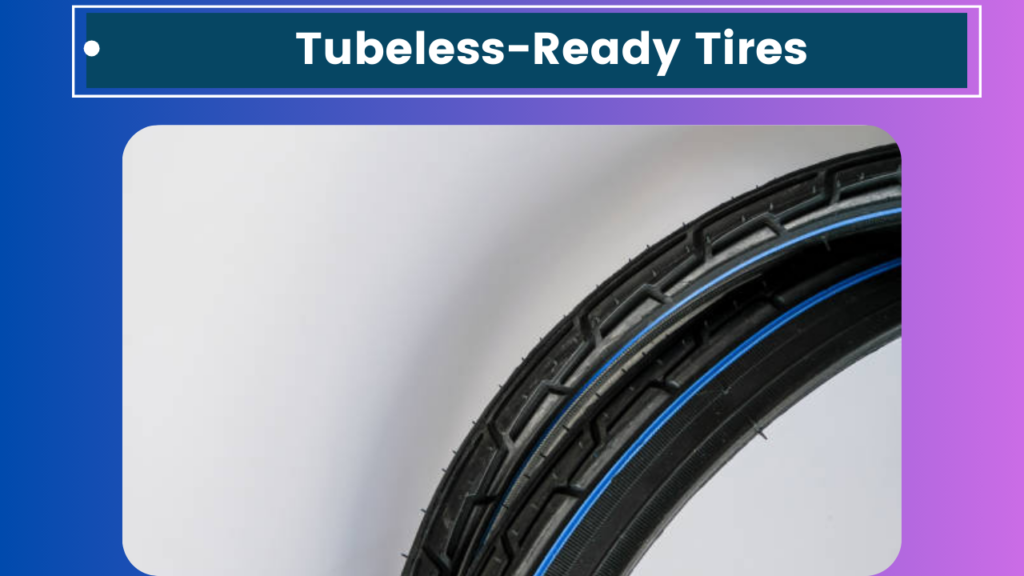
Before we get into the nitty-gritty of choosing the right tubeless-ready tires, let’s make sure we’re all on the same page about what they are. Tubeless-ready tires, as the name suggests, are designed to be used without inner tubes. Instead, they form an airtight seal with your rim, and you fill them directly with air or sealant.
Now, I remember when I first heard about tubeless tires. I was skeptical, to say the least. I mean, how could a tire without a tube possibly hold air? But let me tell you, once I made the switch, there was no going back. The benefits are pretty impressive:
- Lower rolling resistance
- Better traction
- Fewer punctures
- The ability to run lower tire pressures
But enough about why tubeless is awesome – you’re here to learn how to choose the right ones. So, let’s get to it!
When Choosing Tubeless-Ready Tires
Tire Width
The first thing you’ll want to consider is tire width. This is where I made my first mistake when switching to Tubeless. I thought, “Wider is always better, right?” Wrong. While wider tires can offer more comfort and traction, they’re not always the best choice for every situation.
Here’s a quick rundown:
- Road bikes: Usually 23-32mm
- Gravel bikes: Typically 32-50mm
- Mountain bikes: Can range from 1.95″ to 3″ or more
The width you choose depends on your riding style, terrain, and what your frame can accommodate. For example, I ride a lot of gravel, so I tend to go for tires around 40mm wide. They give me enough cushion and grip for rough terrain without sacrificing too much speed on smoother sections.
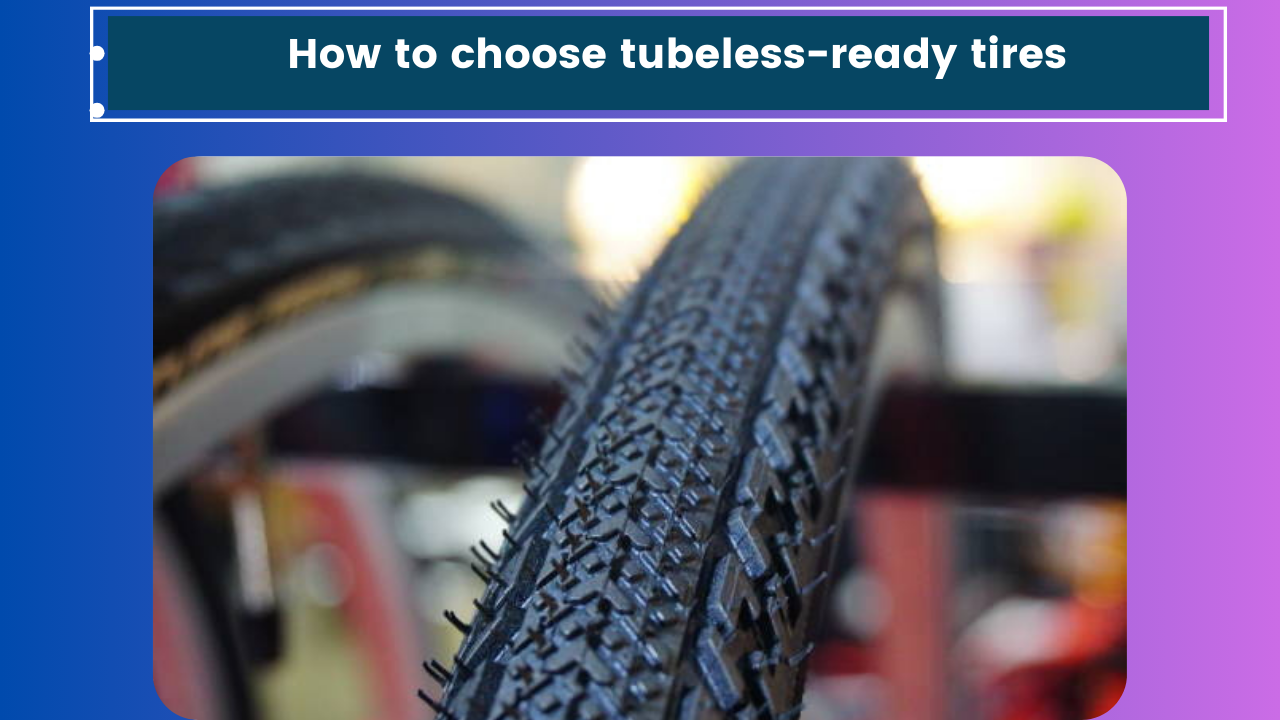
Tread Pattern
Next up is the tread pattern. This is where things get interesting (at least for tire nerds like me). The tread pattern can make a huge difference in how your bike handles different conditions.
- Slick tires: Best for road riding and smooth surfaces
- Semi-slick: Good for mixed terrain, with a smooth center and knobby edges
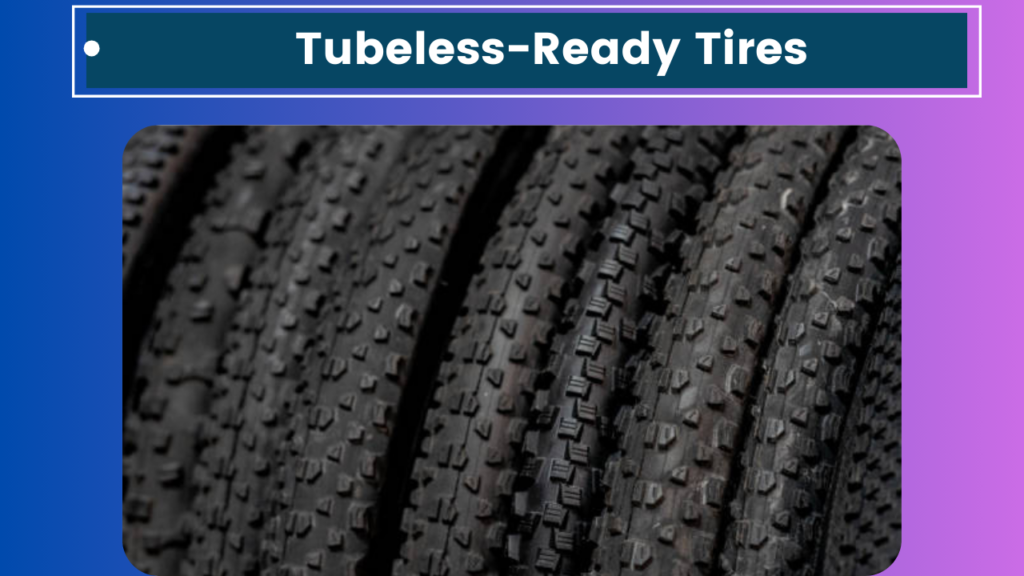
- Knobby tires: Ideal for off-road and muddy conditions
I remember the time I decided to tackle a muddy trail with semi-slick tires. Let’s just say it wasn’t my brightest moment. I spent more time sliding around than actually riding. Lesson learned: always match your tread to your terrain!
Compound
The rubber compound used in the tire can affect grip, durability, and rolling resistance. Softer compounds offer better grip but wear out faster, while harder compounds last longer but may not provide as much traction.
Many high-end tires use multiple compounds, with a harder compound in the center for longevity and softer compounds on the sides for better cornering grip. If you’re like me and you enjoy pushing your limits in the corners, a dual-compound tire might be worth the investment.
Puncture Protection
One of the main advantages of tubeless tires is their resistance to punctures, but some tires offer additional protection. Look for tires with reinforced sidewalls or extra layers of puncture-resistant material if you frequently ride in areas with thorns or sharp rocks.
I learned this the hard way on a backpacking trip through the desert. My lightweight tires were great for speed, but they were no match for the countless cacti we encountered. I spent more time fixing flats than riding. Never again!
Weight
Tire weight can have a significant impact on your bike’s overall performance. Lighter tires accelerate faster and can make your bike feel more responsive. However, they may sacrifice some durability and puncture protection.
As a general rule:
- Lightweight tires (300-400g): Best for racing and fast rides
- Mid-weight tires (400-550g): Good all-rounders for training and everyday riding
- Heavy-duty tires (550g+): Ideal for rough terrain and backpacking
I tend to go for mid-weight tires for most of my riding. They offer a good balance of performance and durability. But when I’m gearing up for a race, I’ll switch to something lighter to give me that extra edge.
Sidewall Construction
The sidewall construction of a tubeless-ready tire is crucial for maintaining an airtight seal and providing support at lower pressures. Look for tires with reinforced sidewalls if you plan on running very low pressures or if you’re a heavier rider.
I once made the mistake of running ultra-light tires with thin sidewalls on a rocky trail. The result? A nasty sidewall tear that even tire plugs couldn’t fix. I had to hike out 5 miles. Not fun.
Rim Compatibility
Not all tubeless-ready tires are compatible with all rims. Make sure to check that your chosen tires are compatible with your rims’ internal width and overall design. Most manufacturers provide compatibility charts, so be sure to double-check before making a purchase.
Intended Use
This might seem obvious, but it’s worth mentioning: choose tires that match your intended use. Are you primarily a road rider who occasionally hits gravel roads? A fast-rolling gravel tire might be perfect. Do you love technical singletrack? A more aggressive mountain bike tire is probably your best bet.
I’ve seen too many riders struggle with inappropriate tires for their riding style. Don’t be that person who shows up to a gnarly mountain bike trail with slick road tires (yes, I’ve seen this happen).
Brand Reputation
While there are many great tire brands out there, some have better reputations than others when it comes to tubeless performance. Popular brands like Schwalbe, Maxxis, WTB, and Continental are known for their high-quality tubeless-ready offerings.
That being said, don’t be afraid to try lesser-known brands. Some of my favorite tires have come from smaller companies that focus solely on tires. Just be sure to do your research and read reviews before taking the plunge.
Price
Last but not least, consider your budget. Tubeless-ready tires can range from around $30 to well over $100 per tire. While it’s tempting to go for the cheapest option, remember that your tires are your only contact point with the ground. It’s often worth investing in quality rubber.
I learned this lesson early on when I bought a set of cheap tubeless tires. They were a nightmare to set up, leaked air constantly, and wore out in no time. The money I “saved” initially was quickly spent on sealant refills and a replacement set of tires.
Setting Up Your Tubeless Tires
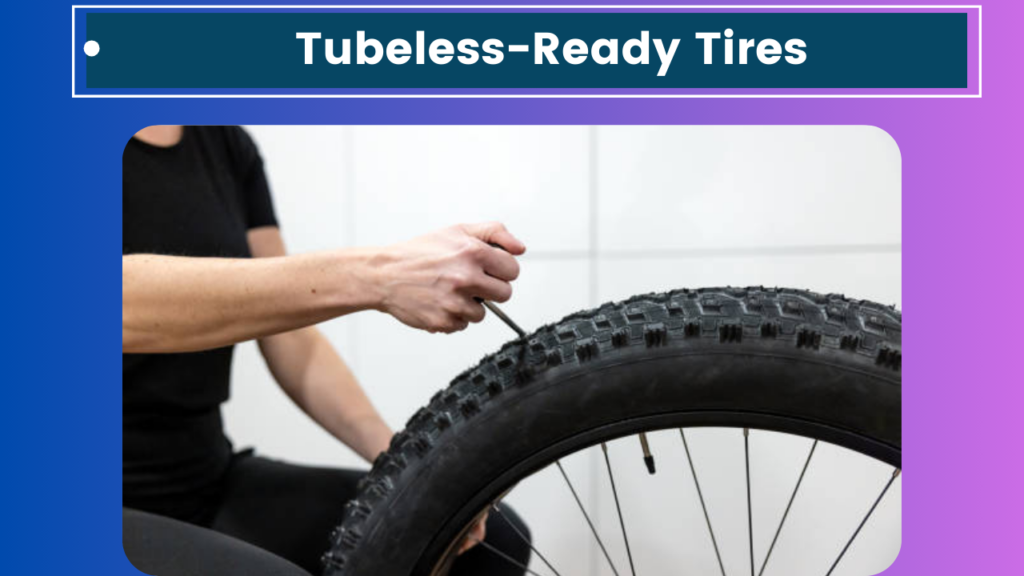
Once you’ve chosen your perfect tubeless-ready tires, you’ll need to set them up. This process can be a bit tricky at first, but with practice, it becomes second nature. Here’s a quick overview of the process:
- Clean your rims thoroughly
- Install tubeless rim tape (if necessary)
- Mount one side of the tire onto the rim
- Pour in sealant (usually 2-4 oz per tire)
- Mount the other side of the tire
- Inflate the tire (you may need a high-volume pump or compressor)
- Shake and spin the wheel to distribute the sealant
- Check for leaks and top up air as needed
I remember my first tubeless setup – it was a disaster. Sealant everywhere, tires refusing to seat, and a lot of colorful language. But don’t let that discourage you. With a bit of patience and practice, you’ll be a tubeless pro in no time.
Maintaining Your Tubeless Tires
Once you’ve got your tubeless tires set up, maintenance is relatively simple. Here are a few tips to keep them rolling smoothly:
- Check air pressure regularly
- Top up sealant every 3-6 months (or more often in dry climates)
- Inspect tires for cuts or wear
- Clean any dried sealant off the tires and rims periodically
I like to set a reminder on my phone to check my sealant levels every few months. It’s much easier to top up regularly than to deal with a dry tire on the trail.
Wrapping Up
Choosing the right tubeless-ready tires might seem daunting at first, but once you understand the key factors, it becomes much easier. Remember to consider your riding style, terrain, and personal preferences when making your choice.
Don’t be afraid to experiment with different tires – what works for one rider might not be ideal for another. I’ve gone through countless tire combinations over the years before finding my perfect setup. And even then, I still like to try new options from time to time. After all, part of the fun of cycling is geeking out over gear, right?
So, there you have it – my comprehensive guide to choosing tubeless-ready tires. I hope you’ve found it helpful and maybe even a bit entertaining. Now, if you’ll excuse me, I think it’s time for me to head out for a ride. These tires aren’t going to test themselves!
Happy trails, and may your tires always be perfectly inflated and puncture-free!
