You know that sinking feeling when you’re out on a ride, and suddenly your bike feels a bit wobbly? Yep, it’s probably a puncture. Don’t worry, though – I’ve been there more times than I can count, and I’m here to walk you through fixing it like a pro.
Last summer, I was on a long-distance cycle with friends when I got my third puncture of the day. While they went ahead to grab lunch, I stayed behind to sort out my tire. It was a bit frustrating, but hey, that’s part of the cycling adventure, right? By the end of this article, you’ll be handling punctures with the same ease I did that day.
What You’ll Need:
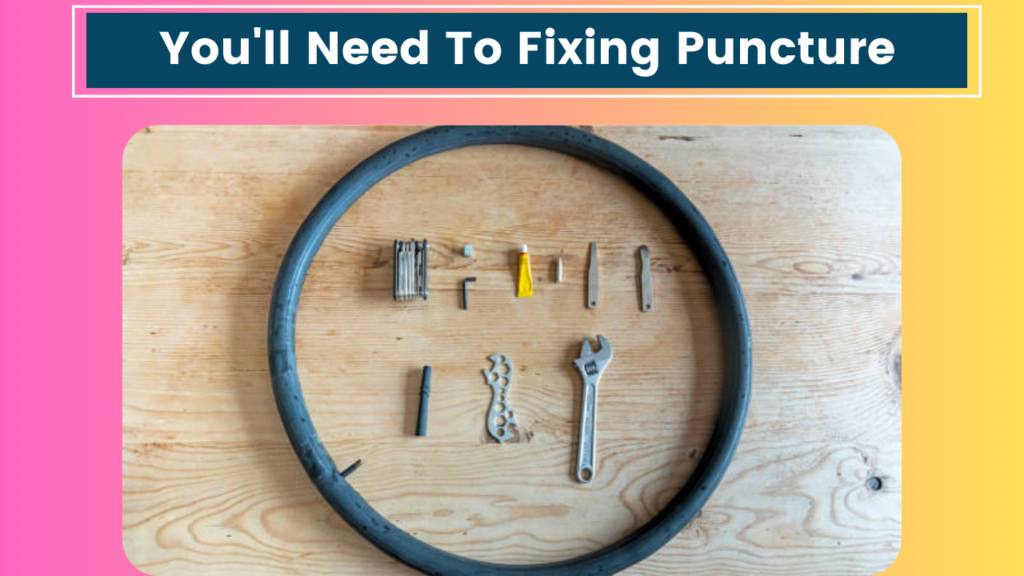
Before we dive in, let’s make sure you’ve got all the tools for the job. Trust me, there’s nothing worse than being halfway through a repair and realizing you’re missing something crucial. Here’s what you should have in your bike repair kit:
- Tire levers (at least two)
- A bike pump or CO2 inflator
- A spare inner tube (make sure it’s the right size for your bike)
- Patches and glue (for emergency repairs)
- A multi-tool with Allen keys
- Something to scrape the inside of the tire (I use an old toothbrush)
Got everything? Great! Let’s get started.
Step 1: Remove the Wheel
First things first, we need to get that wheel off the bike. If it’s your back wheel, shift the gears to the smallest cog – this makes it easier to remove and replace the wheel.
For quick-release wheels:
- Open the brake calipers or disconnect the brake cable.
- Flip open the quick-release lever.
- Unscrew the nut on the opposite side a few turns.
- Lift the wheel out of the dropouts.
For bolt-on wheels:
- Open the brake calipers or disconnect the brake cable.
- Use your multi-tool to loosen the nuts on both sides of the axle.
- Remove the wheel from the dropouts.
If you’re dealing with the rear wheel, remember to carefully maneuver it around the derailleur. It can be a bit fiddly, but you’ll get the hang of it.
Step 2: Deflate the Tire (If It Isn’t Already)
Sometimes the puncture is so small that the tire still has some air. In that case, fully deflate it by pressing down on the valve. If you have a Presta valve, unscrew the top first.
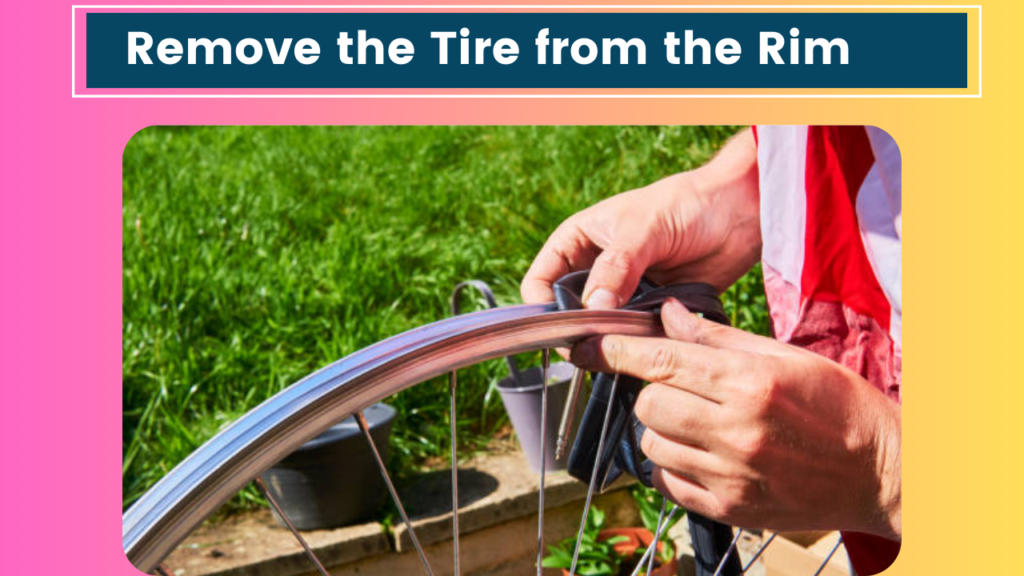
Step 3: Remove the Tire from the Rim
This is where those tire levers come in handy. Here’s how to use them:
- Insert one tire lever between the rim and the tire bead.
- Pry the tire over the edge of the rim.
- Hook the end of the lever onto a spoke to keep it in place.
- Insert the second lever about 10-15 cm away from the first.
- Work your way around the rim, lifting the tire bead over the edge.
Pro tip: Be gentle! You don’t want to pinch the inner tube or damage the rim tape.
Once you’ve got one side of the tire off, the other side should come off easily. Now you can pull out the inner tube.
Step 4: Find the Puncture
This is where things get a bit detective-like. Pump some air into the tube and listen for the hiss of escaping air. If you can’t hear anything, try holding it close to your cheek – you might feel the air escaping. Still no luck? Time to submerge sections of the tube in water and look for bubbles.
Once you’ve found the hole, mark it with a pen or chalk. This will help you locate the corresponding spot on the tire.
Step 5: Check the Tire
Now that you know where the puncture is, carefully run your fingers inside the tire at that spot. Sometimes you’ll find the culprit – a thorn, a piece of glass, or a sneaky bit of wire – still stuck in there. Remove it carefully, or it’ll just cause another puncture!
While you’re at it, check the rest of the tire for any other debris or damage. Better safe than sorry!
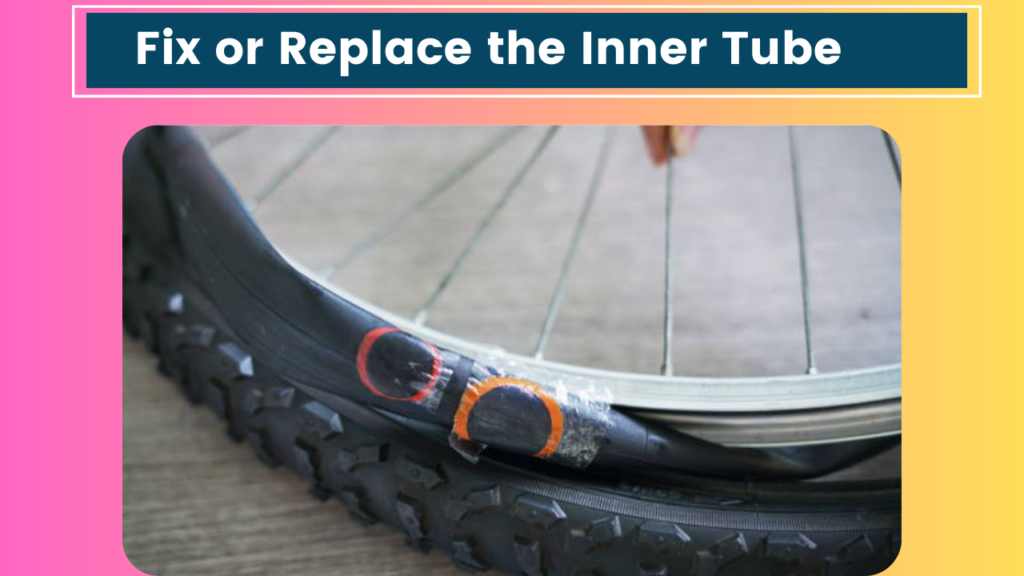
Step 6: Fix or Replace the Inner Tube
You’ve got two options here:
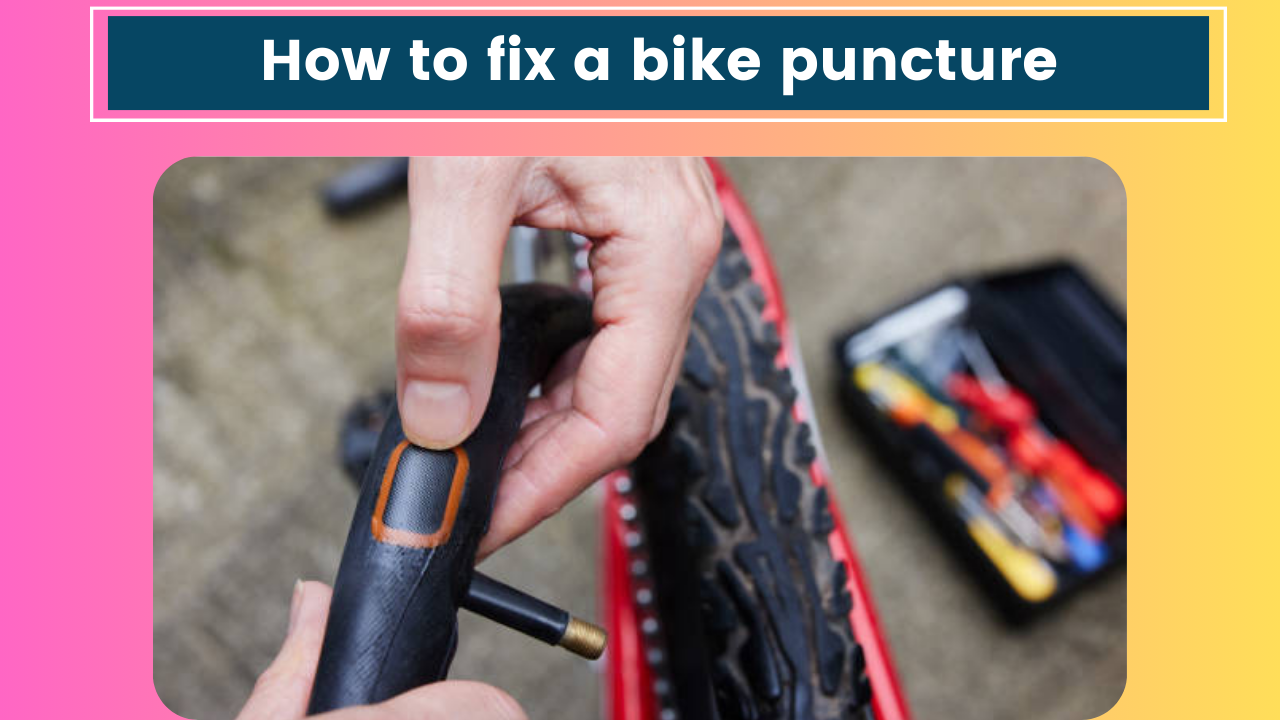
Option 1: Patch the tube If you’re out on a ride and don’t have a spare tube, or if you’re trying to be eco-friendly, patching is the way to go. Here’s how:
- Rough up the area around the puncture with sandpaper (often included in patch kits).
- Apply a thin layer of glue around the puncture and let it dry for a minute.
- Peel the backing off the patch and press it firmly over the puncture.
- Hold it in place for a minute to ensure it’s properly bonded.
Option 2: Replace the tube If you have a spare tube (and trust me, it’s always good to carry one), now’s the time to use it. Make sure it’s the right size and valve type for your wheel.
Step 7: Partially Inflate the Tube
Whether you’ve patched or replaced the tube, give it a bit of air – just enough to give it shape. This makes it easier to fit back into the tire and reduces the risk of pinching.
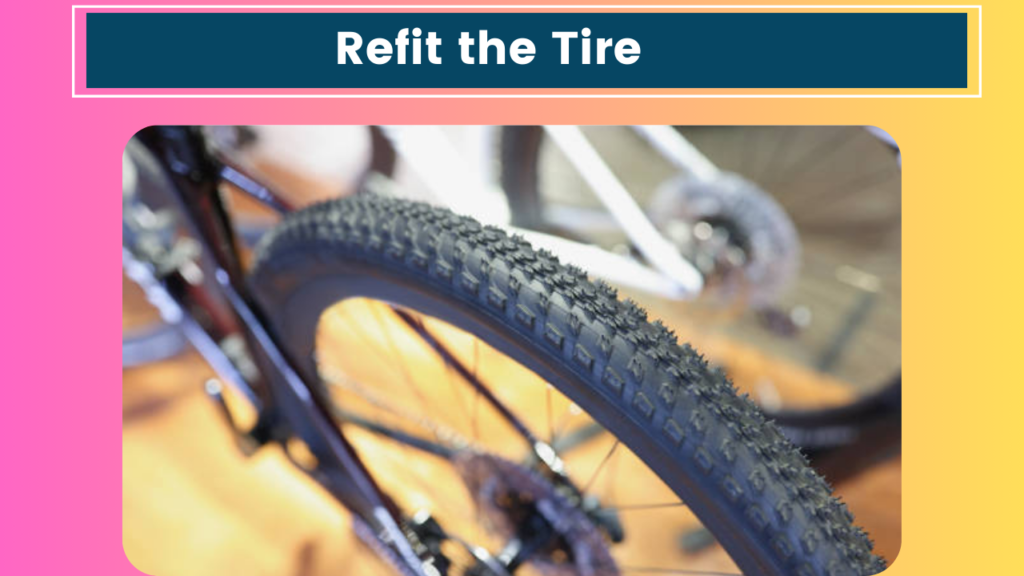
Step 8: Refit the Tire
This is where things can get a bit tricky, but don’t worry – I’ve got your back. Here’s how to do it:
- Insert the valve stem through the hole in the rim.
- Fit one side of the tire onto the rim. This should be fairly easy.
- Starting at the valve, begin working the other side of the tire onto the rim.
- Use your thumbs to roll the tire bead over the edge of the rim.
- As you get towards the end, it’ll get harder. Take your time and be careful not to pinch the tube.
If you’re struggling with those last few inches, you can use tire levers, but be extra careful not to pinch the tube.
Step 9: Check the Tire is Seated Correctly
Before you fully inflate the tire, pump it up to about half pressure and spin the wheel. Check that the tire is evenly seated on the rim all the way around. If you see any bulges or low spots, deflate the tire and adjust it.
Step 10: Fully Inflate the Tire
Now you can pump the tire up to its recommended pressure. You’ll find this printed on the sidewall of the tire.
Step 11: Refit the Wheel
Almost there! Let’s get that wheel back on:
- Guide the wheel back into the dropouts.
- For quick-release wheels, close the lever. It should be firm to close but not so tight it leaves an imprint on your hand.
- For bolt-on wheels, tighten the nuts evenly on both sides.
- Reconnect the brakes and check they’re working correctly.
Step 12: Give it a Spin
Before you set off, spin the wheel to make sure it’s running smoothly and there’s no rubbing on the brakes or frame.
And there you have it! You’ve successfully fixed a bike puncture. It might seem like a lot of steps, but trust me, with a bit of practice, you’ll be changing tubes in no time.
A Few Extra Tips:
- Practice at home: The first time you change a tube shouldn’t be on the side of the road in the rain. Have a go in the comfort of your garage or living room.
- Keep your tires properly inflated: This reduces the risk of pinch flats.
- Inspect your tires regularly: Catching cuts or embedded debris early can prevent punctures.
- Consider going tubeless: If you’re tired of dealing with punctures, tubeless tires might be worth looking into.
- Always carry a repair kit: You never know when you might need it!
Remember, getting a puncture isn’t the end of the world. It’s just part of the cycling experience. I kind of enjoy the break it gives me on long rides – a chance to stretch my legs, have a snack, and enjoy the scenery.
Speaking of which, I should probably wrap this up. I’m meeting some cycling buddies for dinner soon, and I need to give my bike a quick once-over before we head out tomorrow. We’re planning a long ride, and the last thing I want is to be dealing with a puncture halfway up a mountain!
I hope you’ve found this guide helpful. Remember, practice makes perfect, so don’t get discouraged if your first attempt takes a while. Before you know it, you’ll be fixing punctures like a pro, and maybe even helping out other cyclists you meet on the road.
Happy cycling, and may your tires always stay inflated!
