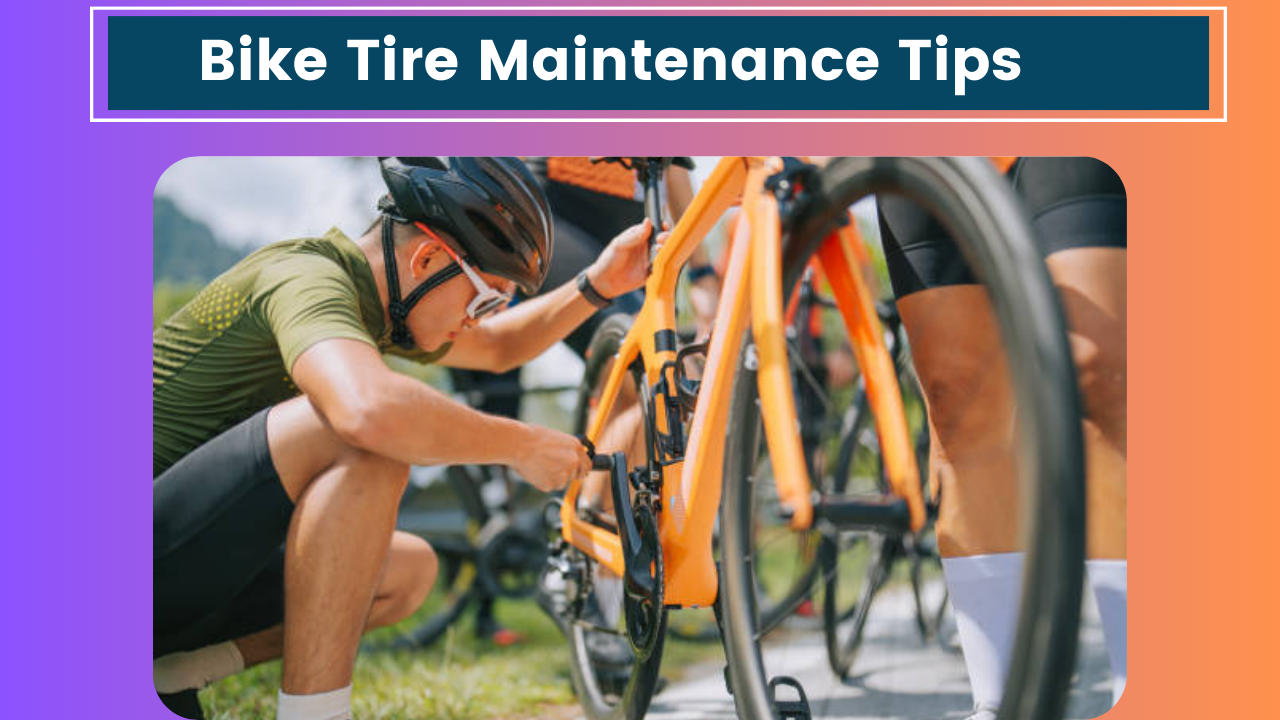
Hey there, fellow cyclists! I’ve been meaning to write this article for a while now, but you know how it goes – life gets busy, and before you know it, weeks have passed. Anyway, I finally sat down to share some essential bike tire maintenance tips I’ve picked up over the years. Trust me, taking care of your tires isn’t just about avoiding flats (though that’s a plus). It’s about safety, performance, and getting the most out of your rides.
Before I dive in, let me tell you a quick story. Last summer, I was out on a long ride with some friends when one of them got a nasty flat. We were miles from anywhere, and it turned out his tires were in pretty rough shape. That incident was a wake-up call for all of us to pay more attention to our bike tires. So, grab a coffee (or your beverage of choice), and let’s get into it!
Check Your Tire Pressure Regularly
I can’t stress this enough – proper tire pressure is crucial. I make it a habit to check my tire pressure before every ride, and I recommend you do the same. Underinflated tires can lead to pinch flats and make your bike feel sluggish. On the flip side, overinflated tires can make for an uncomfortably bumpy ride and increase the risk of blowouts.
To check your tire pressure, you’ll need a good bike pump with a pressure gauge. I keep one in my garage and a smaller one in my bike bag for on-the-go adjustments. The recommended pressure range is usually printed on the sidewall of your tire. Keep in mind that factors like your weight, riding style, and terrain can influence the ideal pressure for you.
Pro tip: If you’re riding in wet conditions, consider lowering your tire pressure slightly for better traction. Just don’t go too low!
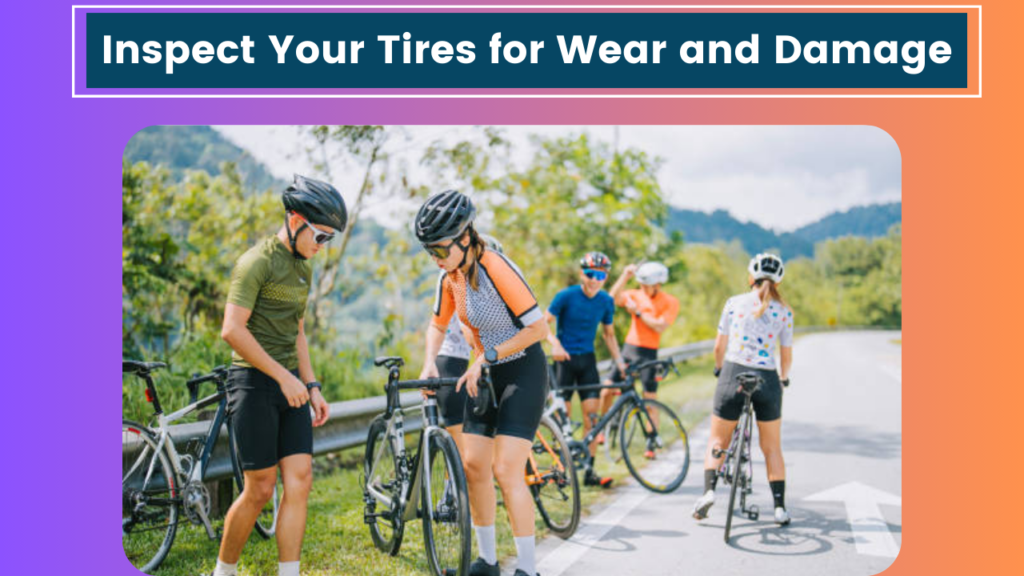
Inspect Your Tires for Wear and Damage
This is something I do every week or two, depending on how much I’m riding. Take a close look at your tires, checking for:
- Cuts or gashes in the rubber
- Embedded debris (like small pieces of glass or thorns)
- Worn-down tread
- Bulges or deformities in the sidewall
- Dry rot (cracks in the rubber)
If you spot any of these issues, it’s time to take action. Small cuts can often be repaired with a tire boot or patch, but larger damage might mean it’s time for a new tire. Don’t ignore these signs – a damaged tire can fail at the worst possible moment, and trust me, you don’t want that happening when you’re flying down a hill or navigating busy traffic.
Rotate Your Tires
Just like with car tires, rotating your bike tires can help them wear more evenly and last longer. I try to do this every 1,000 miles or so. The rear tire typically wears faster than the front, so swapping them around can extend their overall lifespan.
To rotate your tires:
- Remove both wheels from your bike
- Take the tires off the rims (you might need tire levers for this)
- Switch the front tire to the rear and vice versa
- Make sure you reinstall them with the directional arrows pointing the right way
It’s a bit of work, but it’s worth it in the long run. Plus, it’s a great opportunity to give your wheels a thorough cleaning!
Keep Your Tires Clean
Speaking of cleaning, don’t neglect this step! After muddy or wet rides, I always give my tires a good wipe-down. It’s not just about keeping your bike looking sharp (though that’s a nice bonus). Clean tires are less likely to pick up small debris that can work its way into the rubber and cause punctures.
A damp cloth is usually all you need for a quick clean. For tougher grime, a soft brush and some mild soap can do wonders. Just be gentle – you don’t want to damage the rubber.
Store Your Bike Properly
How and where you store your bike can have a big impact on your tires. I learned this the hard way when I left my bike out in the sun for a whole summer. The UV rays did a number on my tires, causing them to dry out and crack.
Ideally, store your bike indoors in a cool, dry place. If you must keep it outside, try to find a shaded spot and consider using a bike cover. Also, if you’re storing your bike for an extended period, hang it up or flip it upside down to take the weight off the tires.
Learn to Fix a Flat
This isn’t strictly maintenance, but it’s a crucial skill for any cyclist. I always carry a spare tube, tire levers, and a mini pump or CO2 inflator on my rides. Knowing how to change a flat can save you from a long walk home or an expensive cab ride.
Here’s a quick rundown of the process:
- Remove the wheel from your bike
- Use tire levers to remove one side of the tire from the rim
- Take out the punctured tube
- Check the tire for whatever caused the puncture and remove it
- Insert the new tube
- Carefully put the tire back on the rim
- Inflate the tire
- Reattach the wheel to your bike
It takes some practice to get quick at this, but it’s well worth the effort. I’ve had to change flats in all sorts of conditions – in the rain, in the dark, even once during a race. Trust me, you’ll be glad you learned this skill!
Choose the Right Tires for Your Riding Style
This isn’t something you need to do often, but when it’s time for new tires, put some thought into what you’re buying. I’ve experimented with different types over the years, and I’ve found that matching your tires to your riding style and conditions makes a huge difference.
If you mostly ride on smooth roads, a set of slick or semi-slick tires will give you less rolling resistance and better speed. For rougher terrain or wet conditions, tires with more tread will provide better grip. And if you’re like me and do a bit of everything, there are great all-rounder tires that offer a good balance of performance and versatility.
Don’t forget to consider factors like puncture resistance and weight. Sometimes it’s worth paying a bit more for tires that’ll last longer and give you fewer flats.
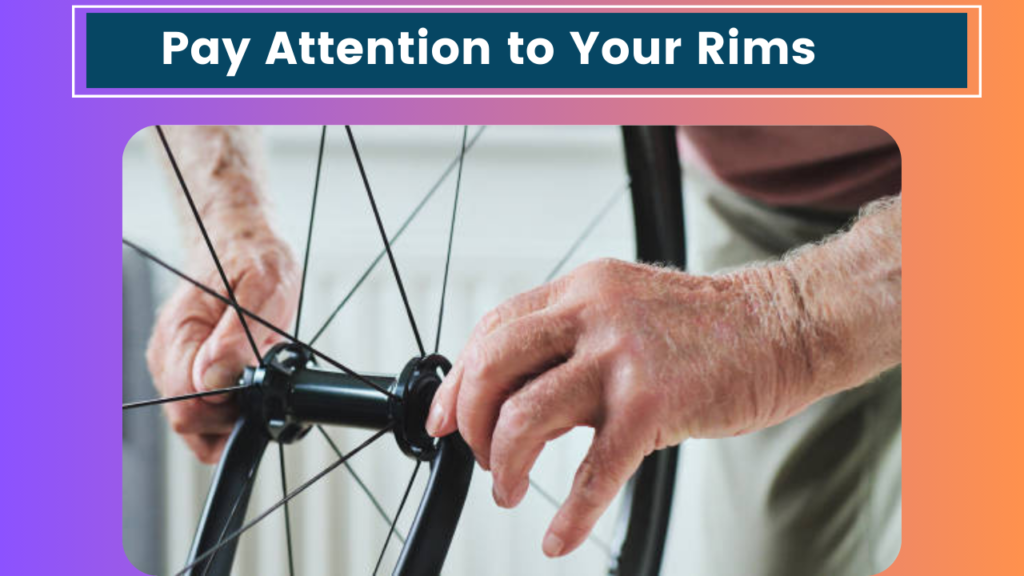
Pay Attention to Your Rims
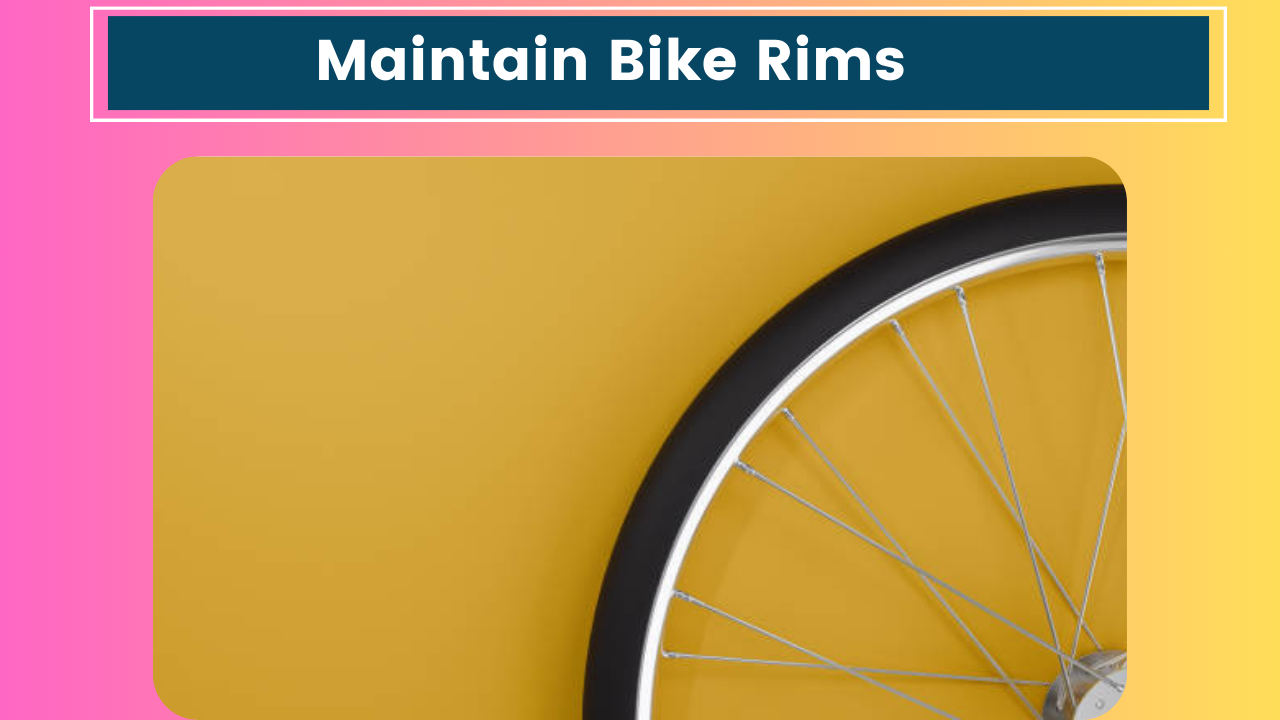
Your rims play a crucial role in tire health and performance. I give mine a quick once-over every time I clean my bike. Look for any dents, cracks, or other damage. If you have rim brakes, check the brake surface for wear.
Also, make sure your rim tape is in good condition. This tape protects your tube from the spoke holes in the rim. If it’s worn or out of place, you’re more likely to get flats. I replace my rim tape every time I put on new tires, just to be safe.
Be Mindful of Temperature Changes
This is something I didn’t think much about until I moved to an area with more extreme temperature swings. Tire pressure can change significantly with temperature. A tire properly inflated in your warm garage might be underinflated when you’re out on a cold morning ride.
On the flip side, if you inflate your tires on a cool morning, be careful about letting too much air out if they feel hard later in the day when it’s warmer. The pressure increase is normal and usually not a concern unless it exceeds the tire’s maximum rated pressure.
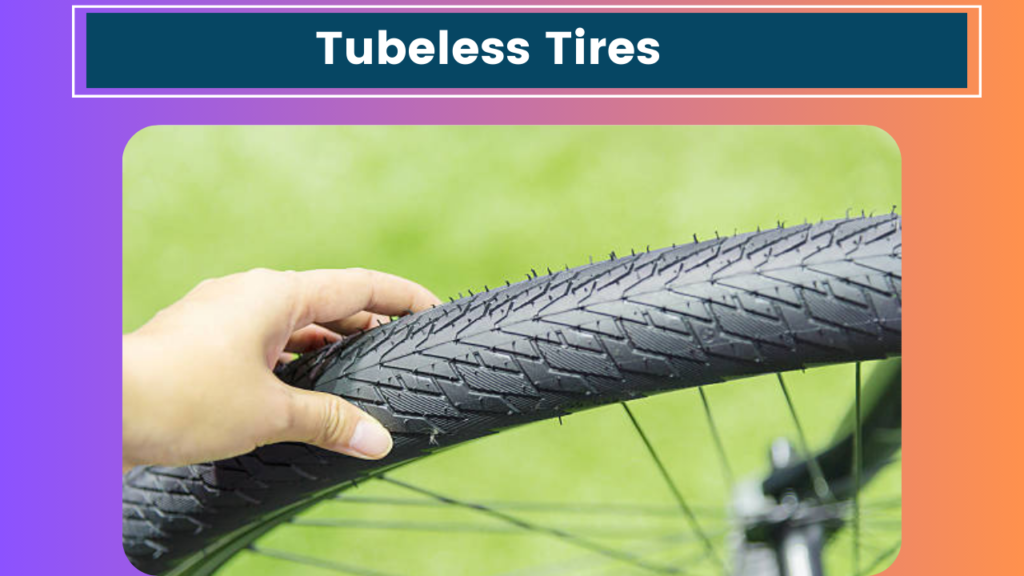
Consider Tubeless Tires
I made the switch to tubeless tires a couple of years ago, and I’ve been really happy with the decision. Tubeless tires can be run at lower pressures for better traction and comfort, and they’re much less prone to punctures.
The initial setup can be a bit tricky, and you’ll need compatible rims, but once you’ve got everything dialed in, tubeless tires can be a game-changer. Just remember to top up the sealant every few months to keep everything working properly.
Wrapping Up
Well, folks, I think that covers the main points of bike tire maintenance. I know it might seem like a lot, but once you get into the habit, most of these tasks become second nature. Plus, the peace of mind you get from knowing your tires are in top shape is priceless.
I’m heading out for a ride now – the weather’s too nice to stay indoors any longer. Remember, take care of your tires, and they’ll take care of you. Happy cycling, and maybe I’ll see you out on the roads or trails!
P.S. If you have any tire maintenance tips of your own, I’d love to hear them. Cycling is all about community, and we can all learn from each other. Drop your tips in the comments below!
