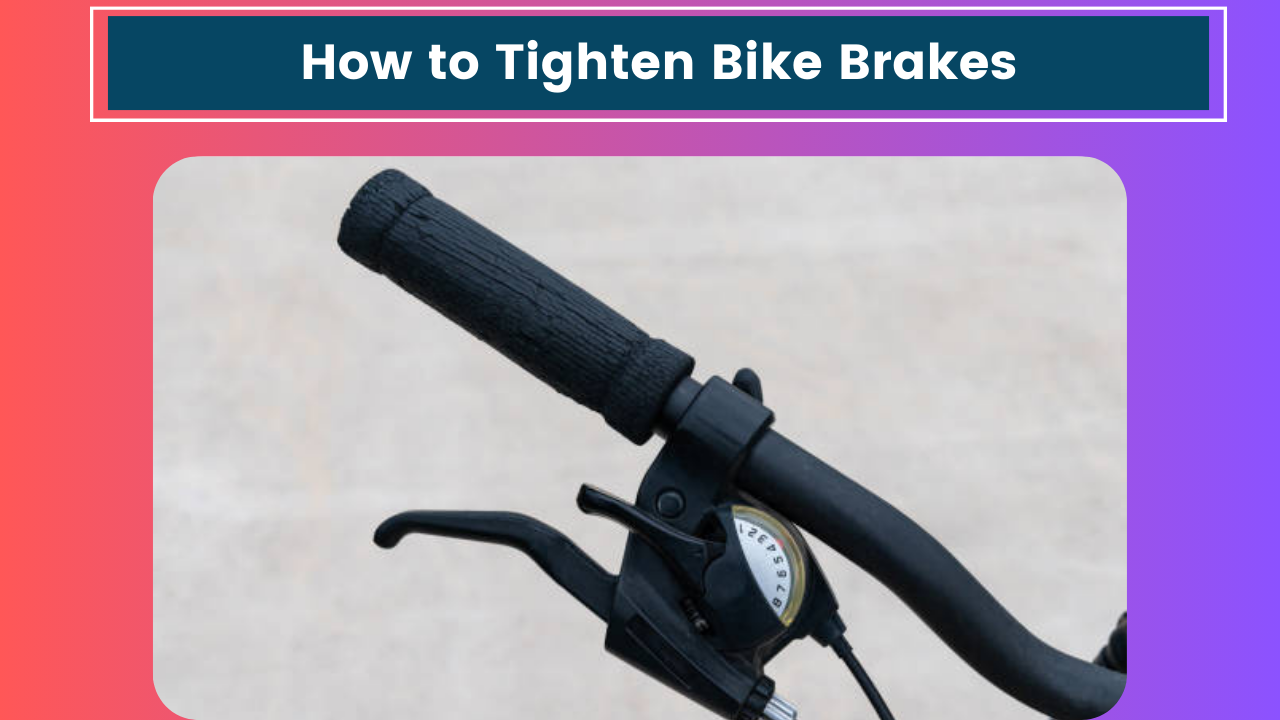
Hey there, fellow bike lovers! It’s been a while since I’ve written about bike maintenance, but today I’m excited to share some knowledge on a crucial aspect of cycling safety: tightening your bike brakes. I remember when I first started cycling seriously, I was pretty clueless about brake maintenance. But after a few close calls and some helpful advice from more experienced riders, I’ve become something of a brake-tightening pro. So, grab a cold drink, settle in, and let’s dive into the world of bike brake maintenance!
Why Tight Brakes Matter
Before we get into the nitty-gritty of how to tighten your brakes, let’s talk about why it’s so important. I learned this lesson the hard way when I was out on a ride last summer. I was cruising down a pretty steep hill, enjoying the breeze, when suddenly a car pulled out in front of me. I squeezed my brakes, but they barely slowed me down! Talk about a heart-stopping moment. Luckily, I managed to swerve around the car, but it was way too close for comfort.
That incident taught me that properly tightened brakes are essential for your safety. They ensure that you can stop quickly and efficiently when you need to, whether you’re avoiding obstacles, slowing down for turns, or coming to a complete stop at intersections. Plus, well-maintained brakes just make your rides more enjoyable – no more squealing, stuttering, or that spongy feeling when you squeeze the lever.
Types of Bike Brakes
Now, before we get our hands dirty, it’s important to know what kind of brakes you’re dealing with. There are several types of bike brakes out there, and the tightening process can vary slightly for each. The main types you’ll encounter are:
- Rim brakes (including caliper brakes and V-brakes)
- Disc brakes (hydraulic and mechanical)
- Coaster brakes (mostly found on kids’ bikes and some cruisers)
For this guide, we’ll focus mainly on rim brakes and disc brakes, as they’re the most common types you’ll find on adult bikes. If you’ve got coaster brakes, well, you’re in luck – they generally don’t need much adjustment!
Tools You’ll Need
Before we start, let’s make sure you’ve got all the tools you’ll need. Don’t worry, you won’t need a full bike shop’s worth of equipment. Here’s what I usually grab when I’m about to work on my brakes:
- Allen wrenches (also called hex keys) – a set with various sizes
- Screwdriver (both flathead and Phillips head)
- Pliers
- Cable cutters (if you need to replace cables)
- A rag or old towel
- Bike stand (optional, but super helpful)
Alright, now that we’ve got our tools ready, let’s get to work!
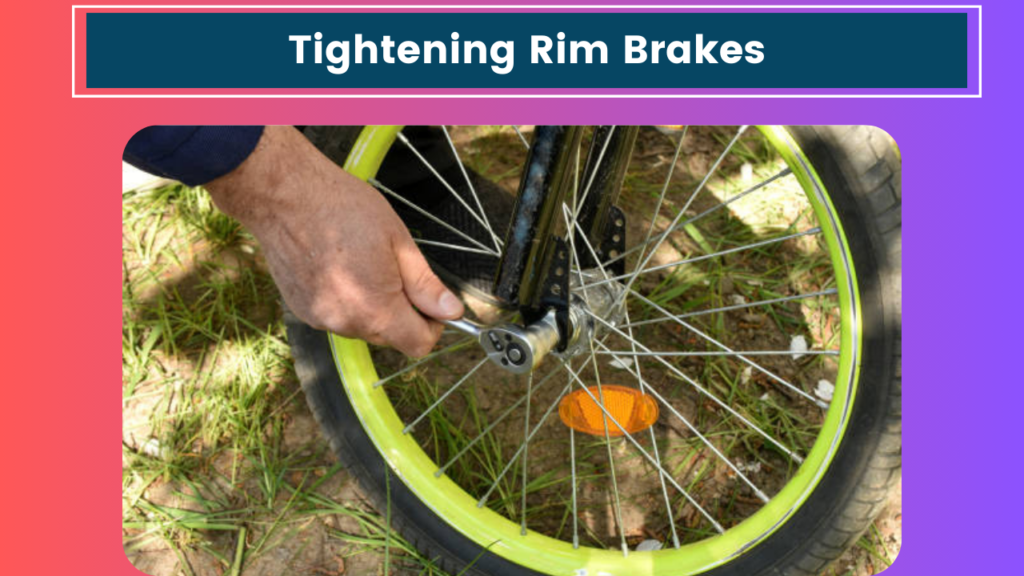
Tightening Rim Brakes
Let’s start with rim brakes since they’re the most common type and generally the easiest to adjust. I remember the first time I tried to tighten my rim brakes – I was so nervous about messing something up! But trust me, it’s not as complicated as it might seem.
Step 1: Check the brake pads
First things first, take a good look at your brake pads. Are they worn down? Do they hit the rim squarely when you squeeze the brake lever? If the pads are worn or misaligned, no amount of cable tightening will give you good braking power.
To adjust the pads:
Tighten the bolt securely.
Loosen the bolt that holds the pad in place.
Align the pad so it sits flat against the rim when the brake is engaged.
Make sure there’s about 1-2mm of clearance between the pad and the rim when the brake is released.
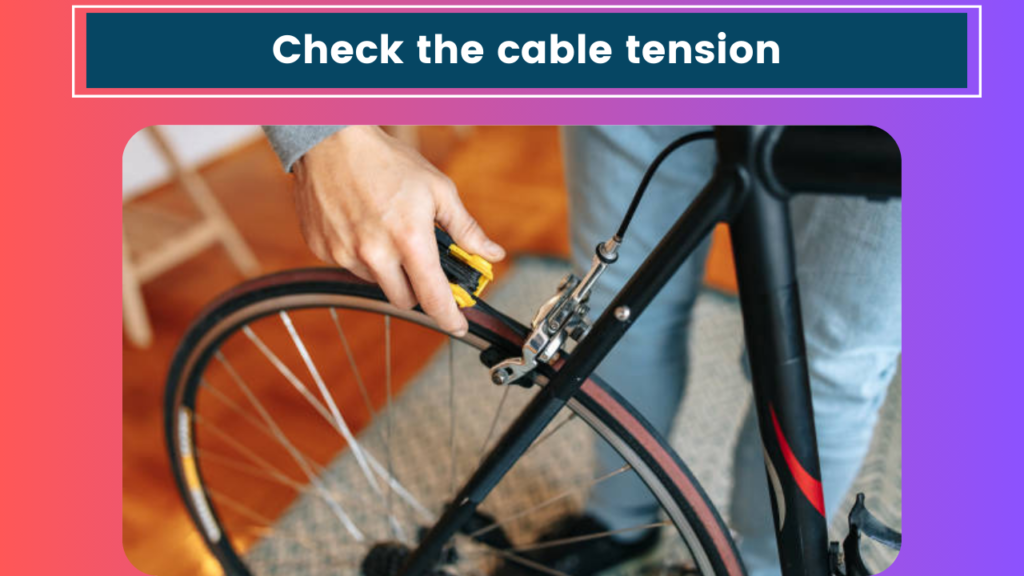
Step 2: Check the cable tension
Now that your pads are in good shape, it’s time to look at the cable tension. Squeeze the brake lever – it should engage fully when it’s about halfway to the handlebar. If you have to pull it to the bar to get good braking power, your cable’s too loose.
To tighten the cable:
Locate the barrel adjuster. It’s usually where the cable enters the brake lever, or where it connects to the brake caliper.
Unscrew the barrel adjuster a few turns counterclockwise. This will tighten the cable slightly.
Test the brake lever. If it still feels too loose, unscrew the adjuster a bit more.
Once you’ve got the right tension, tighten the locknut on the barrel adjuster to keep it in place.
Step 3: Fine-tune the centering
Ideally, your brake pads should hit the rim at the same time when you squeeze the lever. If one pad is touching before the other, your brakes aren’t centered properly. Here’s how to fix that:
Find the small screw on the side of the brake caliper. This is the centering screw.
Turn the screw clockwise to move that side of the caliper away from the rim, or counterclockwise to move it closer.
Make small adjustments and test until both pads hit the rim simultaneously.
Tightening Disc Brakes
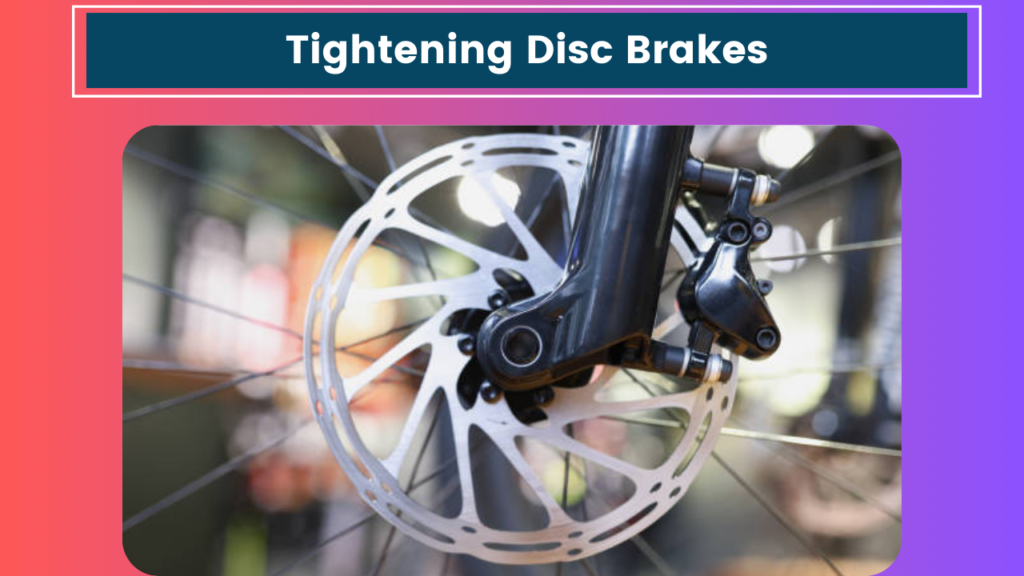
Now, let’s talk about disc brakes. I remember when I first switched from rim brakes to disc brakes on my mountain bike – it was a game-changer! However, I quickly learned that maintaining disc brakes requires a slightly different approach.
Step 1: Check the brake pads
Just like with rim brakes, start by checking your brake pads. Disc brake pads wear down over time and need to be replaced periodically. If your pads are less than 1mm thick, it’s time for new ones.
To check and replace disc brake pads:
- Remove the wheel.
- Locate the brake caliper and look for the pads inside.
- If they need replacing, remove the retaining pin or clip and slide the old pads out.
- Insert the new pads and secure them with the pin or clip.
- Reattach the wheel.
Step 2: Adjust the caliper alignment
For disc brakes to work effectively, the caliper needs to be perfectly aligned with the rotor. Here’s how to adjust it:
- Loosen the bolts that hold the caliper to the frame or fork.
- Squeeze the brake lever hard and hold it.
- While holding the lever, tighten the caliper bolts.
- Release the lever and spin the wheel. If you hear any rubbing, repeat the process.
Step 3: Adjust cable tension (for mechanical disc brakes)
If you have mechanical disc brakes, you may need to adjust the cable tension as the pads wear down. The process is similar to rim brakes:
- Locate the barrel adjuster on the brake lever or caliper.
- Turn it counterclockwise to tighten the cable.
- Aim for about 1mm of clearance between the stationary pad and the rotor.
For hydraulic disc brakes, you generally don’t need to adjust the cable tension. However, if your brake lever feels spongy, you might need to bleed the brake lines – but that’s a topic for another day!
Final Tips and Tricks
Whew! We’ve covered a lot of ground here. Before I wrap up, let me share a few extra tips I’ve picked up over the years:
- Regular maintenance is key. I like to give my brakes a quick check before every ride and a more thorough inspection every few weeks.
- Keep things clean. Dirt and grime can affect your brake performance, especially with disc brakes. I always keep a clean rag in my bike bag to wipe down my rotors if needed.
- Don’t over-tighten. It’s tempting to crank everything as tight as possible, but this can reduce your braking power and wear out your components faster.
- Listen to your brakes. If you start hearing squealing, grinding, or any unusual noises, it’s time for an inspection.
- When in doubt, seek help. If you’re not confident in your ability to adjust your brakes, don’t hesitate to take your bike to a local shop. It’s always better to be safe than sorry!
Well, folks, I hope this guide has been helpful. I’m heading out for a ride now – gotta test those freshly tightened brakes! Remember, proper brake maintenance isn’t just about having a smooth ride; it’s about keeping yourself and others safe on the road or trail.
Happy cycling, and may your stops always be smooth and sure!
