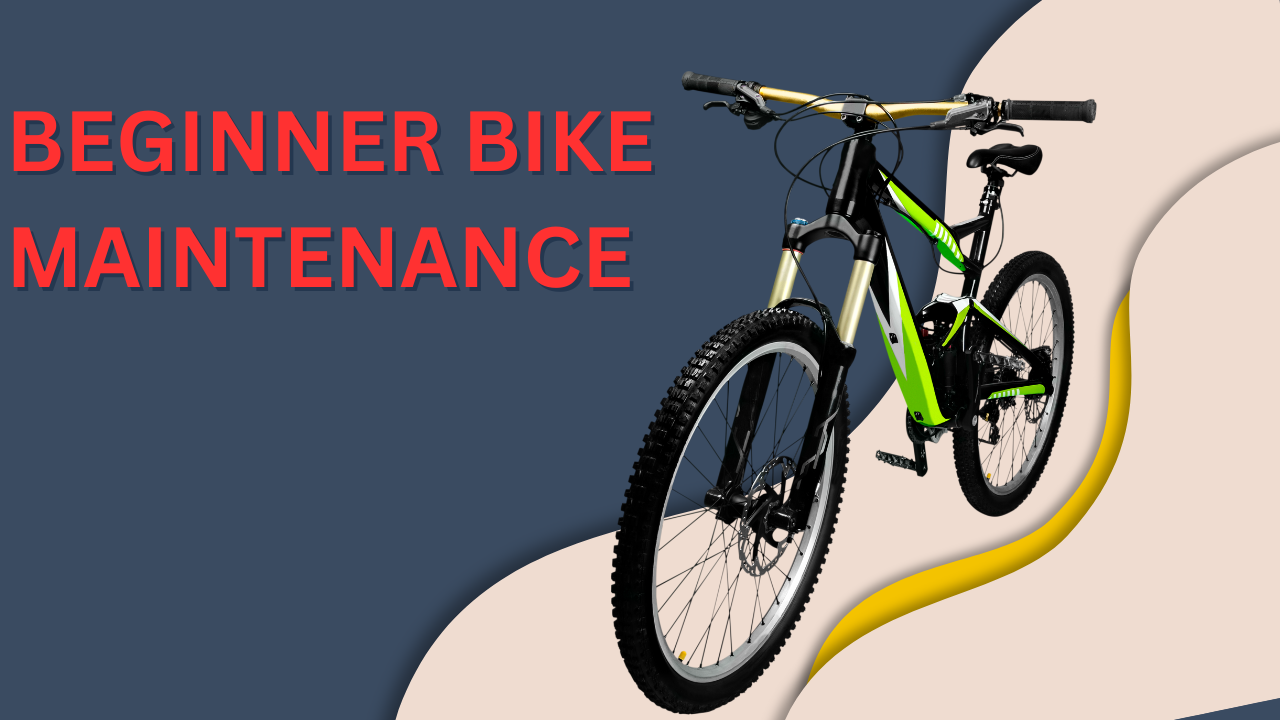
Hey there, fellow cyclists! It’s Mike here, coming at you with some bike maintenance wisdom. I’ve been meaning to write this article for ages, but you know how it is – life gets busy, and before you know it, weeks have flown by. Anyway, I finally sat down to share some tips on keeping your two-wheeled buddy in tip-top shape.
Before we dive in, let me just say that I’m no pro mechanic. I’m just a regular guy who loves riding and has picked up a thing or two over the years. So, grab a coffee (or your beverage of choice), and let’s get into it!
Why Bike Maintenance Matters
Alright, so you might be wondering, “Mike, why should I bother with all this maintenance stuff?” Well, let me tell you – it’s a game-changer. Regular maintenance not only keeps your bike running smoothly but also helps prevent those annoying breakdowns that can leave you stranded miles from home. Trust me, I’ve been there, and it’s not fun.
Plus, taking care of your bike means it’ll last longer, saving you money in the long run. And who doesn’t like saving a few bucks, right?
Essential Tools for Beginner Bike Maintenance
Before we get our hands dirty, let’s talk tools. You don’t need a professional-grade workshop to start maintaining your bike. Here are some basics that’ll cover most of your needs:
- Allen key set
- Screwdrivers (flathead and Phillips)
- Tire levers
- Pump with pressure gauge
- Chain lube
- Clean rags
- Bike-specific cleaning products
I remember when I first started, I tried using regular household cleaners on my bike. Big mistake! Stick to products made for bikes – your ride will thank you.
The ABC Quick Check
Now, here’s a routine I swear by – the ABC Quick Check. It’s a simple pre-ride inspection that can save you a lot of headaches down the road. Here’s how it goes:
A – Air: Check your tire pressure. Proper inflation makes a huge difference in your ride quality and helps prevent flats.
B – Brakes: Squeeze your brakes. They should engage before the lever touches the handlebar.
C – Chain and Cranks: Take a look at your chain. Is it clean and lubed? Give the cranks a spin – they should turn smoothly without wobbling.
Quick – Quick releases: If your bike has quick-release skewers, make sure they’re tight and in the correct position.
Check – Take a quick spin around the block. Does everything feel and sound right?
I do this check before every ride. It only takes a couple of minutes, but it’s saved my bacon more than once.
Cleaning Your Bike
Okay, let’s talk about keeping your bike clean. I know, I know – it’s not the most exciting part of cycling, but it’s crucial. A clean bike is a happy bike!
Start by giving your bike a good rinse with a gentle stream of water. Avoid using high-pressure water, as it can force dirt into bearings and other sensitive areas. Trust me, I learned this the hard way when I thought using a pressure washer was a good idea. Spoiler alert: it wasn’t.
Use a soft brush or sponge with bike-specific cleaner to scrub away dirt and grime. Pay extra attention to the drivetrain – that’s your chain, cassette, and chainrings. These parts tend to collect the most gunk.
Once you’ve given everything a good scrub, rinse it off and dry your bike with a clean cloth. Don’t forget to re-lube your chain after cleaning!
Lubricating the Chain
Speaking of lubing the chain, this is one of the most important (and easiest) maintenance tasks you can do. A well-lubed chain runs smoother, lasts longer, and helps your whole drivetrain perform better.
Start by cleaning your chain with a degreaser and a rag. Once it’s clean and dry, apply a bike-specific chain lube. Be sure to wipe off any excess – too much lube can attract dirt and grime.
I usually lube my chain every few rides, or after riding in wet conditions. It’s a quick job that makes a big difference.
Checking and Adjusting Tire Pressure
Proper tire pressure is crucial for a smooth, efficient ride and helps prevent flats. The right pressure depends on factors like your weight, tire width, and riding conditions.
Use a pump with a pressure gauge to check your tires before each ride. Most tires have the recommended pressure range printed on the sidewall. I tend to run my tires at the lower end of this range for better comfort and grip but experiment to see what works best for you.
Oh, and here’s a pro tip: if you’re using a floor pump, give it a few quick pumps before attaching it to the valve. This helps clear any debris that might be in the pump head.
Basic Brake Maintenance
Your brakes are pretty important (understatement of the year, right?), so it’s worth giving them some TLC. Start by checking the brake pads. If they’re worn down to the wear line, it’s time for new ones.
For rim brakes, make sure the pads are aligned correctly with the rim. They should hit the rim squarely, not rubbing on the tire or dipping below the rim surface.
If your brakes feel spongy, they might need adjusting. Most brakes have a barrel adjuster that you can turn to tighten the cable. Just remember – small adjustments can make a big difference!
Dealing with a Flat Tire
Ah, the dreaded flat tire. It happens to all of us sooner or later. Here’s how to handle it:
- Remove the wheel from the bike.
- Use tire levers to remove one side of the tire from the rim.
- Pull out the punctured tube.
- Check the tire for whatever caused the puncture and remove it.
- Slightly inflate the new tube and place it in the tire.
- Work the tire back onto the rim, being careful not to pinch the tube.
- Inflate the tire to the correct pressure.
I always carry a spare tube, tire levers, and a mini pump on rides. Better safe than sorry!
Adjusting Your Gears
If your gears are skipping or not shifting smoothly, they might need some adjustment. This can be a bit tricky for beginners, but here’s a basic process:
- Shift into the smallest rear cog.
- Adjust the tension on the rear derailleur cable using the barrel adjuster.
- Shift through all the gears, making small adjustments as needed.
If you’re not confident doing this yourself, don’t worry – it’s perfectly okay to take your bike to a local shop for a tune-up.
When to Seek Professional Help
While there’s a lot you can do yourself, some jobs are best left to the pros. If you’re dealing with issues related to your headset, bottom bracket, or wheel truing, it’s probably time to visit your local bike shop.
Also, if you’re ever unsure about a repair or adjustment, err on the side of caution and get professional help. It’s better to be safe than sorry when it comes to bike maintenance.
Storing Your Bike
Last but not least, let’s talk about storing your bike. If possible, keep it indoors to protect it from the elements. If you must store it outside, use a good quality bike cover.
Try to hang your bike or store it upright to save space and prevent flat spots on the tires. And here’s a tip: if you’re storing your bike for a long period, leave the tires partially deflated to reduce stress on the rubber.
Wrapping Up
Well, folks, we’ve covered a lot of ground here! Remember, bike maintenance doesn’t have to be intimidating. Start with the basics, and you’ll be surprised at how much you can do yourself.
Regular maintenance not only keeps your bike running smoothly but also helps you get to know your bike better. And the more you know your bike, the more enjoyable your rides will be.
Oh, would you look at the time? I’ve got to run – promised the family I’d make dinner tonight. But before I go, here’s one last piece of advice: the best maintenance routine is one that you’ll stick to. So find a schedule that works for you, and your bike will thank you for it.
Happy riding, and may your chains always be lubed and your tires always inflated!


