
You know that feeling when you’re out on a perfect ride, the sun’s shining, and suddenly your pedals start spinning freely? Yep, that’s the telltale sign of a broken bike chain. It happened to me last weekend, and let me tell you, it’s not the most pleasant experience. But don’t worry! I’m here to share what I’ve learned about fixing a broken bike chain so that you can get back on the road in no time.
Before we dive in, let me grab a quick cup of coffee. I can’t start my day without it, you know? Now that I’m caffeinated, let’s get into the nitty-gritty of chain repair.
Understanding Your Bike Chain
First things first, it’s essential to understand what we’re dealing with. A bike chain is made up of a series of links held together by pins. These links work together to transfer the power from your pedaling to the rear wheel, propelling you forward. When a chain breaks, it’s usually because one of these links has come apart or a pin has fallen out.
Now, I’m not a professional mechanic by any means, but I’ve had my fair share of bike troubles over the years. Trust me, once you’ve fixed a chain a couple of times, it becomes second nature.
Tools You’ll Need
Before we start, let’s gather the tools we’ll need. Don’t worry if you don’t have everything – I’ll suggest some alternatives too.
- Chain tool (also called a chain breaker)
- Replacement pin or master link
- Pliers
- Clean rag
- Bike lubricant

If you don’t have a chain tool, you might be able to use a thin nail and a hammer in a pinch, but I wouldn’t recommend it unless you’re stuck. It’s worth investing in a proper chain tool if you ride often.
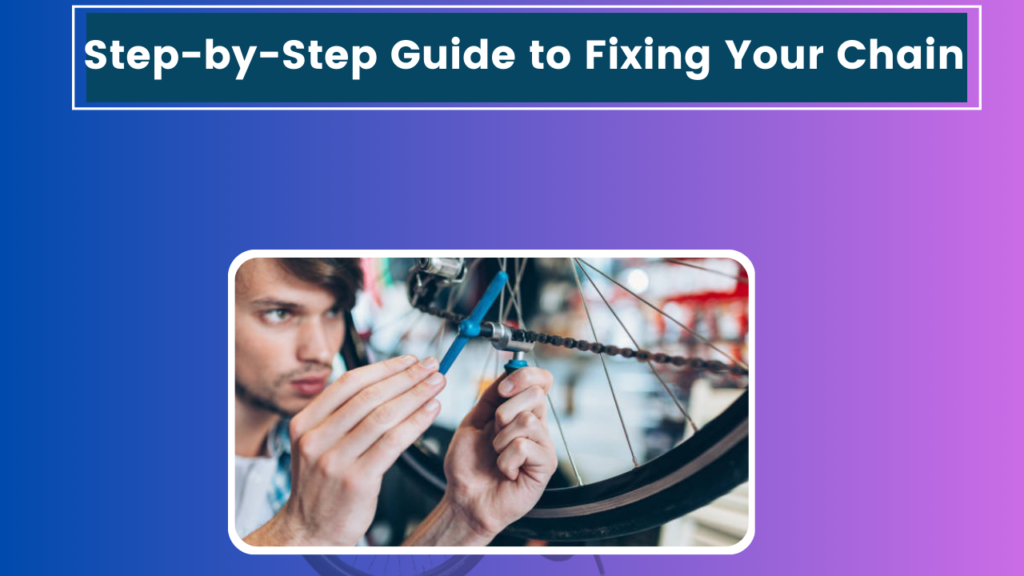
Step-by-Step Guide to Fixing Your Chain
Alright, now that we’ve got our tools ready, let’s roll up our sleeves and get to work. I remember the first time I tried to fix a chain – I was so nervous I almost called my local bike shop. But trust me, you’ve got this!
Step 1: Assess the Damage
First, take a good look at your chain. Is it completely broken, or has it just come off the gears? If it’s just off the gears, you might be able to simply place it back on. But if it’s broken, we’ll need to remove the damaged link.
Step 2: Clean the Area
Use your rag to clean the chain around the broken link. This will make your job easier and prevent dirt from getting into the chain when you’re working on it. I learned this the hard way once when I got grease all over my favorite cycling jersey!
Step 3: Use the Chain Tool
If you have a chain tool, this part is relatively straightforward. Place the chain in the tool so that the pin of the damaged link lines up with the pin of the chain tool. Slowly turn the handle of the chain tool to push the pin out of the link.
Remember, you only need to push the pin out far enough to separate the link – don’t push it out, or you’ll have a harder time putting it back together.
Step 4: Remove the Damaged Link
Once you’ve pushed the pin out far enough, you should be able to separate the chain at that link. Remove the damaged section of the chain.
Step 5: Reconnect the Chain
Now comes the tricky part. You have two options here:
Option A: Using a Replacement Pin If you’re using a replacement pin, line up the two ends of the chain and insert the new pin. Use your chain tool to push the pin into place, making sure it’s centered.
Option B: Using a Master Link If you’re using a master link (which I find easier), simply connect the two ends of the chain with the master link. You might need to use your pliers to snap it into place.
Step 6: Check Your Work
Before you celebrate, give your chain a good look over. Make sure all the links are moving freely and that there are no stiff spots. If everything looks good, give the pedals a spin to make sure the chain is running smoothly through the gears.
Step 7: Lubricate the Chain
Finally, apply some bike lubricant to the chain, especially around the area you just fixed. This will help protect your chain and keep everything running smoothly.
And there you have it! You’ve just fixed your bike chain. Give yourself a pat on the back – you’ve officially leveled up your cycling skills.
Tips and Tricks
Now that we’ve gone through the basic process, let me share a few tips I’ve picked up along the way:
Master links are your friend: I always keep a couple of master links in my repair kit. They make chain repair so much easier, especially when you’re out on the trail.
Carry a multi-tool: When I’m out on long rides, I always carry a multi-tool that includes a chain tool. It’s saved me from a long walk home more than once!
Practice at home: If you’ve never fixed a chain before, try it at home first. It’s much easier to learn when you’re not stuck on the side of the road.
Keep it clean: Regular cleaning and maintenance of your chain can prevent breaks in the first place. I try to clean my chain after every few rides.
Know when to replace: Chains don’t last forever. If you’re experiencing frequent breaks, it might be time for a new chain.
Preventing Future Chain Breaks
You know what they say – an ounce of prevention is worth a pound of cure. The same goes for bike maintenance. Here are a few things you can do to keep your chain in top shape:
Replace when necessary: Chains do wear out over time. If you notice your chain skipping or not shifting smoothly, it might be time for a replacement.
Regular cleaning: I know, I know, it’s not the most exciting part of cycling, but trust me, it makes a difference. I try to clean my chain every couple of weeks, or after riding in particularly muddy conditions.
Proper lubrication: A well-lubricated chain is a happy chain. I apply lubricant every few rides, making sure to wipe off any excess.
Avoid cross-chaining: This is when you use the big ring in front with the biggest cog in the back or the small ring with the smallest cog. It puts extra stress on your chain.
Regular inspections: Now and then, I like to give my bike a once-over, paying special attention to the chain. Look for any stiff links or signs of wear.

When to Seek Professional Help
While fixing a broken chain is usually a manageable DIY job, there are times when it’s best to visit your local bike shop. If you’re noticing frequent chain issues or unusual noises, or if your chain keeps breaking despite your best efforts, it might be time for a professional opinion.
I remember one time when I thought I had fixed my chain perfectly, only to have it break again a few miles down the road. Turns out, there was an issue with my rear derailleur that was putting extra stress on the chain. Sometimes, it takes an expert eye to spot these kinds of problems.
Wrapping Up
Well, folks, that about covers it for fixing a broken bike chain. I hope you’ve found this guide helpful. Remember, like most things in life, practice makes perfect. The more you work on your bike, the more confident you’ll become.
Oh, would you look at the time? I’ve got to run – my riding buddies are waiting for me at the trailhead. But before I go, let me leave you with this final thought: a broken chain doesn’t have to mean the end of your ride. With a little knowledge and the right tools, you can tackle this common cycling problem and get back to enjoying the open road or trail.
Happy cycling, and may your chains always stay intact! But if they don’t, now you know what to do. Ride on!


