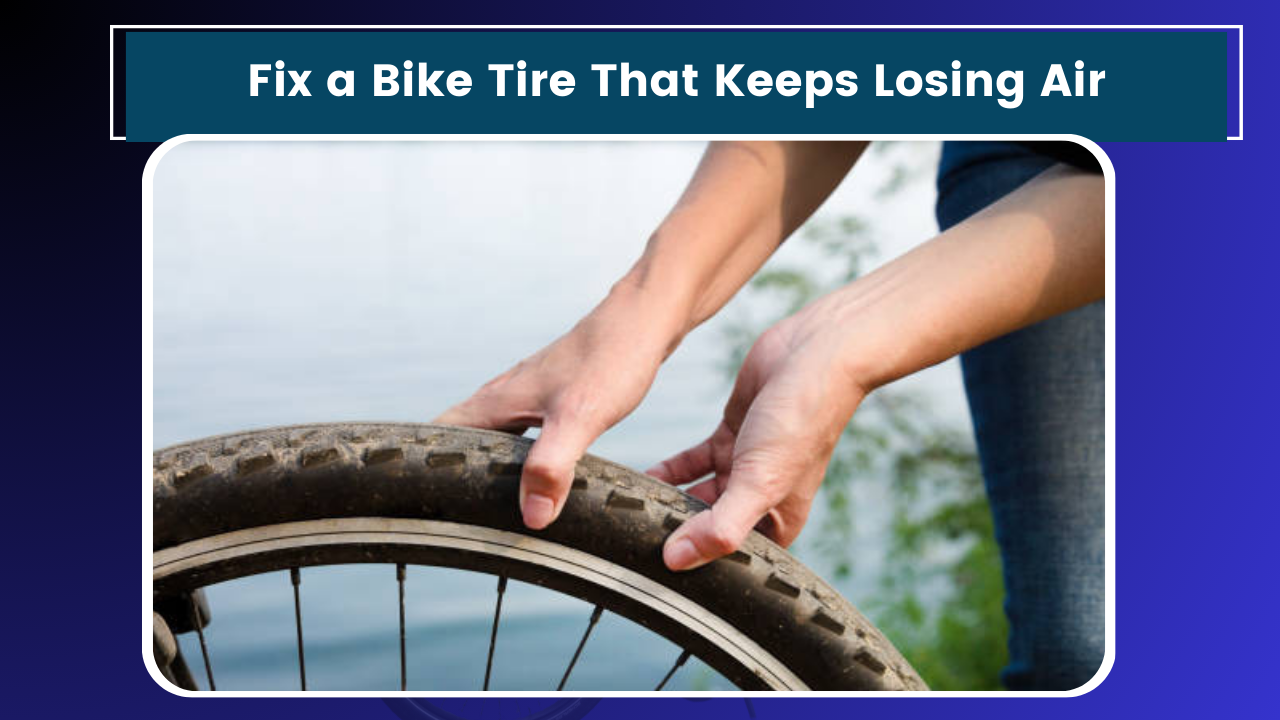
It’s a beautiful Sunday morning, and you’re all set for a relaxing bike ride through the park. You wheel your trusty two-wheeler out of the garage, hop on, and… wait a minute. Something feels off. You glance down and, yep, there it is – your tire’s looking a bit saggy. Again. Ugh.
If you’re nodding along, thinking, “Been there, done that,” you’re not alone. A tire that keeps losing air is one of the most common and frustrating issues for cyclists. But don’t worry, I’ve got your back. After dealing with this problem more times than I care to admit (including one memorable occasion when I had to walk my bike home from across town), I’ve learned a thing or two about fixing persistently leaky tires.
So, grab a cold drink, pull up a chair, and let’s dive into the world of bike tire repair. By the time we’re done, you’ll be ready to tackle that pesky leak and get back to enjoying your rides.
Check the Problem
Before we start poking around your tire, it’s important to understand why it might be losing air in the first place. There are several common culprits:
- Punctures: The most obvious cause. You might have run over a sharp object that poked a hole in your tire or tube.
- Valve issues: Sometimes the problem isn’t the tire at all, but the valve that’s supposed to keep the air in.
- Pinch flats: If you hit a pothole or curb hard, the tube can get pinched between the tire and rim, causing two small holes.
- Slow leaks: These are the sneakiest. You might have a tiny hole that lets air out slowly over time.
- Tire wear: Old, worn-out tires can develop weak spots that lead to leaks.
Now that we know what we’re up against, let’s gather our tools and get to work.
Tools You’ll Need
Before we start, let’s make sure we have everything we need. Here’s your checklist:
- Tire levers (2-3)
- Spare tube (always good to have on hand)
- Bike pump
- Patch kit
- Bucket of water (trust me on this one)
- Rag or towel
- Chalk or marker
If you’re like me, half of these things are probably scattered around your garage or shed. Take a few minutes to hunt them down – it’ll make the whole process a lot smoother.
Step-by-Step Guide to Fixing Your Leaky Tire
Alright, now that we’re all set up, let’s get down to business. I’ll walk you through this step-by-step, just like I wish someone had done for me when I was first figuring this out.
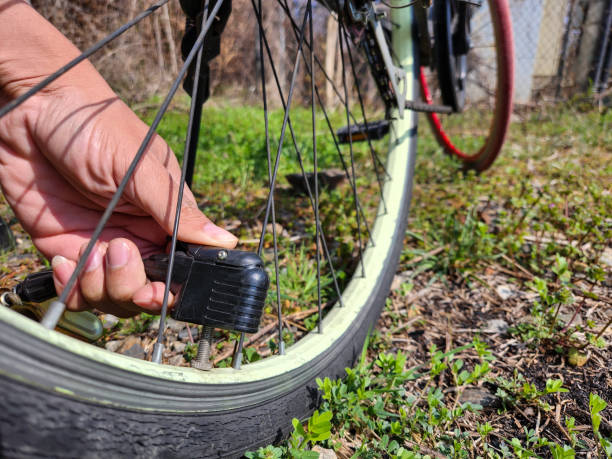
Step 1: Confirm the Leak
First things first, we need to make sure we’re not chasing our tails. Sometimes, a tire might seem flat simply because it hasn’t been pumped in a while.
Pump up your tire to its recommended pressure (you’ll find this on the sidewall of the tire). Now, here’s a trick I learned from an old bike mechanic: Mark the tire with a piece of chalk, lining it up with a specific point on the rim. Leave your bike for a few hours, or overnight if you can. When you come back, check if the chalk mark has moved relative to the rim. If it has, you’ve got a slow leak on your hands.
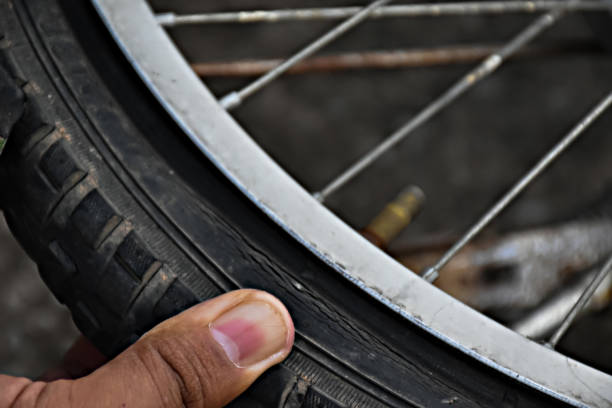
Step 2: Locate the Leak
Now comes the detective work. There are a few ways to find a leak:
- Listen closely: Pump up the tire and listen for a hissing sound. This works best for larger leaks.
- Feel for escaping air: Run your hand slowly around the tire, feeling for air. Wet your hand first to make it more sensitive.
- The bucket test: This is my go-to method for those tricky slow leaks. Remove the wheel from your bike and submerge it in a bucket of water. Watch for bubbles – they’ll show you exactly where the air is escaping.
Once you’ve found the leak, mark it with your chalk or marker. Trust me, you don’t want to lose track of it once you start working.
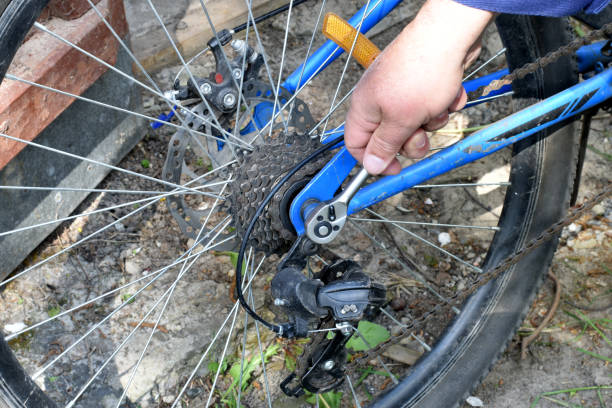
Step 3: Remove the Tire and Tube
Alright, time to get your hands dirty. Deflate the tire completely, then use your tire levers to remove one side of the tire from the rim. Be careful not to pinch the tube with the levers – that’s a rookie mistake I’ve made more times than I’d like to admit.
Once you’ve got one side off, you should be able to pull out the tube. Pay attention to how the tube sits in relation to the tire and rim – you’ll want to put it back the same way.
Step 4: Inspect and Repair
Now that you’ve got the tube out, it’s time for a thorough inspection. Inflate it slightly and listen for the leak. Once you find it, you’ve got two options:
- Patch it: If the hole is small and not near a seam, you can use your patch kit to repair it. Clean the area around the hole, rough it up a bit with the sandpaper provided in your kit, apply the patch according to the instructions, and hold it firmly for a minute or two.
- Replace it: If the hole is large, near a seam, or if you’ve patched this tube multiple times before, it might be time for a replacement. This is where that spare tube comes in handy.
While you’ve got everything apart, take a moment to run your fingers along the inside of the tire. Sometimes, whatever caused the puncture might still be stuck in there, just waiting to cause another flat. I once found a tiny piece of glass that had been plaguing me for weeks – talk about satisfying!
Step 5: Check the Rim Tape
Here’s something a lot of people overlook: the rim tape. This is the strip that covers the spoke holes on your rim. If it’s worn or out of place, the sharp edges of the spoke holes can puncture your tube. Give it a quick once-over and replace it if necessary.
Step 6: Reassemble
Now comes the slightly tricky part. Start by partially inflating your tube – just enough to give it some shape. Place it back in the tire, making sure it’s not twisted. Then, beginning at the valve stem, work the tire back onto the rim. You might need your tire levers for the last bit, but be gentle to avoid pinching the tube.
Once the tire is back on, inflate it to about half pressure and check that the tire is seated evenly on the rim all the way around. If it looks good, inflate to full pressure.
Step 7: Test Your Work
Before you celebrate, it’s a good idea to do one final check. Repeat the chalk test we did at the beginning, or if you’re impatient like me, give the wheel a spin and apply some soapy water to the tire. If you see bubbles forming anywhere, you’ve still got a leak.
Preventing Future Flats
Now that you’ve fixed your leak, let’s talk about how to prevent this from happening again. Because let’s face it, as satisfying as it is to fix a flat, I’d rather be out riding.
- Maintain proper tire pressure: Underinflated tires are more prone to punctures and pinch flats. Check your pressure regularly.
- Use tire liners: These tough strips sit between your tire and tube, adding an extra layer of protection.
- Consider tubeless tires: If you’re dealing with frequent flats, tubeless tires might be worth the investment. They’re more resistant to punctures and can self-seal small holes.
- Watch where you ride: I know, I know, easier said than done. But try to avoid areas with lots of debris, and keep an eye out for those sneaky potholes.
- Replace old tires: Worn-out tires are more susceptible to punctures. If you can see the casing through the tread, it’s time for new rubber.
Wrapping It Up
Well, there you have it – everything you need to know about fixing a bike tire that keeps losing air. I know it might seem like a lot at first, but trust me, it gets easier with practice. The first time I went through this process, it took me the better part of an afternoon (with plenty of breaks for snacks and head-scratching). Now, I can knock it out in about 20 minutes.
Remember, a well-maintained bike isn’t just more fun to ride – it’s safer too. Those properly inflated tires could make all the difference when you’re zipping down a hill or navigating busy streets.
So, next time you’re tempted to ignore that slowly deflating tire (we’ve all been there), remember this guide. Your future self, cruising along on perfectly inflated tires, will thank you.
Now, if you’ll excuse me, all this talk about biking has me itching to hit the road. I think I’ll go give my own tires a quick check before heading out. Happy riding, and may your tires always stay full!


