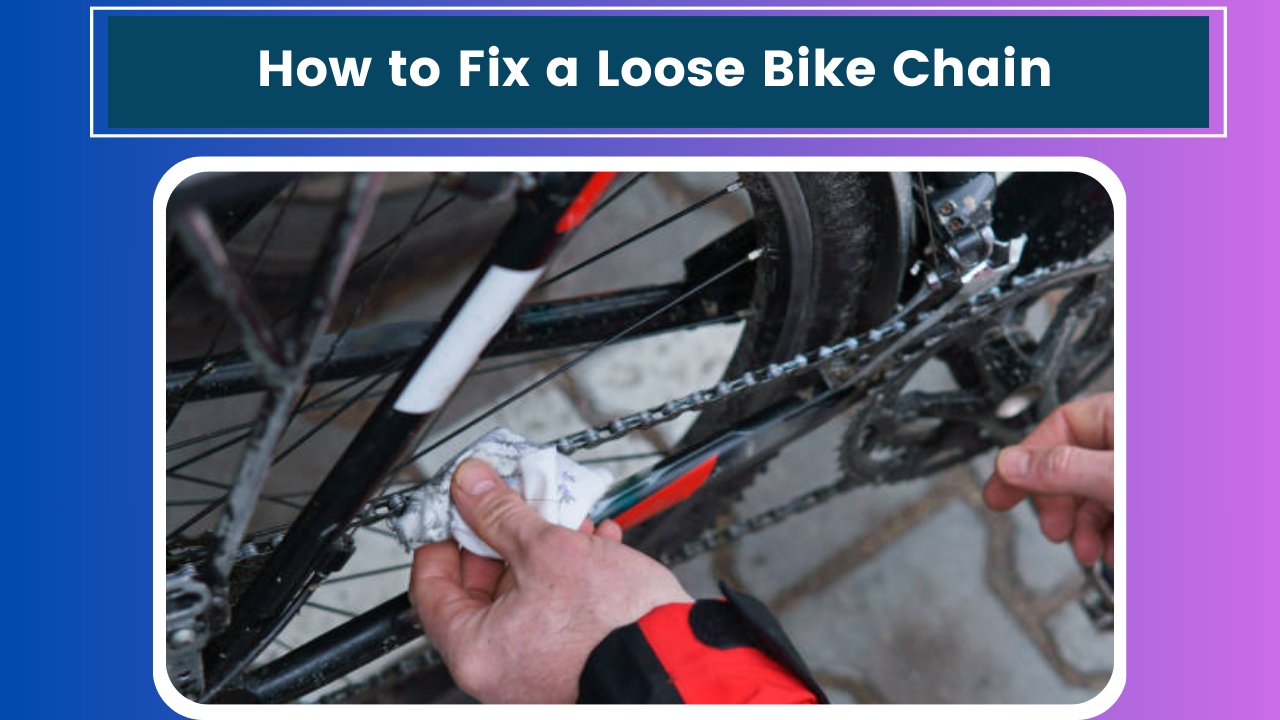
Hey there, fellow cyclists! It’s your friendly neighborhood bike enthusiast here. The other day, I was gearing up for my usual evening ride when I noticed something was off with my trusty two-wheeler. The chain was rattling more than usual, and pedaling felt a bit like I was cycling through molasses. Yep, you guessed it – I had a loose bike chain on my hands.
Now, I know what you might be thinking: “Great, time to head to the bike shop and shell out some cash.” But hold your horses! Fixing a loose bike chain is a pretty straightforward process that you can tackle right at home. So, grab a cold drink, pull up a chair, and let me walk you through the steps to get your ride back in tip-top shape.
Why Bother Fixing a Loose Chain?
Look, I get it. You might be tempted to just ignore that loose chain and keep on pedaling. But trust me, that’s a recipe for disaster. A loose chain can lead to poor shifting, reduced efficiency (meaning you’ll work harder to go the same distance), and even cause damage to other parts of your bike. Plus, there’s always the risk of the chain falling off completely, leaving you stranded miles from home. Been there, done that – not fun, especially when you’re running late for dinner with the in-laws.
So, let’s roll up our sleeves and get to work!
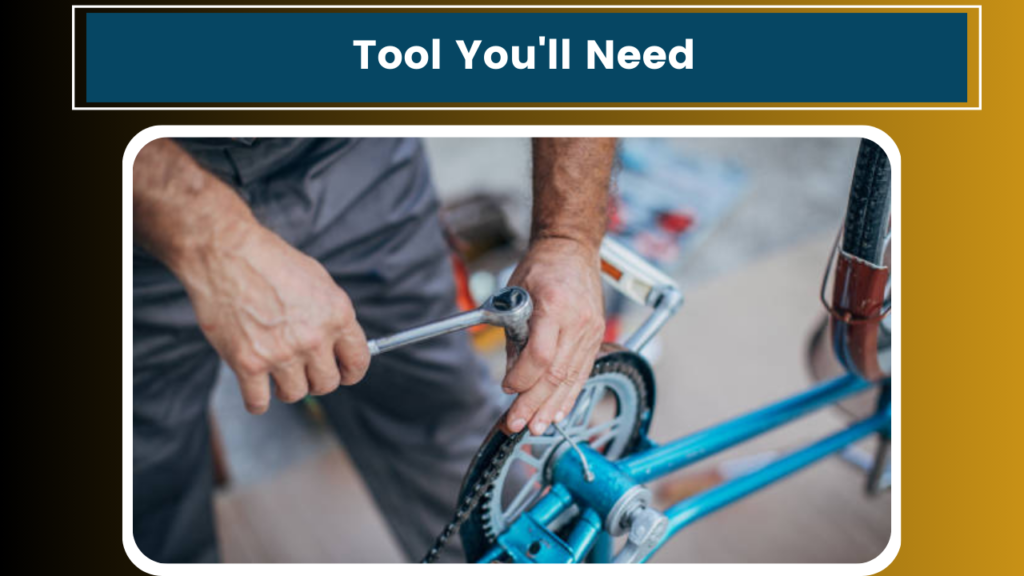
What You’ll Need
Before we start, let’s gather our tools. Don’t worry, you won’t need a fully stocked professional bike workshop for this job. Here’s what you should have on hand:
- Allen wrench set (also known as hex keys)
- Screwdriver (flathead and Phillips, just to be safe)
- Adjustable wrench
- Clean rag or cloth
- Bike lubricant
- Optional: Chain wear indicator tool
Got everything? Great! Let’s get started.
Step 1: Give Your Bike a Once-Over
First things first, let’s make sure a loose chain is the problem. Flip your bike upside down so it’s resting on the seat and handlebars. This will make it easier to work on and inspect the chain.
Now, take a good look at your chain. Is it sagging more than usual? Does it feel loose when you gently push it up and down? If so, we’re dealing with a loose chain. But while we’re here, let’s check for any other issues:
- Look for any rusty or stiff links
- Check if the chain is dry or grimy
- See if there are any bent or damaged links
If you spot any of these problems, make a mental note. We might need to address them later.
Step 2: Check for Chain Wear
Before we tighten anything, it’s a good idea to check if your chain is worn out. A worn chain can cause all sorts of issues, including that looseness we’re trying to fix.
If you have a chain wear indicator tool, now’s the time to use it. If not, no worries – you can do a quick visual check. Pull the chain away from the largest rear sprocket. If you can see a significant gap between the chain and the teeth of the sprocket, your chain might be stretched and in need of replacement.
If your chain is severely worn, it’s best to replace it entirely. But if it’s still in decent shape, let’s move on to tightening it up.
Step 3: Locate the Rear Wheel Nuts or Quick Release
Alright, now we’re getting to the meat of the matter. The loose chain is usually caused by the rear wheel being too close to the front of the bike. To fix this, we need to move the wheel back a bit.
If your bike has a quick-release skewer, you’ll see a lever on one side of the rear wheel. If not, look for nuts on either side of the rear wheel axle.
Step 4: Loosen the Wheel
For quick-release:
- Flip the lever to the open position
- Turn the adjusting nut on the opposite side counterclockwise for a few turns
For nuts:
- Use your adjustable wrench to loosen the nuts on both sides of the wheel
- Don’t remove them completely – we just need them loose enough to move the wheel
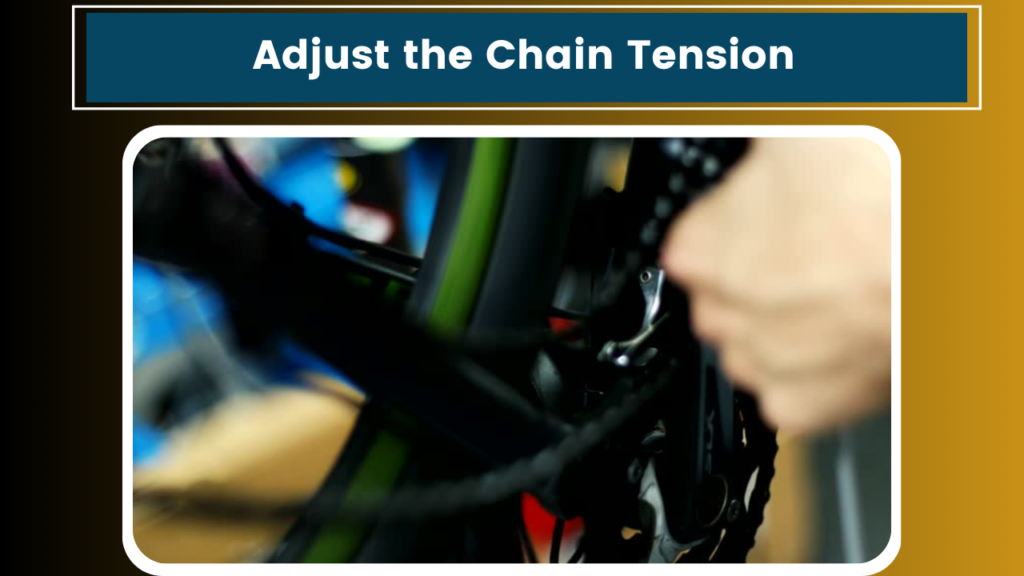
Step 5: Adjust the Chain Tension
Now comes the fun part! We’re going to move the wheel back to tighten the chain.
- Gently pull the wheel back in the dropouts (those slots where the wheel axle sits)
- Check the chain tension – you want about 1/2 inch of vertical movement when you push the chain up and down in the middle
Here’s a pro tip: make sure the wheel is centered between the chainstays (those parts of the frame that run from the pedals to the rear wheel). You don’t want your wheel sitting crooked!
Step 6: Re-tighten the Wheel
Once you’re happy with the chain tension:
For quick-release:
- Hold the wheel in place and tighten the adjusting nut
- Close the quick-release lever – it should require some force, but not so much that you feel like you’re going to break it
For nuts:
- Tighten the nuts on both sides of the wheel
- Double-check that the wheel is still centered
Step 7: Test Your Work
Now for the moment of truth! Give the pedals a spin and shift through all the gears. The chain should move smoothly without any skipping or rattling.
If everything looks good, flip your bike right-side-up and take it for a quick spin around the block. Pay attention to how it shifts and pedals. If something still feels off, you might need to make some fine adjustments.
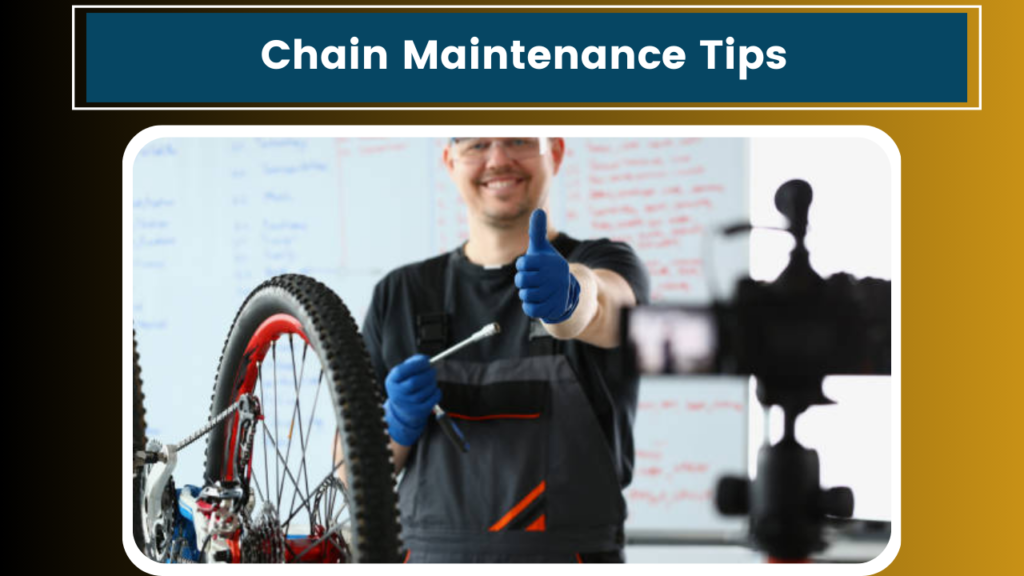
Bonus Round: Chain Maintenance Tips
While we’re on the topic of chains, let me share a few tips to keep your bike running smoothly:
Replace when necessary: Even with the best care, chains wear out eventually. Most chains last between 1,500 to 3,000 miles, depending on your riding style and conditions.
Clean your chain regularly: A clean chain is a happy chain. Use a degreaser and an old toothbrush to scrub away grime, then rinse with water and dry thoroughly.
Lubricate often: Apply a good quality bike chain lubricant every 100-150 miles or after riding in wet conditions. Just a drop on each roller is enough – too much lube attracts dirt.
Check your chain periodically: Make it a habit to inspect your chain for wear and looseness every few rides. Catching issues early can save you from more expensive repairs down the line.
Wrapping It Up
And there you have it, folks! You’ve successfully diagnosed and fixed a loose bike chain. Pat yourself on the back – you’ve just saved yourself a trip to the bike shop and picked up a valuable skill.
Remember, keeping your bike in good shape isn’t just about saving money (though that’s a nice bonus). It’s about understanding your ride, being self-reliant, and most importantly, staying safe out there on the roads or trails.
Next time you’re out for a ride and hear that telltale rattle of a loose chain, you’ll know exactly what to do. And hey, maybe you’ll even be able to help out a fellow cyclist in need. There’s nothing quite like the camaraderie of fixing a bike problem on the side of the road and getting back to your adventure.
Now, if you’ll excuse me, I’ve got a date with my newly tightened bike chain and some beautiful country roads. Happy cycling, everyone!


