Hey there, fellow cyclists! It’s been a while since I’ve written about bike maintenance, but today I want to tackle a common issue that’s been bugging me lately: chain alignment. Last weekend, I was out for a ride when I noticed that annoying clicking sound coming from my drivetrain. You know the one – it’s like your bike is trying to tell you something’s not quite right. So, I decided to dive in and fix it myself. If you’re dealing with similar issues, grab a coffee (or your beverage of choice), and let’s walk through the process of fixing bike chain alignment together.
Before we get started, I should mention that I’m not a professional bike mechanic. I’m just a guy who loves riding and tinkering with bikes. If you’re not comfortable working on your bike, it’s always best to take it to a local bike shop. That said, if you’re feeling adventurous and want to learn something new, this guide should help you out.
Why Chain Alignment Matters
First things first: why should we care about chain alignment? Well, proper alignment is crucial for smooth shifting, reduced wear on your drivetrain components, and overall riding efficiency. When your chain isn’t aligned correctly, it can cause:
- Premature wear on your chain, cassette, and chainrings
- Poor shifting performance
- That annoying clicking or grinding noise we all hate
- Increased risk of chain drop or derailment
- Reduced pedaling efficiency
Trust me, I’ve experienced all of these issues at some point, and they can put a damper on your ride. So, let’s get to fixing that alignment!
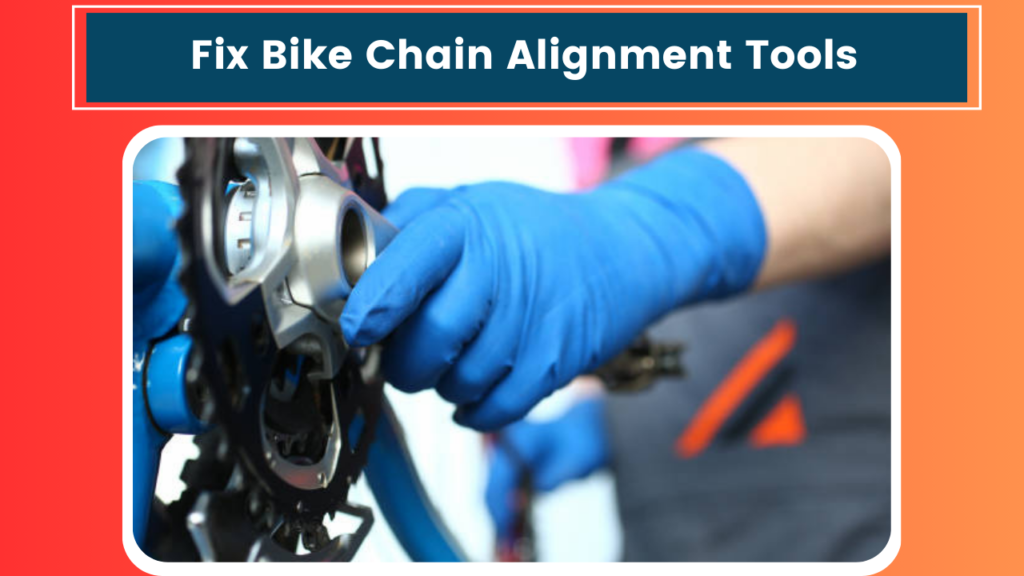
Tools You’ll Need
Before we dive in, let’s gather the necessary tools. You probably have most of these lying around your garage or toolbox:
- Allen wrenches (hex keys)
- Screwdrivers (flathead and Phillips)
- Adjustable wrench
- Chain tool (if you need to shorten the chain)
- Clean rags
- Degreaser
- Bike lubricant
- Ruler or straight edge (a metal one works best)
If you’re missing any of these, now’s a good time to run to the hardware store. I’ll wait here – go ahead, I’m not going anywhere!
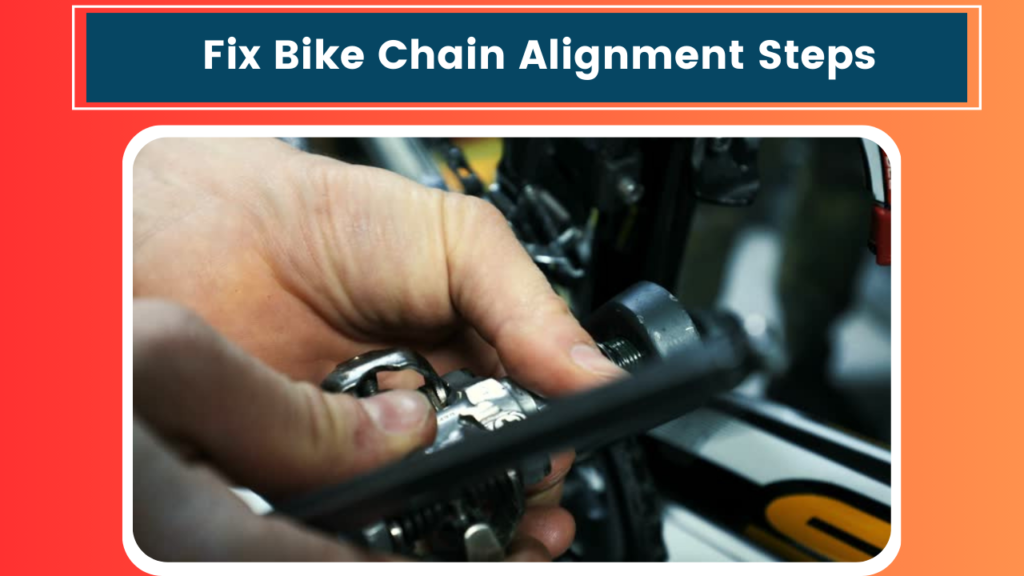
Step 1: Clean Your Drivetrain
Alright, you’re back? Great! Let’s get started. The first step in any drivetrain work is to clean everything thoroughly. Trust me, you don’t want to be adjusting anything when it’s all gunked up with road grime and old lube.
- Prop up your bike on a stand or flip it upside down (I use an old yoga mat to protect the seat and handlebars).
- Apply degreaser to your chain, cassette, and chainrings.
- Use a rag to wipe everything down, getting into all the nooks and crannies.
- Rinse with water if needed, then dry everything off.
I know cleaning isn’t the most exciting part, but it’s essential. Plus, it gives you a chance to inspect your components for any signs of wear or damage.
Step 2: Check for Obvious Issues
Now that everything’s clean, let’s look for any glaring problems:
- Bent derailleur hanger: This is a common cause of alignment issues. Look at your rear derailleur from behind – it should be perfectly vertical. If it’s bent, you’ll need to straighten it or replace it.
- Worn chain: Measure your chain with a chainwear tool or ruler. If it’s stretched beyond 0.75%, it’s time for a replacement.
- Damaged chainrings or cassette: Look for bent, broken, or excessively worn teeth.
If you spot any of these issues, address them before moving on to alignment adjustments. I once spent hours trying to fix my shifting, only to realize I had a bent derailleur hanger. Learn from my mistakes!
Step 3: Adjust the Front Derailleur
Let’s start with the front derailleur since it’s usually simpler:
- Shift your chain onto the largest chainring and smallest rear cog.
- Loosen the derailleur’s mounting bolt slightly.
- Adjust the height: The bottom of the outer cage plate should be 1-3mm above the teeth of the largest chainring.
- Align the cage: The outer plate should be parallel to the chainring. Use your straight edge to check this.
- Tighten the mounting bolt.
Now, let’s fine-tune the limit screws:
- Adjust the low-limit screw so the chain just clears the inner plate when on the smallest chainring and largest rear cog.
- Adjust the high-limit screw so the chain just clears the outer plate when on the largest chainring and smallest rear cog.
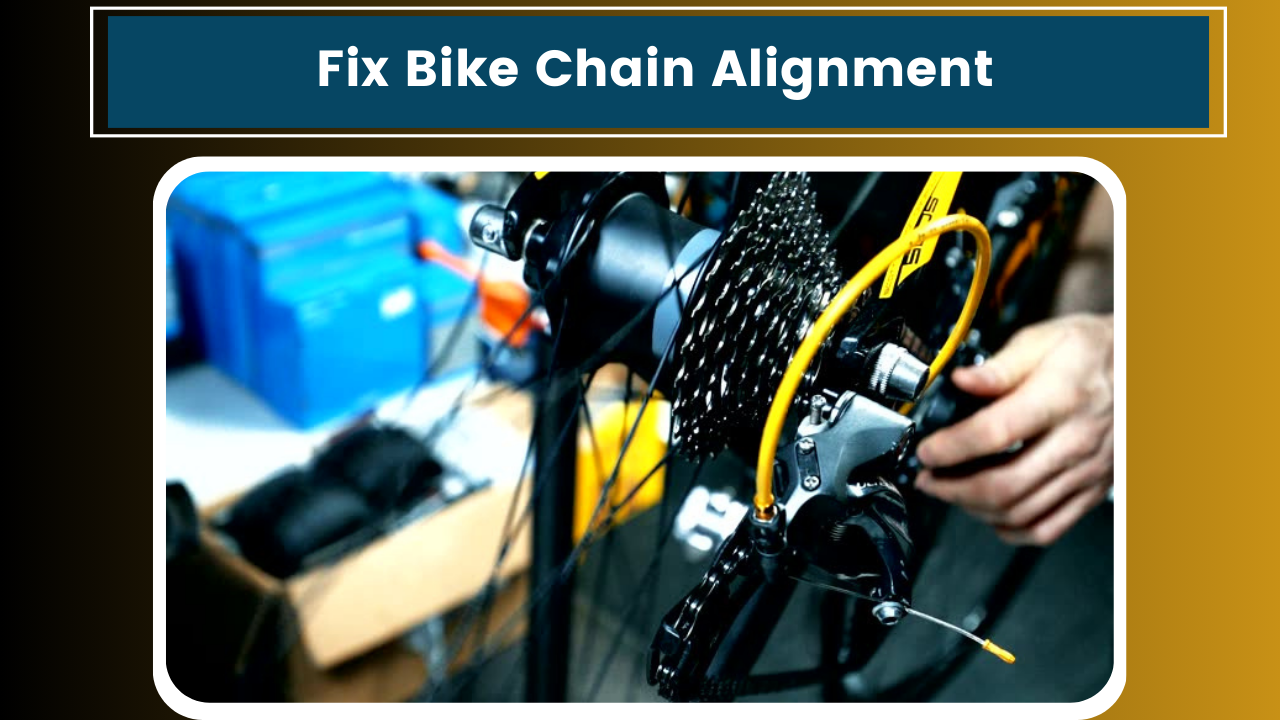
Step 4: Adjust the Rear Derailleur
Moving on to the rear derailleur:
- Shift to the smallest rear cog.
- Check the upper pulley wheel alignment with the smallest cog. It should be directly beneath it.
- If it’s not aligned, adjust the B-screw until it lines up.
Next, let’s set the limit screws:
- Adjust the high-limit screw so the upper pulley aligns perfectly with the outer edge of the smallest cog.
- Shift to the largest cog and adjust the low-limit screw so the upper pulley aligns with the largest cog’s inner edge.
Now for the tricky part – cable tension:
- Shift to the middle of the cassette.
- Turn the barrel adjuster on the derailleur or shifter to fine-tune the alignment. You want the chain to move smoothly up and down the cassette without hesitation.
Step 5: Check Chain Length
Proper chain length is crucial for good alignment:
- Shift to the largest chainring and largest rear cog (but don’t pedal in this combination).
- The rear derailleur should be extended but not fully stretched.
- If the chain is too long, you’ll need to remove links using your chain tool.
I remember the first time I shortened a chain – I was so nervous! But trust me, it’s not as daunting as it seems. Just take your time and double-check your work.
Step 6: Fine-Tuning
Now that we’ve made all the major adjustments, it’s time for some fine-tuning:
- Shift through all gear combinations, paying attention to how smoothly the chain moves.
- Listen for any unusual noises or hesitation in shifting.
- Make small adjustments to the barrel adjusters as needed.
This part requires some patience. I usually go for a short ride around the block, making minor tweaks until everything feels just right.
Step 7: Lubricate and Test
We’re almost done! The final steps are:
- Apply a good quality bike lubricant to your chain. Don’t overdo it – a light coating is all you need.
- Wipe off any excess lube with a clean rag.
- Take your bike for a proper test ride, going through all the gears under various conditions (climbing, sprinting, etc.).
Troubleshooting Common Issues
Even after all this work, you might still encounter some problems. Here are a few common issues and how to address them:
- Chain skipping: This could be due to a worn cassette or chainring. If your chain is new but the other components are old, they might not mesh well.
- Persistent noise: Double-check your limit screws and B-screw adjustment. Sometimes, a fraction of a turn can make all the difference.
- Poor shifting under load: This often indicates that your cable tension needs fine-tuning. Adjust the barrel adjuster in small increments.
- Chain drops: If your chain is falling off the chainrings, your front derailleur might need readjustment, or your chainrings could be worn.
Wrapping Up
Phew! That was quite a journey, wasn’t it? I hope this guide has helped sort out your chain alignment issues. Remember, bike maintenance is as much an art as it is a science. It takes practice and patience to get everything dialed in just right.
As I finish writing this, I realize it’s getting late, and I promised my partner I’d help with dinner tonight. But before I go, I want to emphasize that regular maintenance is key to keeping your bike running smoothly. A little time spent adjusting and cleaning can save you from bigger headaches down the road.
If you run into any issues or have questions, don’t hesitate to reach out to your local bike shop or join online cycling forums. The cycling community is generally super helpful and always ready to offer advice.
Now, if you’ll excuse me, I need to wash this bike grease off my hands before I start chopping vegetables for dinner. Happy riding, and may your chains always run true!


