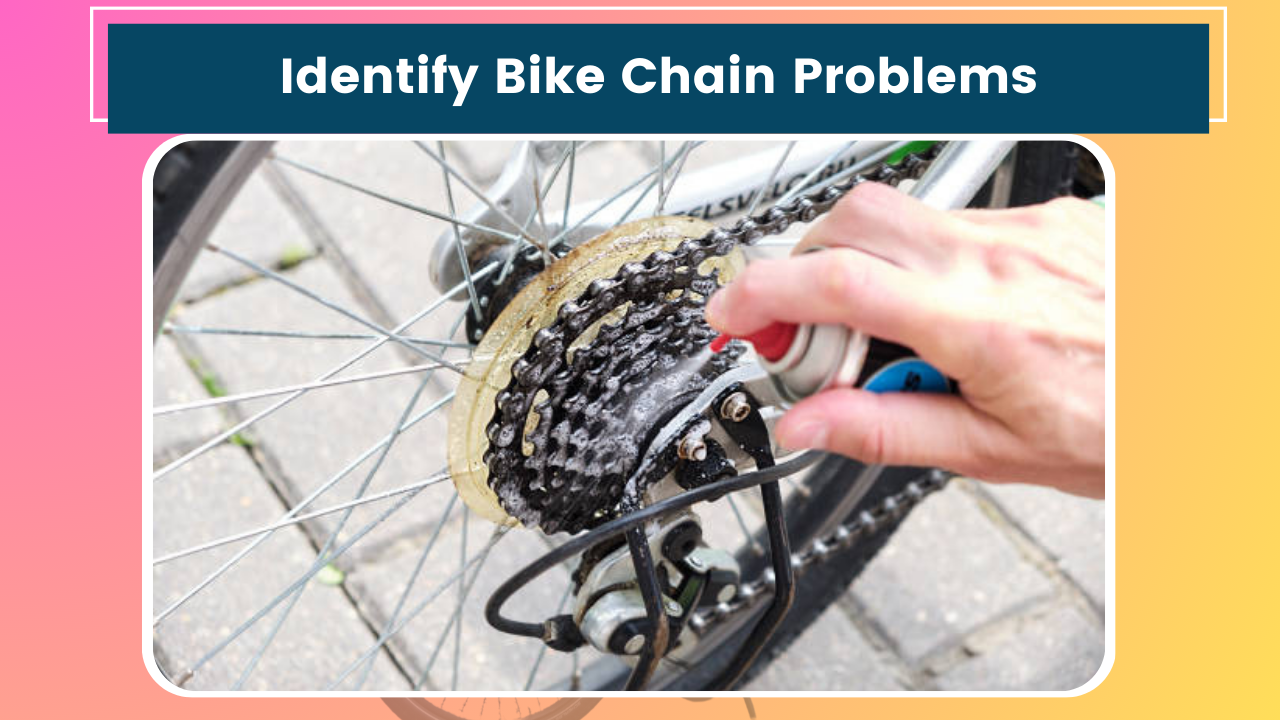
Hey there, fellow cyclists! It’s been a while since I’ve written about bike maintenance, but after dealing with some annoying chain problems on my latest ride, I figured it was time to share what I’ve learned. We’ve all been there – you’re cruising along, enjoying the breeze, when suddenly your chain starts making weird noises or, worse, drops off entirely. Talk about a mood killer, right?
So, please grab a cup of coffee (or your beverage of choice), and let’s dive into the world of bike chain troubleshooting. Trust me, a little knowledge can go a long way in keeping your rides smooth and stress-free.
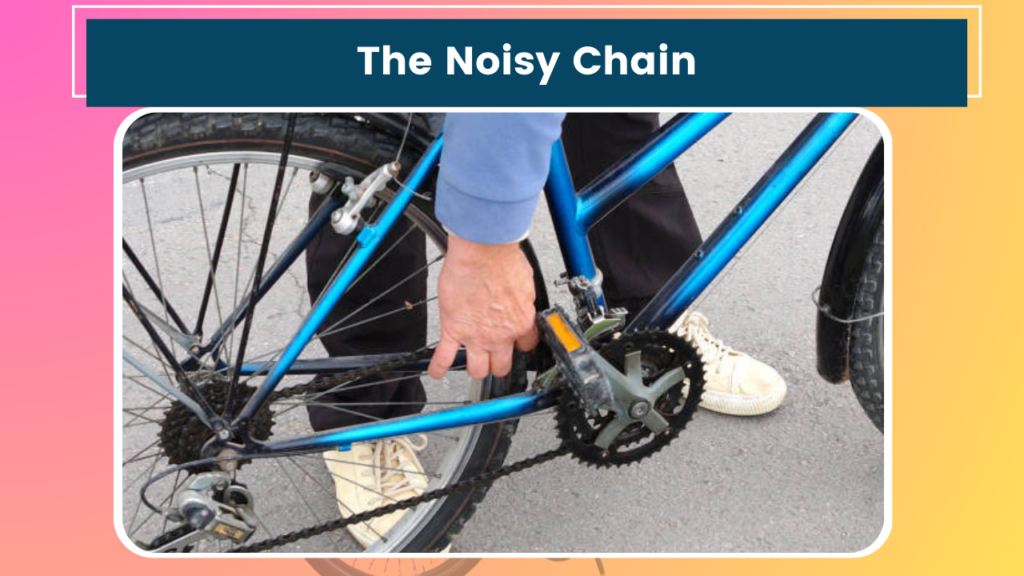
The Noisy Chain
Alright, picture this: You’re out on a peaceful morning ride, birds chirping, the sun rising, and then… squeak, squeak, squeak. Ugh. A noisy chain can drive you nuts, not to mention it’s usually a sign that something’s not quite right.
Common causes:
- Lack of lubrication
- Dirt and grime buildup
- Stiff chain links
How to identify: Listen for consistent squeaking or creaking noises as you pedal. If the sound persists even when you’re not shifting gears, it’s likely a chain issue.
Quick fix: First things first, give that chain a good cleaning. I like to use an old toothbrush and some degreaser. Once it’s clean and dry, apply a quality bike chain lubricant. Be sure to wipe off any excess – you don’t want to attract more dirt!
If the noise persists, check for stiff links by slowly pedaling backward and watching for links that don’t bend smoothly. A little gentle manipulation can often loosen them up.
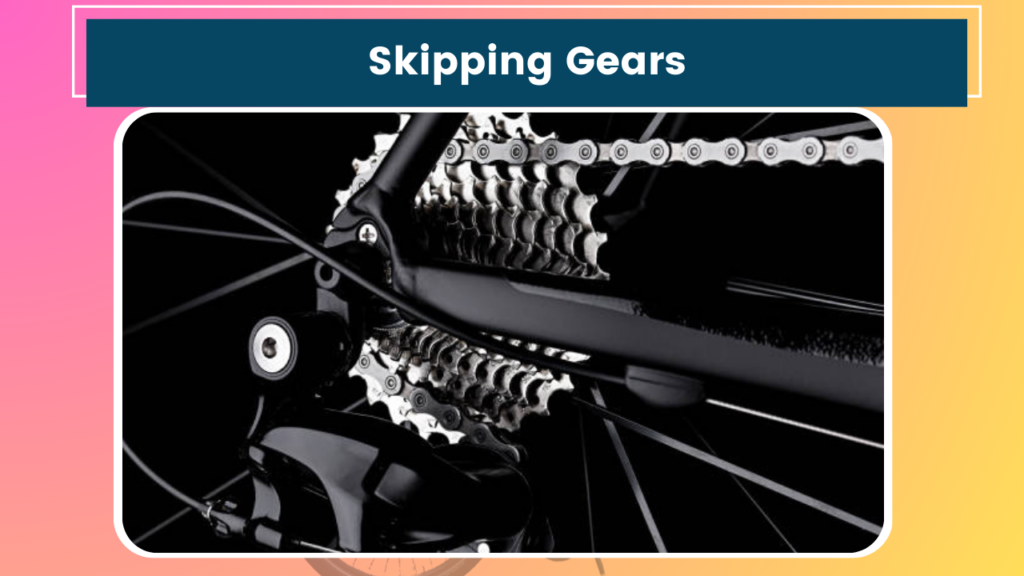
Skipping Gears
Ever feel like your bike has a mind of its own when it comes to shifting? You’re pedaling along, and suddenly – bam! – you’re in a completely different gear. Not fun, especially when you’re tackling a hill.
Common causes:
- Worn chain
- Stretched chain
- Misaligned derailleur
How to identify: Pay attention to when the skipping occurs. Does it happen under heavy pedaling? When shifting to specific gears? This can help narrow down the cause.
Quick fix: First, check your chain for wear. There are special tools for this, but in a pinch, you can use a ruler. Measure 12 complete links (24 pins) – if they stretch beyond 12 1/8 inches, it’s time for a new chain.
If the chain looks good, take a look at your rear derailleur. Is it aligned properly with the gears? Sometimes a simple adjustment of the limit screws can work wonders.
Chain Drops
Ah, the dreaded chain drop. There you are, shifting gears like a pro, when suddenly your chain decides to abandon ship. Now you’re left with greasy hands and a bruised ego.
Common causes:
- Incorrect chain length
- Bent derailleur hanger
- Worn chainring or cassette
How to identify: Chain drops usually occur when shifting between the front chainrings or when hitting bumps in the road. Pay attention to when and where it happens.
Quick fix: Start by checking your chain length. In the largest gear combination, your derailleur should be able to take up the slack without being fully extended.
Next, examine your derailleur hanger. It should be perfectly aligned with the wheel. If it’s bent, most bike shops can straighten it for you.
Lastly, inspect your chainrings and cassette for worn or bent teeth. If they look like shark fins instead of symmetrical teeth, it might be time for a replacement.

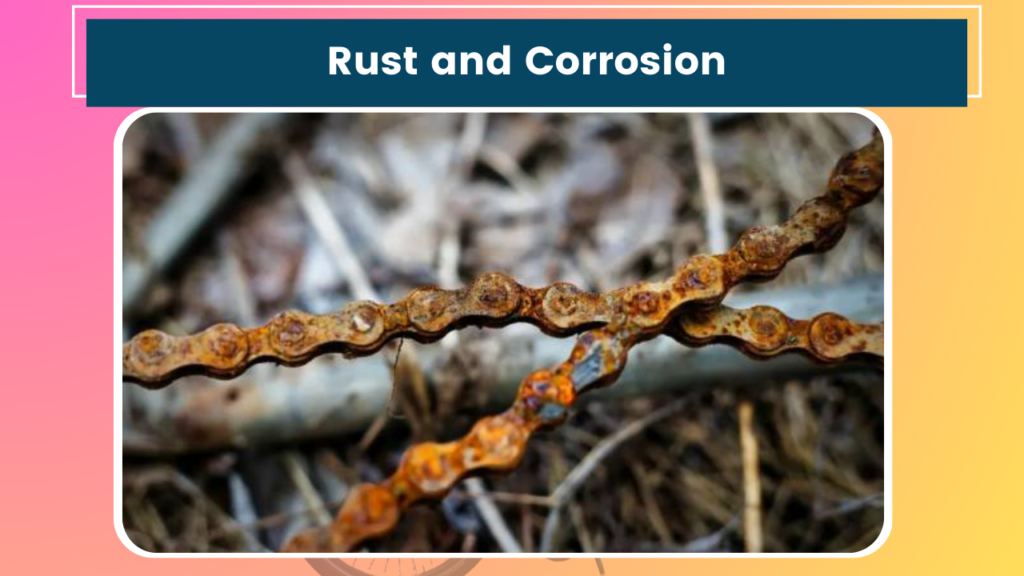
Rust and Corrosion
I learned this one the hard way after leaving my bike out in the rain (oops). A rusty chain not only looks bad but can seriously impact your ride quality and potentially damage other components.
Common causes:
- Exposure to moisture
- Lack of maintenance
- Poor quality chain
How to identify: Look for reddish-brown spots on the chain links. In severe cases, you might notice flaking or pitting.
Quick fix: For light rust, you can often remove it with a wire brush and some elbow grease. Apply a penetrating oil to loosen the rust, then scrub away. Once clean, make sure to thoroughly lubricate the chain.
If the rust is severe or you notice any pitting, it’s safer to replace the chain entirely. Better safe than sorry, right?
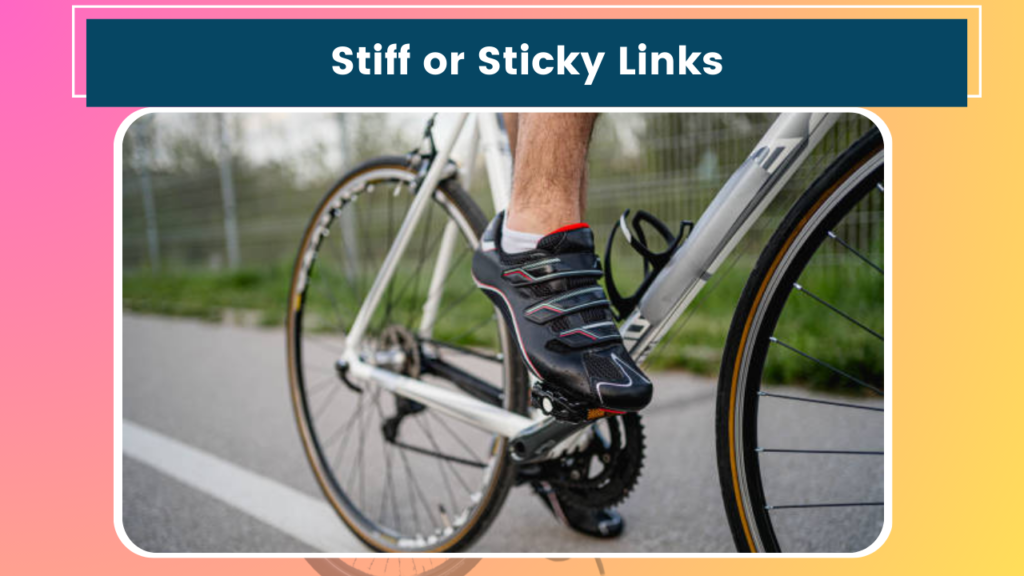
Stiff or Sticky Links
Ever feel like your pedaling is a bit… choppy? Like the chain catching on to something? You might be dealing with stiff links.
Common causes:
- Dirt or debris in the chain
- Lack of lubrication
- Bent chain plates
How to identify: Lift the rear wheel and slowly pedal backward. Watch for links that don’t bend smoothly or seem to “stick” as they pass through the derailleur.
Quick fix: First, give your chain a thorough cleaning. Sometimes that’s all it takes to free up those sticky links.
If cleaning doesn’t do the trick, try gently flexing the stiff links side to side. Be careful not to bend them too far – we’re aiming for smooth movement, not modern art!
For really stubborn links, you might need to remove the chain and soak it in penetrating oil overnight. Just remember to clean and re-lubricate it before putting it back on.
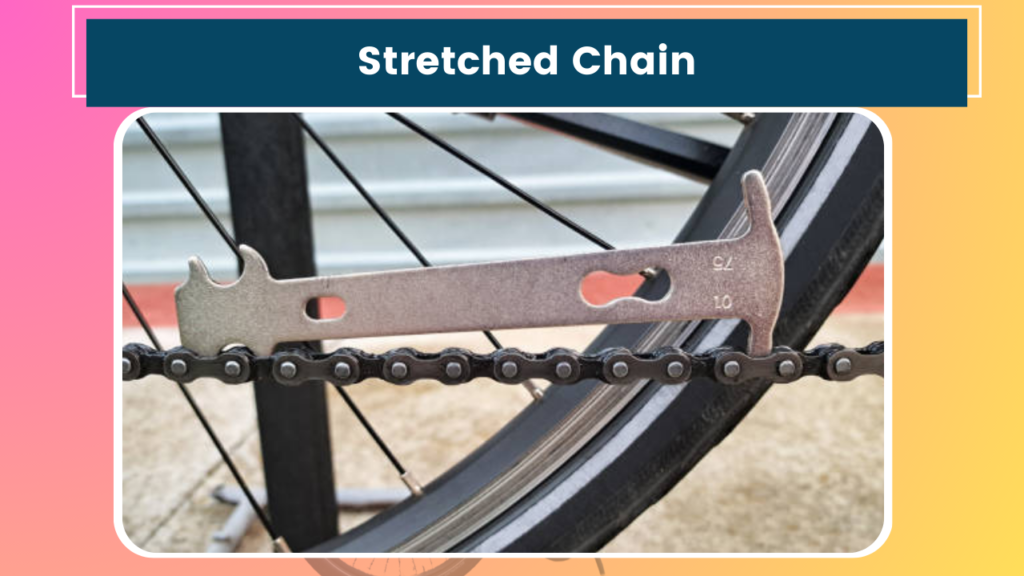
Stretched Chain
Okay, I know what you’re thinking – “How can a metal chain stretch?” But trust me, it happens, and it’s a common issue that can lead to poor shifting and increased wear on your gears.
Common causes:
- Normal wear and tear
- Poor maintenance
- Low-quality chain
How to identify: As I mentioned earlier, you can use a ruler to measure 12 complete links. If they measure more than 12 1/8 inches, your chain is stretched.
There are also special tools called chain wear indicators that make this process even easier. They’re pretty affordable and a worthwhile addition to any home bike toolkit.
Quick fix: Unfortunately, there’s no real “fix” for a stretched chain other than replacement. The good news? Changing a bike chain is a relatively simple and inexpensive repair that can significantly improve your ride quality.
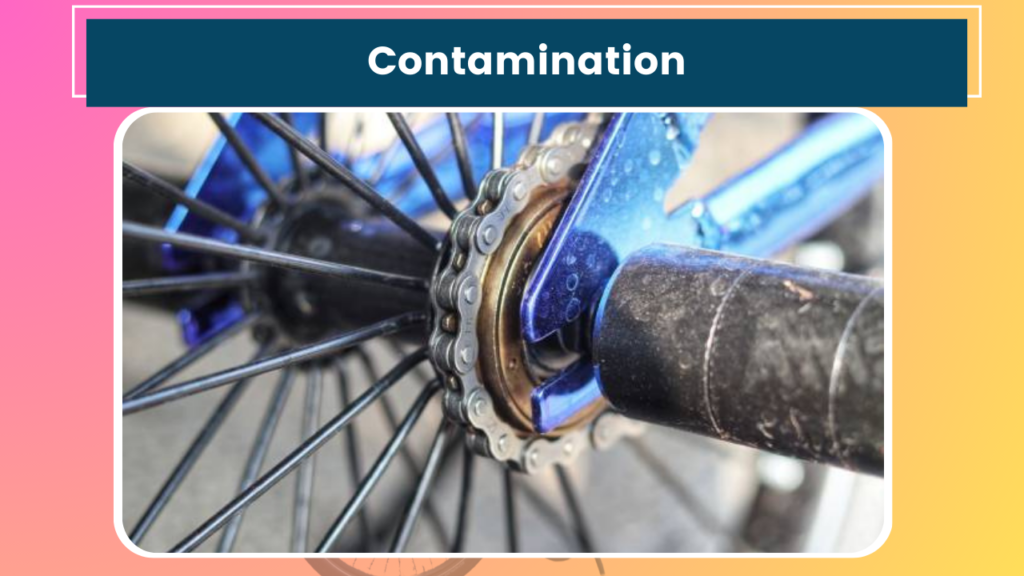
Contamination
Last but not least, let’s talk about the silent killer of bike chains – contamination. Whether it’s mud from that epic trail ride or road grime from your daily commute, a dirty chain is an unhappy chain.
Common causes:
- Riding in dirty or wet conditions
- Improper lubrication
- Neglecting regular cleaning
How to identify: Take a close look at your chain. Does it look black and gunky? Can you see dirt particles between the links? If so, you’ve got contamination.
Quick fix: Time for a deep clean! Remove the chain (if you’re comfortable doing so) and soak it in a degreaser. Use an old toothbrush or a specialized chain cleaning tool to scrub between the links.
Once clean, make sure the chain is completely dry before applying a fresh coat of lubricant. And remember, a little lube goes a long way – excess will just attract more dirt.
Wrapping It Up
Whew! That was quite a journey through the world of bike chain problems, wasn’t it? I hope you’ve found this guide helpful. Remember, a little regular maintenance can prevent most of these issues and keep your rides smooth and enjoyable.
You know, writing this article has reminded me that my bike is due for a check-up. I think I’ll head out to the garage and give it some TLC before dinner. There’s nothing quite like the satisfaction of a well-maintained bike, ready for your next adventure.
Speaking of which, I’d love to hear about your experiences with bike chain issues. Have you encountered any of these problems? Maybe you have some tips or tricks to share? Drop a comment below and let’s keep the conversation rolling!
Until next time, happy riding, and may your chains always be clean, lubed, and problem-free!


