Hey there, fellow cyclists! It’s been a while since I’ve written about bike maintenance, but after a recent ride where my chain was giving me grief, I figured it was time to share some wisdom. You know how it goes – you’re cruising along, enjoying the breeze, when suddenly your pedaling feels off. That’s usually a sign your chain needs some TLC.
I remember when I first started cycling seriously. I’d neglect my chain until it was practically begging for mercy. These days, I know better. A well-maintained chain is crucial for a smooth, efficient ride. So, grab a coffee (or your beverage of choice), and let’s dive into the world of bike chain performance.
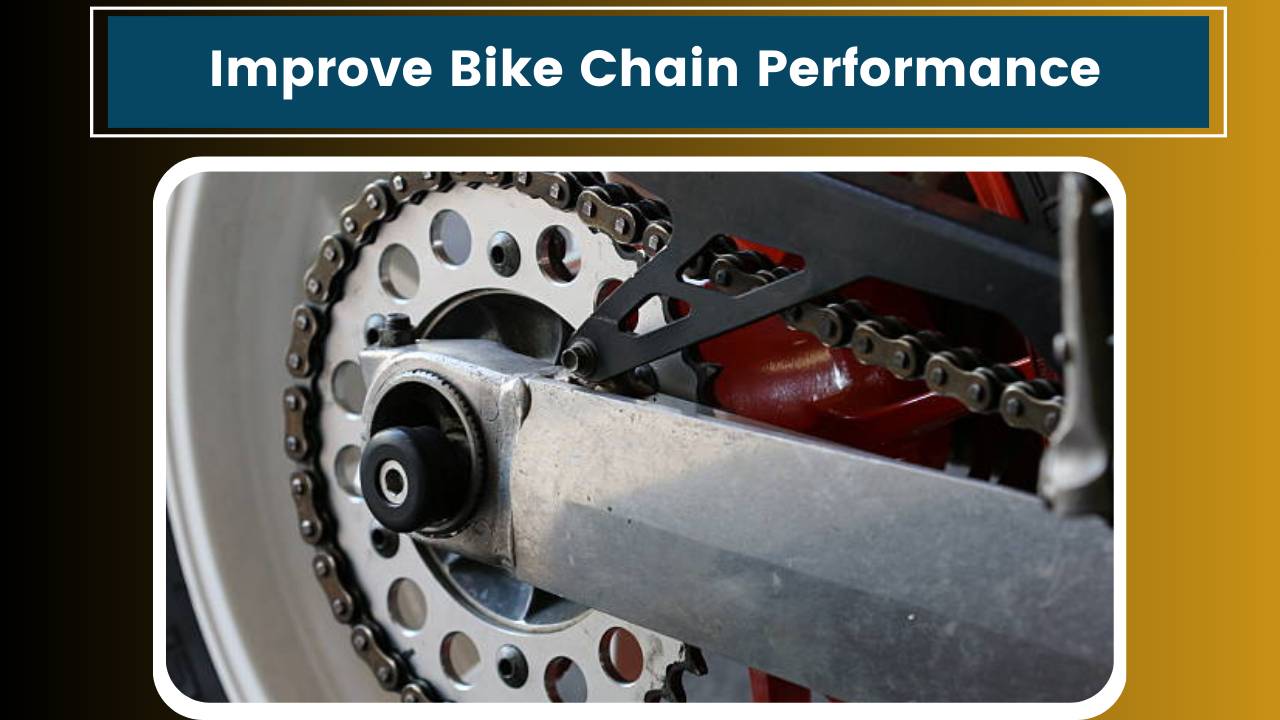
Why Chain Performance Matters
Before we get into the nitty-gritty, let’s talk about why chain performance is so important. Your bike chain is the unsung hero of your ride. It transfers the power from your legs to the rear wheel, propelling you forward. When it’s not working properly, you’re essentially wasting energy with every pedal stroke.
A poorly maintained chain can also wear out your cassette and chainrings faster. Trust me, replacing those parts is way more expensive than taking care of your chain. Plus, a neglected chain is more likely to break while you’re riding. Take it from someone who’s had to walk their bike home in cycling shoes – that’s not a fun experience!
Now, let’s get into the good stuff. Here are my top tips for improving your bike chain performance:
-
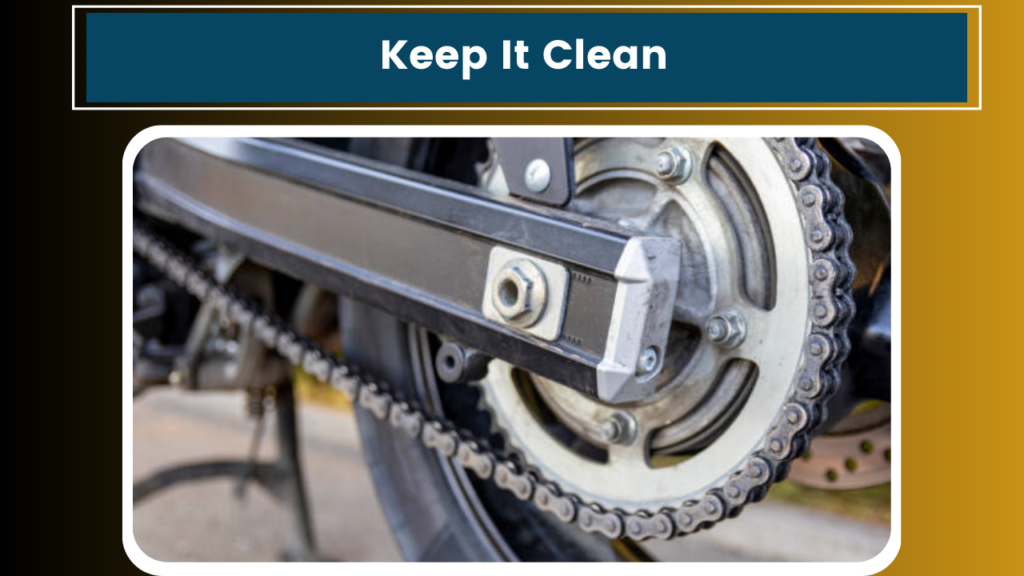
Keep It Clean
I can’t stress this enough – a clean chain is a happy chain. Dirt, grime, and old lubricant build up over time, creating friction and wearing down your chain faster. I try to clean my chain after every few rides, especially if I’ve been on muddy or dusty trails.
To clean your chain:
- Use a degreaser and an old toothbrush or a dedicated chain cleaning tool.
- Scrub the chain thoroughly, getting into all the nooks and crannies.
- Rinse with water and dry completely.
- If you’re using a chain cleaning tool, follow the manufacturer’s instructions.
Pro tip: I like to do this outside or in the garage. The first time I cleaned my chain indoors, let’s just say my significant other wasn’t thrilled with the greasy mess!
-
Lubricate Regularly
Once your chain is clean and dry, it’s time to lubricate. A well-lubricated chain reduces friction, improves shifting, and prolongs the life of your drivetrain components. Here’s how I do it:
- Choose the right lubricant for your riding conditions. Dry lubes work well in clean, dry environments, while wet lubes are better for rainy or muddy conditions.
- Apply a small amount of lube to each chain link, focusing on the rollers.
- Wipe off excess lube with a clean, dry cloth. Too much lube attracts dirt!
I usually lubricate my chain every 100-150 miles, or after riding in wet conditions. It’s a quick process that makes a big difference.
-
Check for Wear
Even with regular cleaning and lubrication, chains wear out over time. A worn chain can damage other drivetrain components, so it’s important to check for wear periodically. I use a chain wear indicator tool, which is inexpensive and easy to use. If you don’t have one, you can measure 12 complete links with a ruler. If they measure 12 1/8 inches or more, it’s time for a new chain.
I learned this lesson the hard way. I once ignored a worn chain for too long and ended up having to replace not just the chain, but also the cassette and chainrings. That was an expensive mistake I won’t be repeating!
-
Proper Tension
Correct chain tension is crucial for optimal performance. On derailleur bikes, the rear derailleur usually takes care of this. However, if you have a single-speed or internally geared hub, you’ll need to adjust the tension manually.
The chain should have a small amount of slack – about 1/2 inch of vertical movement in the middle of the chain’s bottom run. Too tight, and you’ll put extra stress on your components. Too loose, and you risk the chain falling off.
-
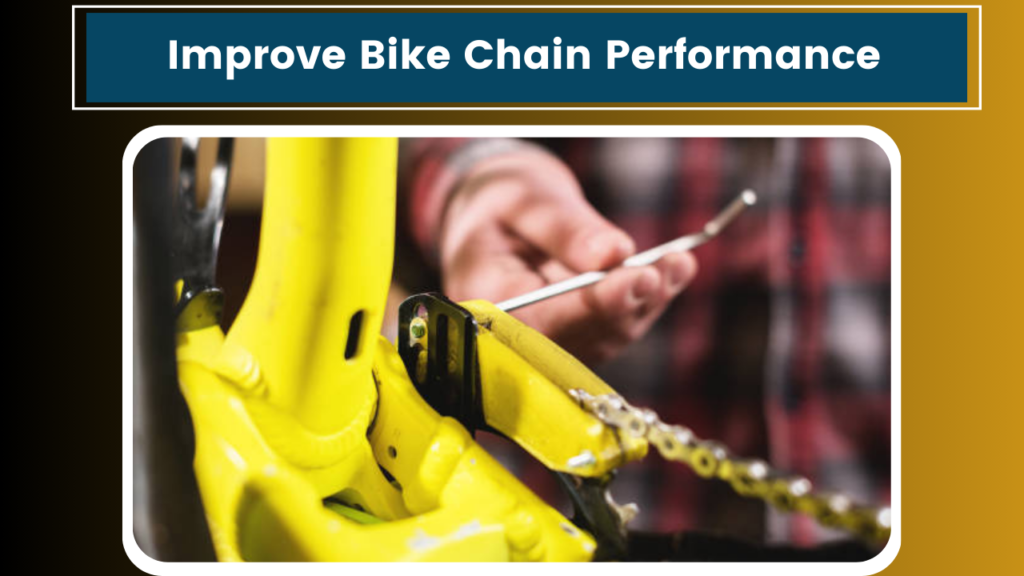
Align Your Drivetrain
Misalignment in your drivetrain can cause poor shifting and accelerated wear. Check that your rear derailleur hanger is straight (you might need a special tool for this) and that your front derailleur is properly aligned with your chainrings.
I once had persistent shifting issues that drove me crazy. Turns out, my derailleur hanger was slightly bent. A quick adjustment made a world of difference!
-
Use the Right Chain
Not all chains are created equal. Make sure you’re using a chain that’s compatible with your drivetrain. The number of speeds on your cassette determines the width of the chain you need. Using the wrong chain can result in poor shifting and accelerated wear.
-
Avoid Cross-Chaining
Cross-chaining occurs when you use the big chainring in front with the largest cog in the back of the small chainring with the smallest cog. This puts extra stress on your chain and can cause accelerated wear. Try to avoid these extreme gear combinations when possible.
-
Protect Your Chain
If you’re transporting your bike on a car rack or storing it for extended periods, consider using a chain cover. This protects your chain from the elements and prevents it from swinging around and potentially damaging your bike or car.
-
Replace When Necessary
Even with the best maintenance, chains eventually wear out. Most chains last between 2,000 to 3,000 miles, depending on riding conditions and maintenance. Don’t try to squeeze too much life out of a worn chain – replacing it promptly will save your other drivetrain components.
-
Consider Upgrading
If you’re still using the stock chain that came with your bike, consider upgrading to a higher-quality chain. While more expensive, these chains often last longer and perform better. I switched to a high-end chain a few years ago and noticed an immediate improvement in shifting smoothness.
-
Mind Your Shifting
Smooth-shifting helps prolong chain life. Try to ease up on your pedaling pressure when shifting, especially when going to a larger cog or chainring. This reduces stress on the chain and helps prevent wear.
-
Regular Inspections
Make it a habit to visually inspect your chain before each ride. Look for any stiff links, excessive dirt, or signs of rust. Catching issues early can prevent bigger problems down the road.
-
Consider Your Riding Conditions
Your riding environment plays a big role in chain wear. If you frequently ride in wet, muddy, or sandy conditions, you’ll need to clean and lubricate your chain more often. After particularly grimy rides, I always give my chain a quick clean, even if it’s just with a rag.
-
Use Chain Catchers
For mountain bikers or those who ride rough terrain, a chain catcher can be a worthwhile addition. It prevents the chain from falling off the inner chainring, which can damage both the chain and the frame.
-
Proper Storage
How you store your bike can affect chain performance. If possible, store your bike in a dry place. If you must keep it outside, consider using a bike cover to protect it from the elements.
Wrapping Up
Phew! That’s a lot of information, but trust me, it’s worth paying attention to your chain. A well-maintained chain not only improves your riding experience but also saves you money in the long run.
Remember, these are guidelines based on my experience and what I’ve learned over the years. Every bike and rider is different, so you might need to adjust your maintenance routine based on your specific needs.
I’m heading out for a ride now – all this talk about chains has me itching to hit the road. Maybe I’ll see you out there! Until next time, keep those chains clean, lubed, and running smoothly. Happy cycling!


