Alright, so you’ve got yourself a shiny new bike bell, and now you’re wondering how to install it. Maybe you’re thinking, “How hard can it be?” Well, you’re right—it’s not rocket science, but there are a few tricks and tips that can make the process smoother and ensure your bell is in the perfect spot for those friendly (or sometimes urgent) “ding-ding” moments.
I remember the first time I installed a bike bell. I was so eager to get it on and start riding that I rushed through it, only to realize halfway through my ride that I’d placed it in a super awkward spot. Lesson learned! So, let me guide you through this with a bit more care, and hopefully, you’ll avoid the mistakes I made.
Why Install a Bike Bell?
Before we dive into the how, let’s chat about the why. Installing a bike bell isn’t just about following the law (though in some places, it’s required). It’s about safety, communication, and just being a courteous rider. Whether you’re on a busy city street, a crowded bike path, or even a peaceful trail, a bike bell lets others know you’re coming. It’s a polite way to say, “Hey, I’m here!” without startling pedestrians or other cyclists.
What You’ll Need
Okay, I’m going to dinner soon, so let’s quickly go over what you need. Don’t worry, it’s a short list:
- Your New Bike Bell: Obviously! Make sure it’s compatible with your handlebars.
- A Screwdriver or Allen Wrench: Depending on your bell’s mounting system.
- A Clean Cloth: Wipe down the handlebars before installation.
- Patience: Trust me, a little bit of patience goes a long way in getting the placement just right.
Alright, got everything? Let’s get started!
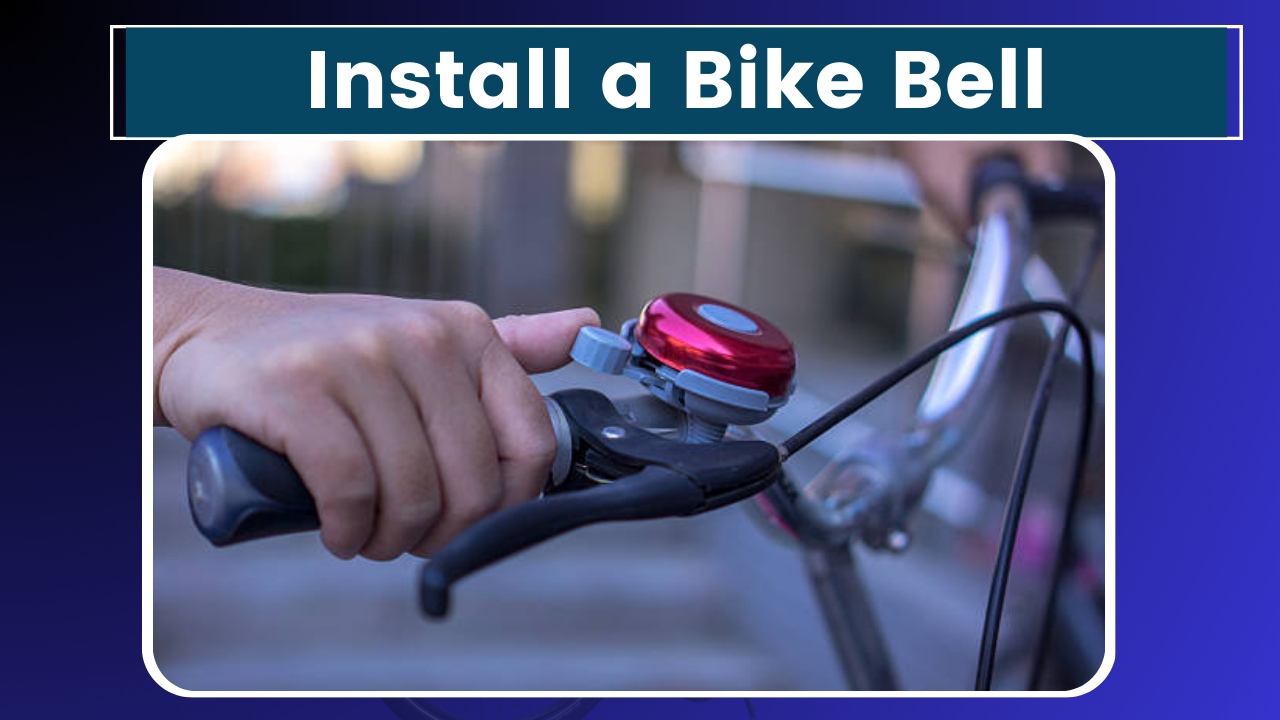
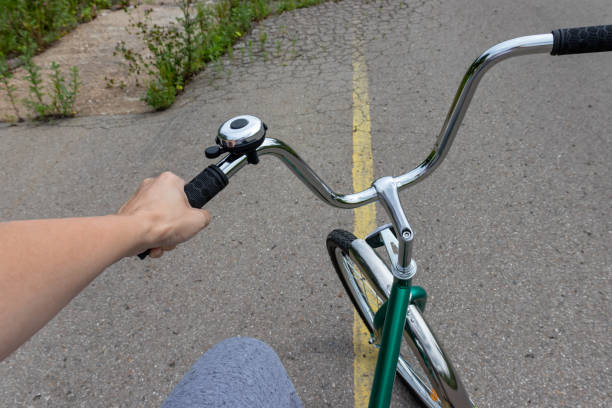
Step 1: Choose the Right Spot on Your Handlebars
When I come back to this step, I always remind myself to think about convenience. You want your bell within easy reach, so you can quickly ring it without taking your hand off the handlebars. Most people prefer to mount their bell on the left side, near the brake lever. This way, you can still control the bike with your dominant hand while ringing the bell.
However, if you’re left-handed or have a specific setup that works better for you, feel free to adjust. The key is to place it where it feels natural for you to reach and ring it without stretching or fumbling.
Step 2: Clean the Handlebars
Before you slap that bell on, take a moment to clean the area where you’ll be mounting it. I’ve skipped this step before, thinking it wasn’t necessary, and ended up with a bell that kept slipping because of the dirt and grime. A quick wipe with a clean cloth will ensure a better grip and a more secure fit.
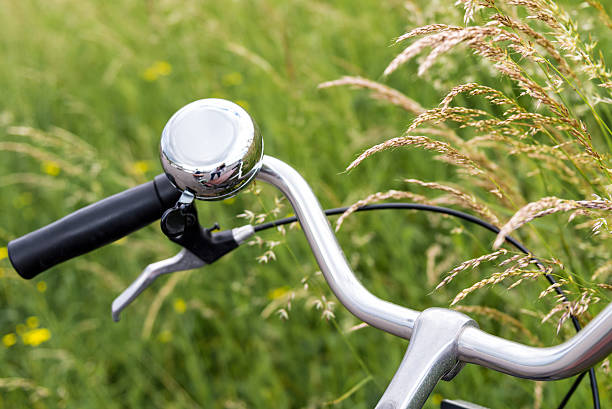
Step 3: Attach the Bell to the Handlebars
Now comes the fun part—attaching the bell. Depending on the model, you’ll either have a clamp that screws onto the handlebars or a more straightforward rubber strap that wraps around.
- For a Clamp-On Bell:
- Open the clamp and place it around the handlebars in the spot you’ve chosen.
- Line up the bell so that the ringer is easy to reach with your thumb.
- Tighten the screw or bolt with a screwdriver or Allen wrench, but don’t overtighten just yet. You’ll want to make sure it’s in the perfect position before you fully secure it.
- For a Strap-On Bell:
- Wrap the strap around the handlebars.
- Pull it tight and secure it in place.
- Make sure the bell is aligned correctly and the strap is snug. These bells are usually easier to adjust on the fly, but it’s still good to get them right from the start.
Take a moment to give the bell a few rings and see how it feels. If you need to adjust its position slightly, now’s the time to do it. Trust me, it’s better to tweak it now than to realize it’s off-kilter mid-ride.
Step 4: Tighten Everything Up
Once you’re happy with the bell’s placement, go ahead and tighten the clamp or strap fully. I usually do this in stages—tighten, test, tighten some more—just to make sure everything is secure but not over-tightened. You don’t want to strip the screw or crack the bell’s mount by cranking it too hard.
Now, give it a final test. Does it feel solid? Does it ring clearly? If the answer is yes, you’re good to go!
Step 5: Test It Out on the Road
Now that your bell is installed and secure, it’s time to take it for a test ride. I usually take a quick spin around the block, focusing on how easily I can reach the bell and how well it rings in different scenarios.
Try ringing it while riding at different speeds, and see how it feels. The goal is to make sure it’s intuitive to use and that you can easily ring it without losing control of the bike.
Step 6: Make Any Final Adjustments
If, during your test ride, you find that the bell’s position isn’t quite right, don’t worry. Just come back, loosen the clamp or strap, and adjust as needed. It’s all about finding that sweet spot where it’s both functional and comfortable.
Sometimes, I find that just a slight shift to the left or right can make all the difference. And if you’re someone who rides with gloves, make sure to test the bell with them on as well.
Additional Tips for Installing a Bike Bell
Alright, before I head off to dinner, let me leave you with a few extra tips that can help make the installation process even smoother:
- Consider the Handlebar Space: If you’ve got a lot of accessories on your handlebars (lights, GPS, etc.), make sure there’s enough space for the bell. You don’t want things to feel cluttered or for the bell to be hard to reach.
- Think About Your Riding Style: If you’re more of an aggressive rider, you might want to place the bell slightly further away from the grips to avoid accidental ringing when you’re gripping the bars. On the other hand, if you’re a casual rider, closer might be better.
- Experiment with Different Bells: If you find that the bell you bought isn’t quite right for you, don’t hesitate to try a different style. There are plenty of options out there, from loud, assertive bells to more subtle ones.
- Check Local Laws: In some areas, specific types of bells are required by law. Make sure the bell you choose meets any local regulations.
Final Words
And there you have it—how to install a bike bell, step by step. I hope you found this guide helpful and that you’re now ready to hit the road with your new bell. It’s a small addition to your bike, but it can make a big difference in terms of safety and communication.
As I’m wrapping this up and thinking about my dinner plans, I’m also looking forward to my next ride. There’s something satisfying about that crisp “ding” of a freshly installed bell, and I’m sure you’ll feel the same. Happy riding, and don’t forget to give that bell a ring now and then just for the fun of it!


