Hey there, fellow bike enthusiasts! It’s your friendly neighborhood cyclist here, ready to walk you through the process of installing a new bike chain. I know what you’re thinking – “Ugh, bike maintenance.” Trust me, I’ve been there. But after years of tinkering with my trusty two-wheeler, I’ve learned that replacing a chain isn’t as daunting as it seems.
So, grab a cold drink, put on some tunes, and let’s dive into this step-by-step guide. By the time we’re done, you’ll be a chain-installation pro, and your bike will be purring like a kitten. Let’s get started!
What You’ll Need
Before we jump in, let’s make sure you’ve got all the necessary tools and materials:
- New bike chain (make sure it’s the right size and type for your bike)
- Chain tool or chain breaker
- Master link or connecting pin (if your chain doesn’t come with one)
- Pliers
- Clean rag
- Degreaser
- Bike lubricant
Alright, now that we’ve got our supplies, let’s roll up our sleeves and get to work!

Step 1: Remove the Old Chain
First things first, we need to get that old, worn-out chain off your bike. Here’s how:
Shift your bike into the smallest rear cog and the smallest chainring. This will give you the most slack in the chain, making it easier to work with.
Look for the master link on your old chain. It’s usually a different color or shape than the other links. If you can’t find one, don’t sweat it – not all chains have them.
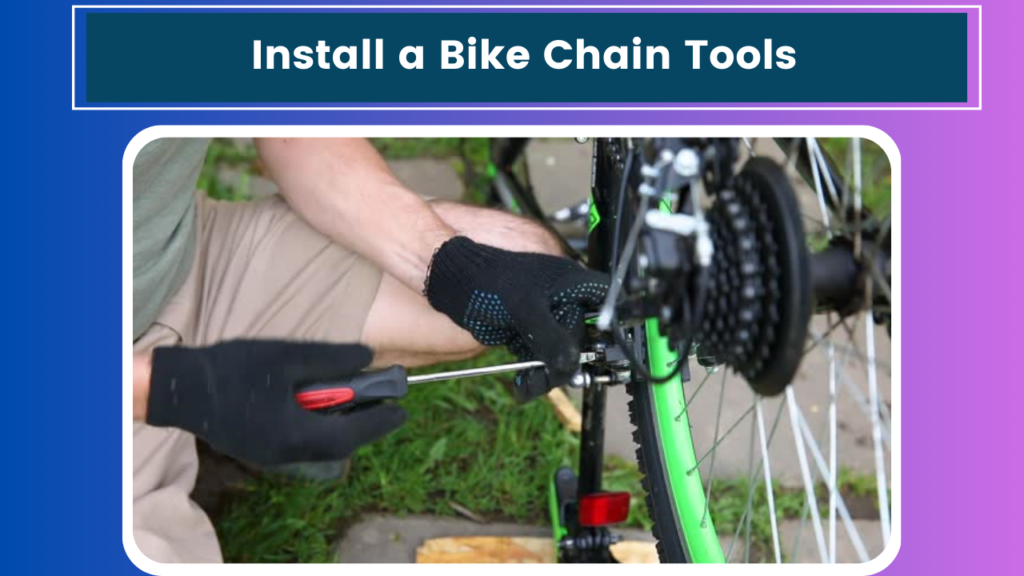
If you’ve got a master link, use your pliers to disconnect it. If not, you’ll need to use your chain tool to push out one of the pins.
Once the chain is broken, carefully remove it from your bike. Watch out for any grease or grime – this can be a messy job!
Pro tip: I like to lay down some old newspapers or a drop cloth under my bike to catch any falling grease. Trust me, your significant other will thank you for not staining the garage floor!
Step 2: Clean and Inspect
Now that the old chain is off, it’s the perfect time to give your drivetrain some TLC. Here’s what to do:
Use your degreaser and a clean rag to wipe down the chainrings, cassette, and derailleur pulleys. Get in there and clean out all that built-up gunk.
While you’re at it, take a good look at your cassette and chainrings. If they’re showing signs of wear (sharp, hooked teeth or uneven wear patterns), you might want to consider replacing them too. A new chain on worn-out gears can lead to poor shifting and premature wear.
I remember the first time I cleaned my drivetrain – I was shocked at how much grime had accumulated! It’s like giving your bike a mini spa day.
Step 3: Measure and Size the New Chain
Alright, now it’s time to prep your shiny new chain. Here’s how to make sure it’s the right length:
If you’re replacing your chain with the same brand and model, you can simply count the links on your old chain and match them with the new one.
If you’re using a different chain or want to double-check the length, thread the new chain through the rear derailleur and around the smallest rear cog and largest chainring (without going through the front derailleur).
Pull the chain tight and add two links where the ends meet. This will give you the correct length with enough slack for proper shifting.
Use your chain tool to remove any excess links. Remember, it’s better to err on the side of slightly too long than too short!
I once made the mistake of cutting my chain too short – talk about a rookie move! I had to go back to the bike shop with my tail between my legs to get a new one. Learn from my mistakes, folks!

Step 4: Install the New Chain
Now for the main event – getting that new chain on your bike. Follow these steps:
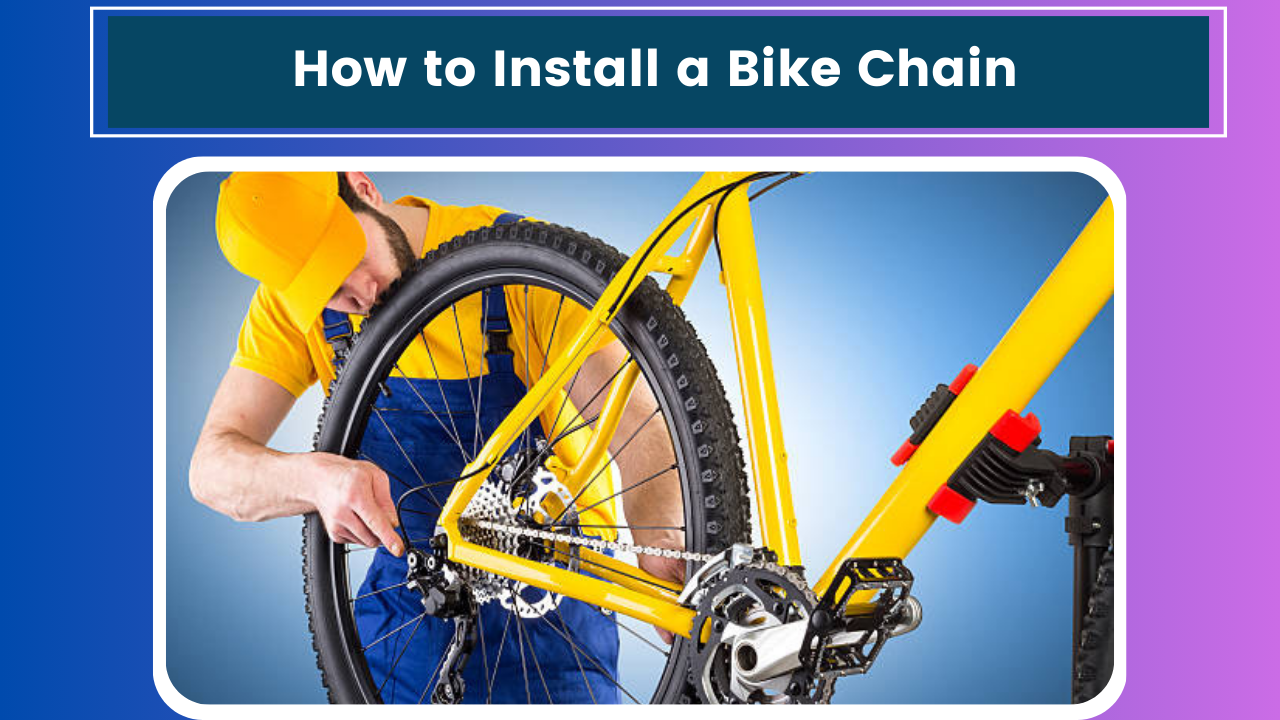
Start by feeding the chain through the rear derailleur pulleys. Make sure it’s properly seated in both the upper and lower pulleys.
Next, thread the chain over your smallest rear cog and largest front chainring.
Continue routing the chain through the front derailleur cage.
Now, bring the two ends of the chain together. If your chain came with a master link, this is where you’ll use it. If not, you’ll need to use a connecting pin.
- For a master link:
- Align the two ends of the chain and insert the master link.
- Use your pliers to snap the link into place. You should hear a satisfying click when it’s properly connected.
- For a connecting pin:
- Use your chain tool to push the pin through the links, connecting the two ends of the chain.
- Be careful not to push the pin all the way through – it should be flush with the outer plate of the chain.
Phew! The hard part is over. Give yourself a pat on the back – you’re almost done!
Step 5: Lubricate and Test
We’re in the home stretch now. Here’s how to finish up:
Apply a drop of bike lubricant to each roller on the chain. Don’t go overboard – a little goes a long way!
Use your rag to wipe off any excess lube. You want the chain to be slick, not dripping.
Slowly turn the pedals by hand, shifting through all the gears to make sure everything is running smoothly.
Take your bike for a short test ride around the block. Pay attention to how it shifts and listen for any unusual noises.
And there you have it! You’ve successfully installed a new bike chain. Pretty satisfying, right?
Tips and Tricks
Before I sign off, let me share a few extra tips I’ve picked up over the years:
When in doubt, seek help: If you’re ever unsure about a repair, don’t hesitate to ask for help at your local bike shop. They’re usually happy to offer advice or lend a hand.
Replace your chain regularly: Don’t wait until it’s completely worn out. A good rule of thumb is to replace your chain every 2,000 to 3,000 miles, depending on your riding conditions.
Keep it clean: Regular cleaning and lubrication will extend the life of your chain and improve your bike’s performance.
Invest in a chain wear indicator: This handy tool can help you determine when it’s time for a replacement.
Practice makes perfect: The more you work on your bike, the more comfortable you’ll become with maintenance tasks like this.
Wrapping Up
Well, folks, that’s all she wrote! I hope this guide has helped demystify the process of installing a bike chain. Remember, bike maintenance might seem intimidating at first, but with a little patience and practice, you’ll be wrenching like a pro in no time.
Now, if you’ll excuse me, I’m off to take my freshly tuned bike for a spin. There’s a beautiful trail calling my name, and after all this hard work, I’ve earned some saddle time. Happy riding, everyone!
Oh, and one last thing – don’t forget to wash your hands before you grab that post-ride snack. Trust me, chain grease doesn’t make for a tasty condiment!
Until next time, keep those wheels spinning and the rubber side down. Catch you on the flip side!


