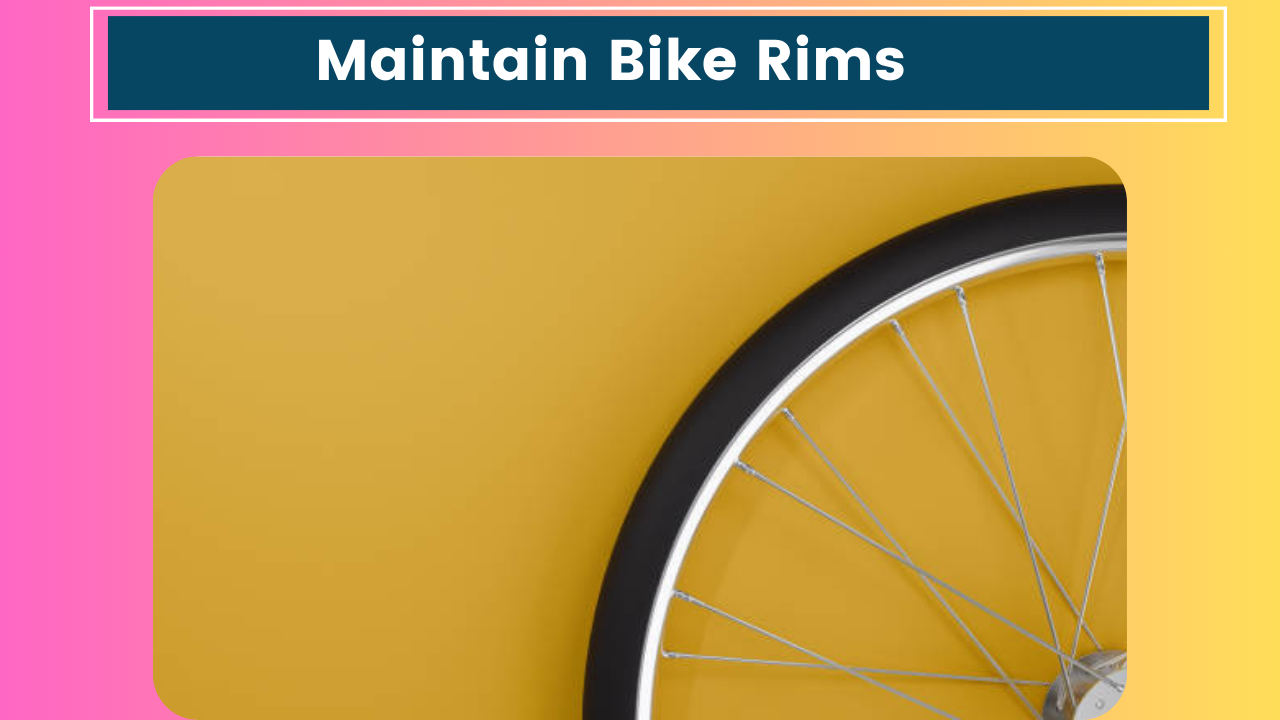
Hey there, fellow cyclists! It’s been a while since I’ve written about bike maintenance, but today I want to dive into a topic close to my heart (and my wheels): how to maintain your bike rims. I’ve been riding for years and learned a thing or two about keeping those circular beauties in top shape. So, please grab a cup of coffee, settle in, and let’s talk about keeping your rims rolling smoothly.
Why Rim Maintenance Matters
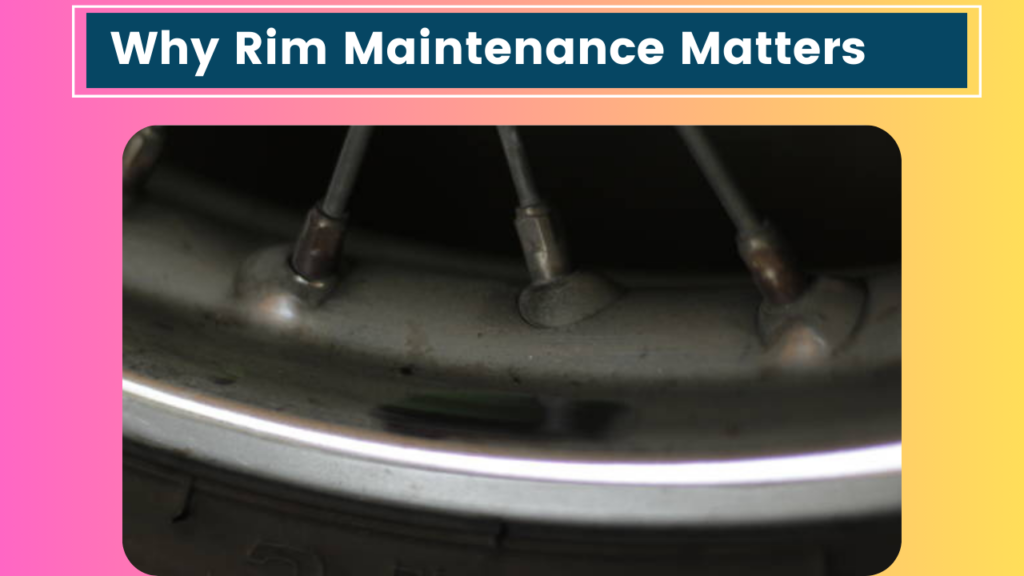
Before we jump into the nitty-gritty, let me tell you why this matters. I remember the day I realized how important rim maintenance was – I was out on a long ride, miles from home when I started hearing this weird scraping sound. Turns out, my rims were so worn that the brake pads were digging into them. Not fun, let me tell you. Since then, I’ve made his care a priority, and it’s saved me from more than a few headaches (and potential accidents).
Proper rim maintenance isn’t just about avoiding that scary moment when you realize something’s wrong mid-ride. It’s about:
- Safety: Well-maintained rims provide better braking performance.
- Longevity: Taking care of your rims means they’ll last longer, saving you money in the long run.
- Performance: Clean, true rims roll faster and more efficiently.
- Comfort: A smooth ride is a happy ride, and well-maintained rims contribute to that.
Now that we’ve covered the why, let’s get into the how. I’m going to break this down into a few main areas: cleaning, inspection, training, and protection. Trust me, it’s not as complicated as it might sound.
Cleaning Your Rims
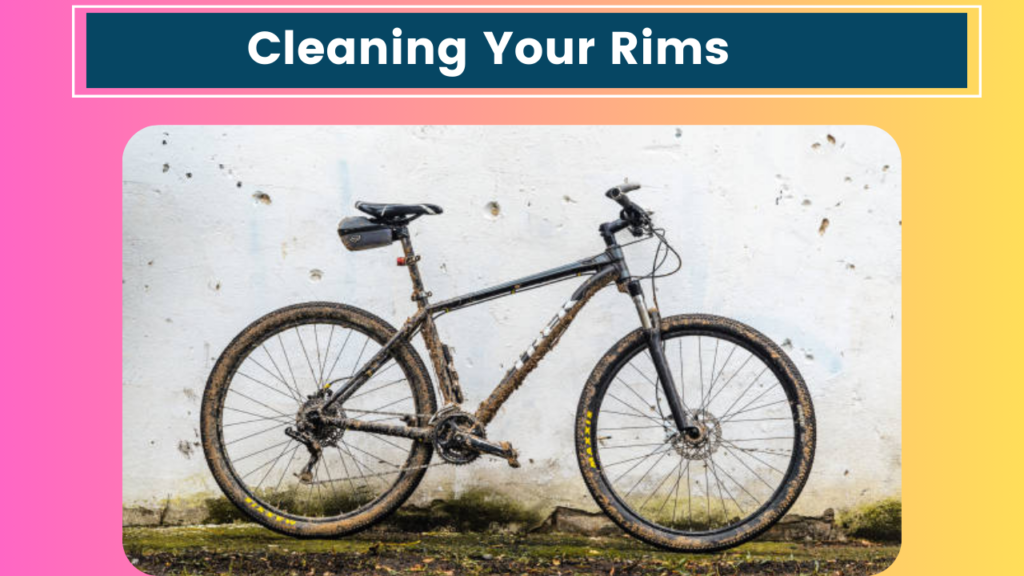
Alright, let’s start with the basics – keeping those rims clean. I know, I know, cleaning isn’t the most exciting part of cycling, but it’s crucial. Here’s my routine:
- Regular rinse: After every ride, especially if it’s been wet or muddy, I give my bike a quick rinse. This prevents dirt and grime from building up on the rims.
- Deeper clean: Once a week (or more if I’ve been riding a lot), I do a more thorough clean. Here’s what I use:
- Bucket of warm water
- Mild dish soap or bike-specific cleaner
- Soft brush or sponge
- Clean rags
- The process:
- I start by wetting the rims with the soapy water.
- Using the brush or sponge, I gently scrub the entire rim surface, paying extra attention to the braking surface.
- For stubborn grime, I let the soap sit for a minute before scrubbing.
- I rinse thoroughly with clean water.
- Finally, I dry the rims with a clean rag to prevent water spots.
Pro tip: Avoid using high-pressure water directly on your rims. It can force water into the bearings, which is not good news.
Inspecting Your Rims
Okay, so your rims are sparkling clean. Great job! Now it’s time to play detective and inspect them for any issues. This is something I do every few weeks, or before a big ride. Here’s what I look for:
- Wear indicators: Many modern rims have wear indicators – little dimples or grooves that disappear as the rim wears down. If these are gone or nearly gone, it’s time for new rims.
- Cracks or dents: I run my fingers along the rim, feeling for any irregularities. Even small cracks can develop into bigger problems.
- Brake surface wear: On rim brake bikes, I check for concave wear on the braking surface. If it’s noticeably concave, that’s a sign the rim is nearing the end of its life.
- Spoke tension: I gently squeeze pairs of spokes together. They should all feel about equally tight. If some are notably looser or tighter than others, it might be time for a truing session.
- Rim tape condition: This is the tape that covers the spoke holes. If it’s peeling or damaged, it needs replacing to prevent punctures.
I remember once finding a tiny crack in my rim during one of these inspections. It was so small I almost missed it, but catching it early saved me from a potential blowout on the road. Trust me, a few minutes of inspection can save you hours of headache later.
Truing Your Wheels
Now we’re getting into slightly more advanced territory – wheel truing. This is the process of adjusting spoke tension to keep your wheel perfectly round and straight. It’s a bit of an art form, and while I do it myself now, it took some practice to get comfortable with it.
Here’s a basic rundown of how I true my wheels:
- First, I flip my bike over or put it in a stand. I spin the wheel and watch it closely, looking for any wobbles side-to-side or up and down.
- If I see a wobble, I use a spoke wrench to adjust the tension of the spokes in that area. Tightening a spoke pulls the rim towards that side while loosening does the opposite.
- It’s all about small, incremental adjustments. I never turn the spoke wrench more than a quarter turn at a time.
- After each adjustment, I spin the wheel again to check my progress.
- Once the wheel spins true, I double-check that all the spokes have roughly equal tension by plucking them like guitar strings. They should all produce a similar tone.
If this sounds intimidating, don’t worry. When I first started, I was nervous about messing up my wheels. But with practice, it becomes almost meditative. If you’re not comfortable doing it yourself, most bike shops offer wheel truing services.
Protecting Your Rims
An ounce of prevention is worth a pound of cure, right? Here are some tips I’ve picked up over the years to keep my rims in good shape:
- Use appropriate tire pressure: Underinflated tires can lead to pinch flats, which can damage your rims. I check my tire pressure before every ride.
- Be mindful of curbs and potholes: I try to avoid hitting these when I can. If I can’t avoid them, I lift my weight off the saddle to reduce the impact on the wheels.
- Use rim tape: This protects your tubes from the spoke holes in the rim. I always make sure my rim tape is in good condition.
- Clean your brake pads: For rim brake bikes, dirty brake pads can wear down your rims faster. I clean mine regularly and replace them when they get too worn.
- Store your bike properly: I keep my bike indoors, away from the elements. If you have to store your bike outside, consider a bike cover to protect it from rain and UV damage.
Rim Material Considerations
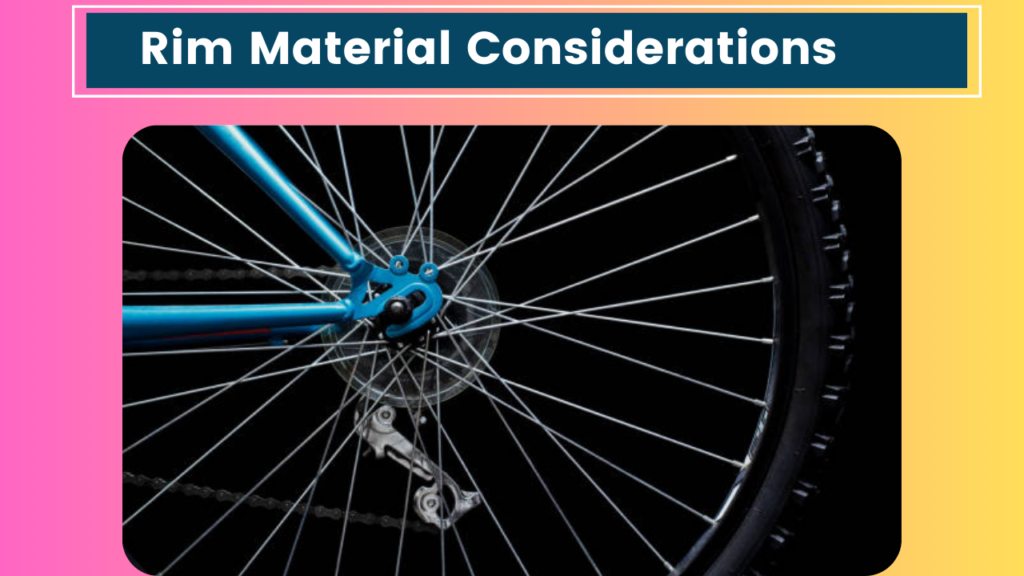
Before I wrap up, let’s talk about different rim materials. The two most common are aluminum and carbon fiber, and they each have their maintenance quirks:
Aluminum Rims:
- Generally more durable and cheaper to replace
- Can handle more heat from braking
- More forgiving if you hit a pothole
- The main issue to watch for is wear from braking
Carbon Fiber Rims:
- Lighter and potentially more aerodynamic
- More susceptible to heat damage from prolonged braking
- Can crack or break if hit hard enough
- Need special brake pads to prevent damage
I’ve ridden both, and while I love the feel of carbon rims, I find aluminum a bit easier to maintain for everyday riding.
Wrapping Up
Whew! We’ve covered a lot of ground here, haven’t we? I hope this guide helps you keep your rims in tip-top shape. Remember, a little regular maintenance goes a long way. Your rims are literally where the rubber meets the road, so taking care of them is crucial for a safe, smooth ride.
You know, as I’m writing this, I’m realizing it’s been a while since I’ve given my bike a good once-over. I think after I finish this article, I’m going to head out to the garage and show my trusty steed some love. Maybe I’ll even treat myself to a nice ride afterward – the weather’s been beautiful lately.
Before I go, here’s one last piece of advice: get to know your bike. The more familiar you are with how it looks, sounds, and feels when it’s in good condition, the quicker you’ll notice when something’s not quite right. And when in doubt, don’t be afraid to take it to your local bike shop. Those folks are usually happy to help and can catch things you might miss.
Happy riding, everyone! Keep those wheels spinning and those rims shining. And hey, if you see a guy out on the trails meticulously cleaning his rims, give him a wave – it might just be me!
