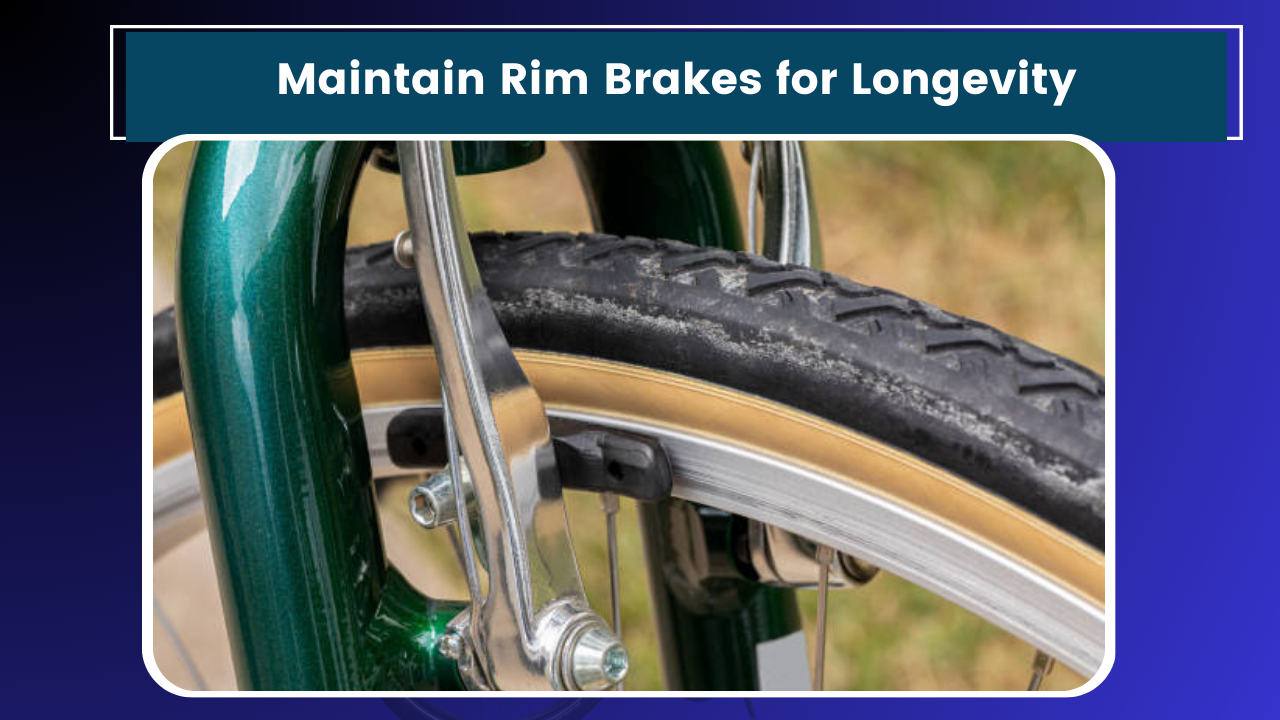
As I sit down to write this after a long day of riding, I can’t help but think about how crucial properly functioning brakes are to our safety and enjoyment on the bike. Whether you’re a weekend warrior or a daily commuter like me, taking care of your rim brakes is essential for both performance and longevity. I’ve learned a thing or two over the years, and I’m excited to share some tips and tricks to keep your rim brakes in top shape.
Why Rim Brake Maintenance Matters
Before we dive into the nitty-gritty, let’s talk about why maintaining your rim brakes is so important. Well-maintained brakes not only stop you more effectively but also last longer, saving you money in the long run. Plus, there’s nothing worse than squealing brakes ruining the serenity of your ride – trust me, I’ve been there!
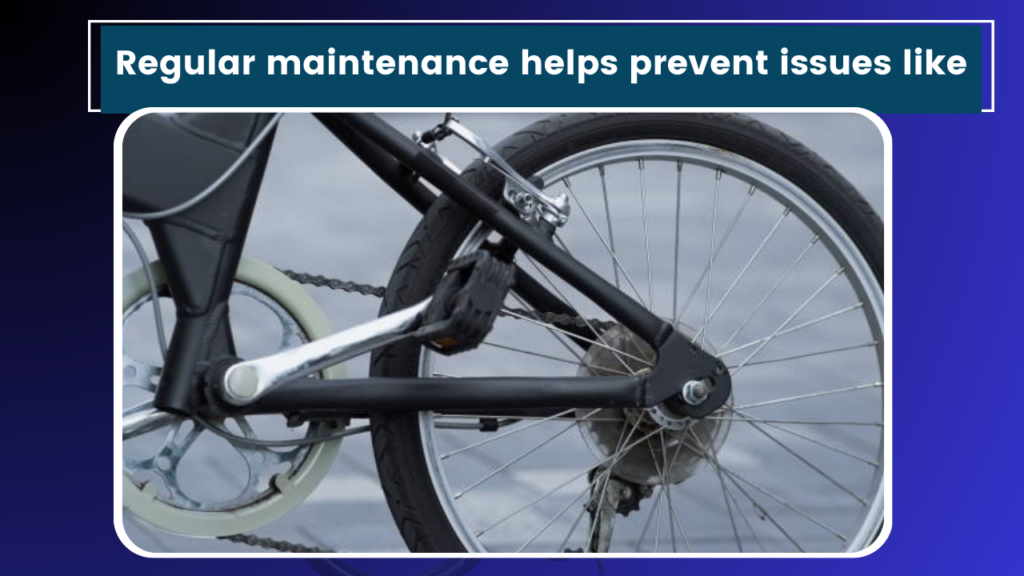
Regular maintenance helps prevent issues like:
- Reduced stopping power
- Uneven brake pad wear
- Premature rim wear
- Annoying squealing or squeaking noises
- Brake failure (yikes!)
Now that we’re on the same page about the importance of brake maintenance, let’s get into the good stuff.
Tools You’ll Need
Before we start, gather these tools:
- Allen wrenches (various sizes)
- Screwdriver (flathead and Phillips)
- Clean rags
- Degreaser
- Isopropyl alcohol
- Sandpaper (fine grit)
- Brake pad adjustment tool (optional but helpful)
I keep all these in a small toolbox in my garage. It’s so convenient to have everything in one place when it’s time for some bike TLC.
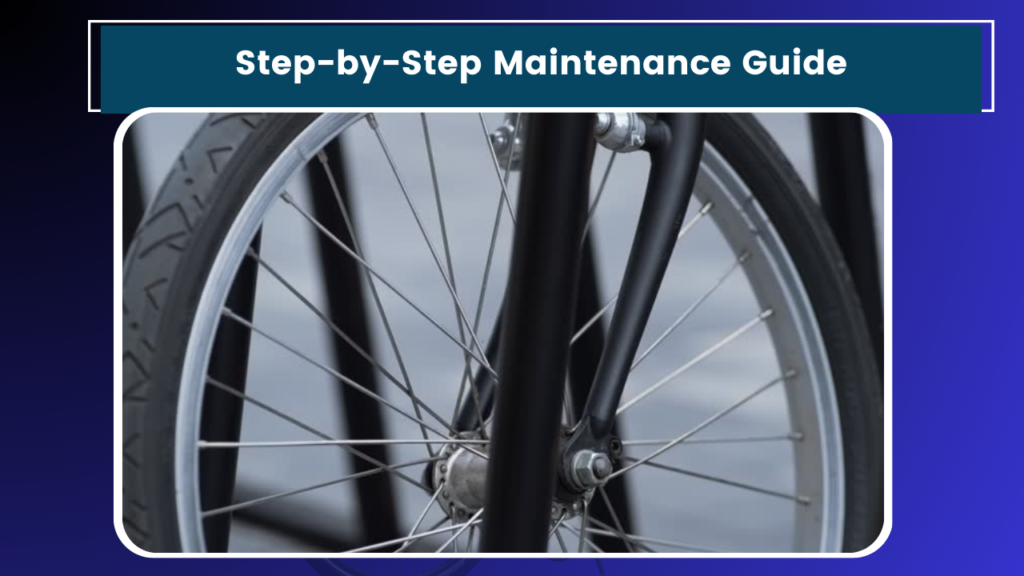
Step-by-Step Maintenance Guide
Clean the Braking Surface
First things first, we need to clean the rim’s braking surface. I usually do this every few rides, especially if I’ve been out in wet or muddy conditions.
- Use a clean rag and some degreaser to wipe down the rim’s braking surface.
- Pay special attention to any built-up grime or brake pad residue.
- Once clean, use isopropyl alcohol to remove any remaining degreaser.
A clean braking surface not only improves stopping power but also reduces wear on your brake pads.
Inspect and Clean Brake Pads
Next up, let’s look at those brake pads. This is something I check before every ride – it only takes a second and can save you from a nasty surprise mid-ride.
- Check for uneven wear or embedded debris (like small stones or metal shavings).
- If you find debris, carefully remove it with a small flathead screwdriver or pick.
- Use sandpaper to gently scuff the surface of glazed brake pads, which can happen after heavy use.
Pro tip: If your brake pads are worn down to the wear indicator line (usually a groove or mark on the pad), it’s time to replace them. Don’t put this off – I learned that lesson the hard way once!
Adjust Brake Pad Alignment
Proper alignment is crucial for even wear and optimal braking performance. Here’s how I do it:
- Loosen the brake pad fixing bolt slightly.
- Adjust the pad so it sits flat against the rim when the brake is applied.
- Ensure there’s a small gap (about 1-2mm) between the top of the pad and the tire.
- Tighten the fixing bolt while holding the pad in place.
Remember, the goal is to have the entire brake pad surface contact the rim evenly when you squeeze the brake lever.
Check and Adjust Cable Tension
Proper cable tension ensures your brakes engage effectively. Here’s how to check and adjust:
- Squeeze the brake lever – it should engage before the lever touches the handlebar.
- If it doesn’t, you need to tighten the cable.
- Loosen the cable pinch bolt on the brake caliper.
- Pull the cable slightly to increase tension, then retighten the pinch bolt.
- Test the lever feel again and adjust as necessary.
Finding the right tension can take a bit of trial and error. I usually go for a setup where the brake engages about halfway through the lever’s travel.
Lubricate Moving Parts
A little lubrication goes a long way in preventing rust and ensuring smooth operation. Here’s what I focus on:
- Apply a drop of lightweight oil to the pivot points on the brake calipers.
- Lightly oil the exposed sections of the brake cable (but avoid getting oil on the brake pads or rim).
- If your brake levers feel stiff, add a tiny drop of oil to their pivot points.
Be careful not to overdo it – too much oil can attract dirt and grime.
Check for Wear on Rims
This is especially important if you ride in wet or muddy conditions often. Rim wear can lead to sudden failure, which is not something you want to experience mid-ride!
- Look for a wear indicator groove on your rims. If it’s no longer visible, it’s time for a new rim.
- Check for any dents, cracks, or severe wear spots on the braking surface.
If you’re unsure about the condition of your rims, don’t hesitate to take your bike to a local shop for inspection. Better safe than sorry!
True Your Wheels
While not strictly part of the brake system, having true wheels is crucial for consistent brake performance. If your wheel is out of true, the brake pads will engage unevenly, leading to poor braking and uneven wear.
- Spin your wheel and watch the gap between the brake pad and rim.
- If the gap varies significantly as the wheel spins, it needs truing.
Wheel truing is a bit of an art form. If you’re not comfortable doing it yourself, most bike shops offer this service for a reasonable fee.
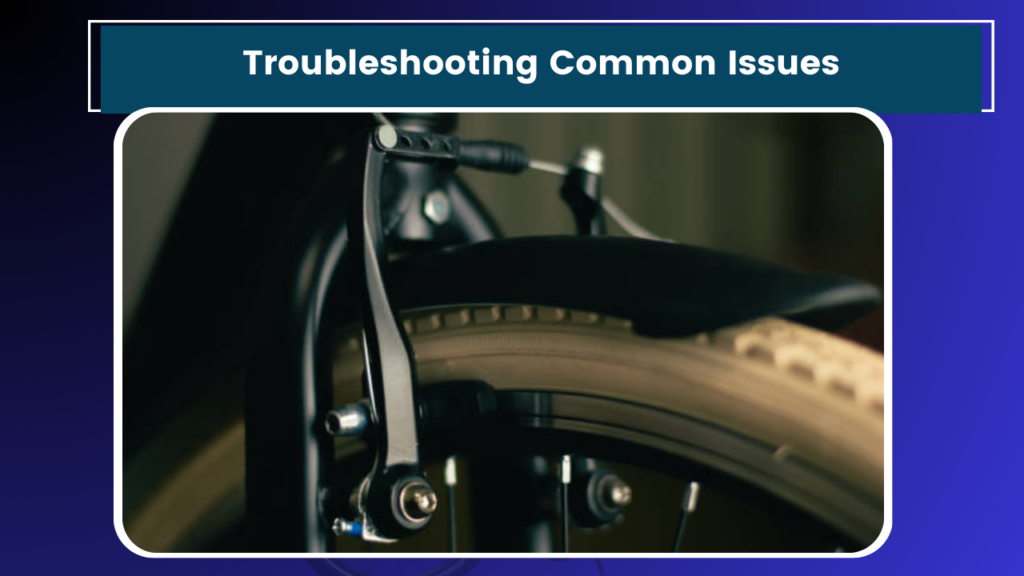
Troubleshooting Common Issues
Even with regular maintenance, you might encounter some issues. Here are a few I’ve dealt with and how to fix them:
Squealing Brakes:
- Clean the rim and brake pads thoroughly.
- Check pad alignment and ensure they’re not rubbing on the tire.
- If the problem persists, try “toeing-in” the pads slightly (angling the front of the pad towards the rim).
Soft or Spongy Brake Feel:
- Check for cable stretch and adjust tension if necessary.
- Inspect the cable housing for damage or kinks.
- Ensure the brake arms are moving freely and are properly lubricated.
Uneven Pad Wear:
- Check and adjust pad alignment.
- Ensure your wheel is true.
- Consider replacing pads if wear is severe.
Maintenance Schedule
To keep everything running smoothly, here’s the schedule I try to stick to:
Before Every Ride:
- Quick visual inspection of pads and cables
- Check the brake lever feel
Weekly (or every 100-150 miles):
- Clean rims and pads
- Check pad alignment and cable tension
Monthly (or every 500 miles):
- Full inspection and adjustment
- Lubricate moving parts
Annually (or every 2000-3000 miles):
- Replace brake pads
- Replace cables and housing
- Check rims for wear
Of course, adjust this schedule based on your riding conditions. If you’re riding in wet or muddy conditions often, you might need to clean and inspect more frequently.
Wrapping Up
Phew! That was a lot of information, but I hope you found it helpful. Taking care of your rim brakes might seem like a chore, but it becomes second nature after a while. Plus, the peace of mind you get from knowing your brakes are in top shape is priceless.
Remember, if you’re ever unsure about something or encounter a problem you can’t solve, don’t hesitate to consult your local bike shop. They’re usually happy to help and can catch potential issues before they become serious problems.
Now, if you’ll excuse me, I think I hear my bike calling – time for an evening ride! Stay safe out there, and happy cycling!


