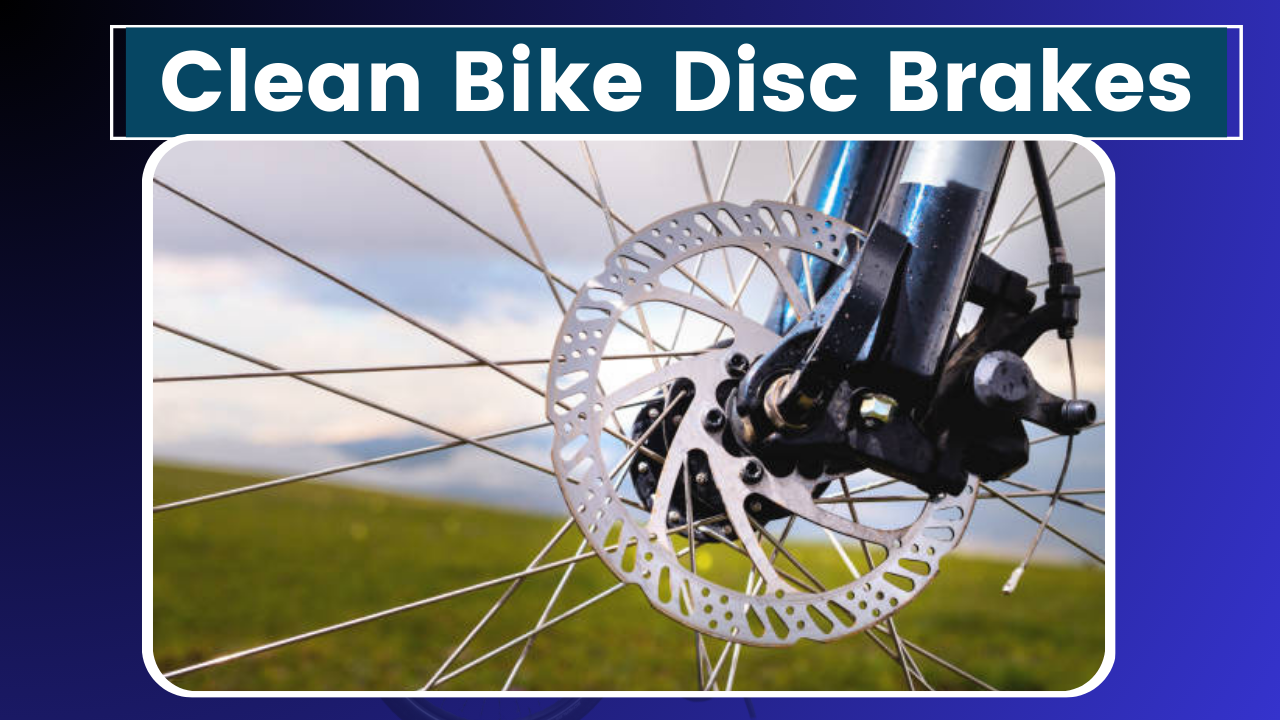
Alright, let’s dive into something I often find myself doing on a lazy Sunday afternoon—cleaning my bike’s disc brakes. It’s one of those tasks that might seem tedious at first, but trust me, once you get into the groove, it’s almost therapeutic. Plus, clean brakes mean better performance, and who doesn’t love a smooth, squeak-free ride?
So, here’s the deal. I’m going to walk you through how to properly clean your bike’s disc brakes, step by step. I’ve done this countless times, and I’m excited to share what I’ve learned. Let’s roll up our sleeves and get started!
Why Cleaning Disc Brakes Matters
Before I jump into the nitty-gritty, let me tell you why cleaning your bike’s disc brakes is so important. When I first started biking, I didn’t pay much attention to the brakes. I mean, as long as they stopped the bike, I was good, right? Wrong! Dirty brakes can cause all sorts of problems—reduced stopping power, annoying squeals, and even long-term damage to your brake components.
The dirt, oil, and grime that accumulate on your disc brakes can create a layer that interferes with the brake pads’ ability to grip the rotor. This not only makes it harder to stop but also wears down the pads and rotors faster. So, a little bit of maintenance can go a long way in keeping your brakes performing at their best.
What You’ll Need
Okay, I’m going to dinner soon, so let me quickly list out what you need. Don’t worry, the list is short, and you probably have most of these items lying around:
- Isopropyl Alcohol (70% or higher): This is your best friend when it comes to cleaning disc brakes. It evaporates quickly and doesn’t leave any residue.
- Clean Rags or Paper Towels: You’ll need these to wipe down the rotors and pads.
- A Clean, Dry Brush: This is for removing any loose dirt and debris.
- Optional: A dedicated disc brake cleaner. It’s not necessary, but if you have it, go for it.
- Allen Wrench: For removing the brake calipers if needed.
Got everything? Awesome! Let’s get started.
Step 1: Remove the Wheel (Optional but Recommended)
I usually start by removing the wheel. It just makes everything easier to access. Plus, I like to give the whole wheel a good inspection while I’m at it. You can do this by flipping your bike upside down or using a bike stand if you have one.
To remove the wheel, simply release the quick-release lever or unscrew the thru-axle with an Allen wrench. Once the wheel is off, set it aside carefully.
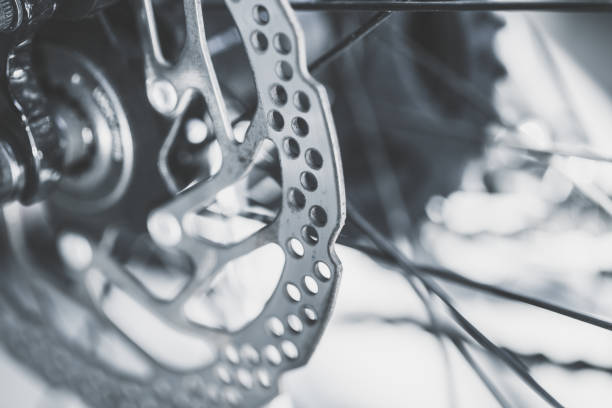
Step 2: Inspect the Rotor
Alright, now that we’ve got the wheel off, take a close look at the rotor. Give it a spin and check for any warping or damage. If the rotor is bent, you might need to try it or, in severe cases, replace it. But let’s hope that’s not the case today!
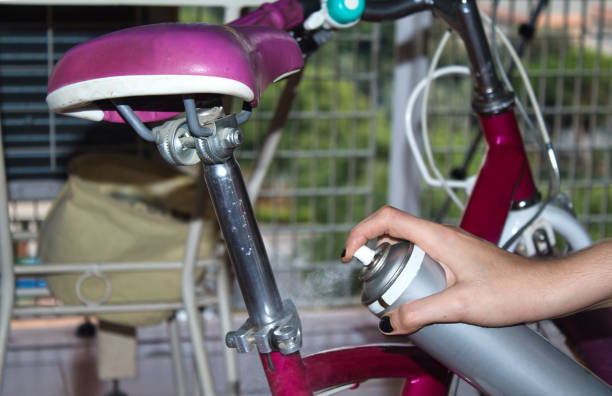
Step 3: Wipe Down the Rotor
Here’s where the magic happens. Grab your isopropyl alcohol and a clean rag or paper towel. I usually fold the rag to make it easier to handle, then soak it in the alcohol. Now, wipe down the entire surface of the rotor, making sure to get both sides.
I go in a circular motion, but honestly, as long as you’re thorough, you’re good. The goal here is to remove any grime, oil, or contaminants that might have built up. If the rotor is particularly dirty, you might need to go over it a couple of times.
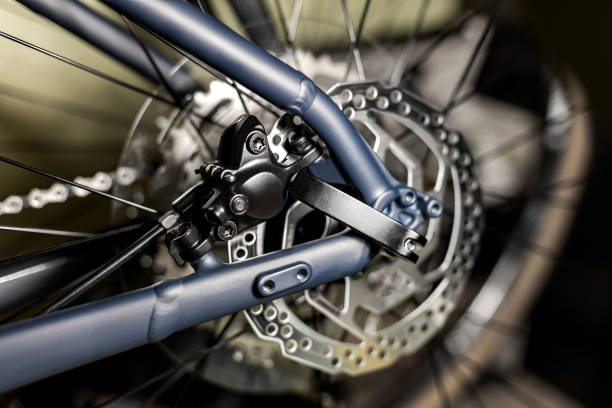
Step 4: Clean the Brake Pads
While the rotor dries (which happens pretty quickly, thanks to the alcohol), let’s move on to the brake pads. This part is crucial because dirty pads can transfer grime back onto the rotor, undoing all your hard work.
If you can, remove the brake pads from the caliper. Most of the time, it’s just a matter of unscrewing a bolt or two. Once you’ve got the pads out, give them a good inspection. Look for glazing (a shiny, smooth surface) or uneven wear. If the pads are glazed, you might need to sand them lightly with fine-grit sandpaper.
Now, just like we did with the rotor, wipe the pads down with isopropyl alcohol. I usually hold the pads with a pair of pliers to avoid getting any oil from my fingers on them. Trust me, the last thing you want is to transfer oil back onto your freshly cleaned rotor!
Step 5: Reassemble and Test
By this point, I’m usually getting pretty hungry, but we’re almost done, so hang in there! Once the rotor and pads are completely dry, it’s time to reassemble everything. Pop the brake pads back into the caliper and reattach the wheel. If you remove the caliper or pads, make sure everything is aligned properly before tightening it all up.
Now, give the wheel a spin and squeeze the brake lever a few times. You should notice an immediate improvement in stopping power. If there’s any squealing, it might just be some leftover moisture, which should go away after a few stops.
Extra Tips for Keeping Your Brakes in Top Shape
Okay, now that everything’s back together and working smoothly, here are a few extra tips to keep your disc brakes in top shape:
- Avoid Touching the Rotor: I always try to avoid touching the rotor with my bare hands. Oil from your skin can contaminate the rotor, leading to decreased performance.
- Brake Gently After Cleaning: The first few rides after cleaning, I like to brake gently to allow the pads to be in again. This helps to restore maximum stopping power.
- Regular Maintenance: I aim to clean my disc brakes at least once a month, depending on how often I’m riding. More frequent cleaning might be needed if you’re riding in muddy or wet conditions.
- Check for Wear: During your cleaning routine, always check for wear on the pads and rotors. If the pads are worn down to less than 1mm, it’s time to replace them. The same goes for the rotor if it’s below the manufacturer’s recommended thickness.
Wrapping Up
Well, there you have it—how to properly clean your bike’s disc brakes. I hope this guide was helpful and that you feel more confident tackling this task on your own. It’s one of those small maintenance jobs that can make a big difference in how your bike performs.
As I’m about to head out to dinner, I’m feeling pretty good knowing that my bike is in top shape for my next ride. Give your brakes some love, and they’ll return the favor with smooth, powerful stopping power. Happy riding, and don’t forget to enjoy the process—it’s all part of the biking experience!


