Hey there, fellow cyclists! Today, I’m going to share a little trick I learned the hard way when I was out on a ride last weekend. Picture this: I’m cruising along my favorite trail, enjoying the fresh air and sunshine, when suddenly my chain starts making this awful grinding noise. I pull over to check it out, and wouldn’t you know it – my chain’s a mess and needs to come off for a good cleaning. But here’s the kicker: I left my chain tool at home like a total rookie.
Now, if you’ve ever been in this situation, you know the panic that sets in. But don’t worry! I’m about to show you how to remove your bike chain without any fancy tools. Trust me, this method has saved my bacon more than once, and it might just save yours too.
Before We Begin
Before we dive in, I want to emphasize that this method should be considered a last resort. It’s always better to use proper tools when working on your bike. But hey, we don’t always have the luxury of being prepared, right? So let’s get into it.
Step 1: Shift to the Smallest Cog
First things first, you’ll want to shift your bike into the smallest cog on the rear cassette. This gives you the most slack in the chain, which is crucial for what we’re about to do. If you’re on a single-speed bike, you can skip this step.
Step 2: Find the Master Link
Most modern bike chains have what’s called a master link or quick link. This is a special link designed to be easily separated for chain removal. It usually looks a bit different from the other links – maybe a different color or shape. Take a close look at your chain and see if you can spot it.
If you can’t find a master link, don’t panic! We’ve got a method for that too, which I’ll cover later.
Step 3: Position the Master Link
Once you’ve found the master link, rotate your pedals until it’s at the bottom of the chain’s loop, just below the chainstay. This position gives you the best access and leverage.
Step 4: Create Slack in the Chain
Here’s where things get a bit tricky. You need to create some slack in the chain around the master link. To do this, push the rear derailleur forward (towards the front of the bike). This releases tension on the chain.

Step 5: Disconnect the Master Link
Now for the main event. With the slack you’ve created, you should be able to push the two plates of the master link together from the sides. As you do this, try to lift one side of the link up and out. It might take a few tries, but keep at it – you’ll get there!
Once one side is free, the other should follow easily. Voila! Your chain is now free.
What If There’s No Master Link?
Alright, so what if you’ve scoured your chain and there’s no master link in sight? Don’t worry, I’ve got you covered. This method is a bit more involved, but it works in a pinch.
Step 1: Find a Thin, Strong Object
Look around for something thin and strong. A paperclip, a small nail, or even a sturdy twig could work. We’re going to use this as a makeshift chain tool.
Step 2: Locate a Pin
Choose a pin on your chain, preferably one that’s easy to access. Avoid pins near the derailleur or chainring, as these areas are under more tension.
Step 3: Push Out the Pin
Using your makeshift tool, start pushing the pin out from one side of the chain. This takes some effort, so be patient. Push it out just enough so that the chain can separate, but not so much that the pin falls out completely.

Step 4: Separate the Chain
Once the pin is pushed out enough, you should be able to flex the chain and separate it at that link.
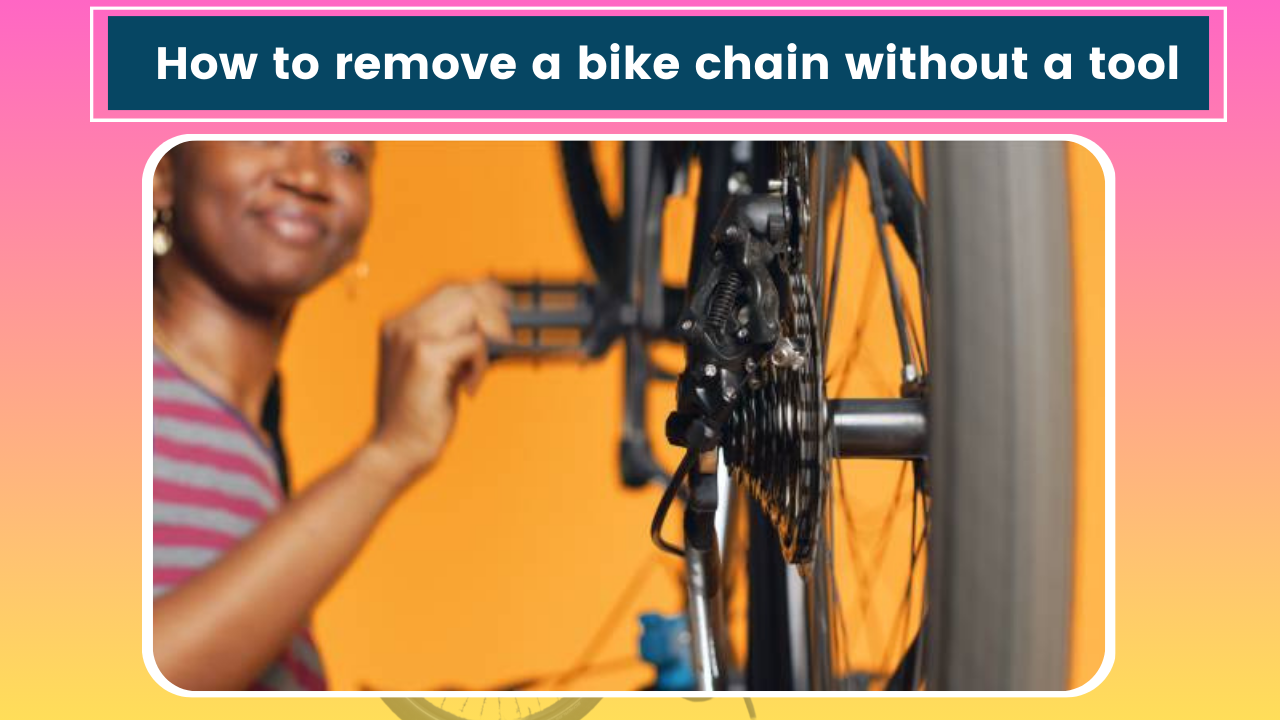
Removing the Chain from Your Bike
Now that your chain is disconnected, you can remove it from your bike. Carefully thread it out from around the chainring, through the rear derailleur (if applicable), and off the cassette.
It’s a good idea to keep track of how the chain was routed, especially around the rear derailleur. Take a quick photo with your phone if you’re unsure – future you will thank the present you when it’s time to put it back on!
Cleaning Your Chain
Since we’ve gone to all this trouble, we might as well give that chain a good cleaning, right? Here’s a quick and dirty (pun intended) method I use when I’m out on the trail:
- Find a clean, lint-free cloth. An old T-shirt works great if you’ve got one.
- If you have any kind of degreaser or even just some soapy water, that’s ideal. But if not, don’t sweat it – a dry cloth is better than nothing.
- Run the chain through the cloth, applying pressure to remove as much grime as possible. Pay extra attention to the rollers (the parts that sit between the plates).
- If you’re using a degreaser or soapy water, make sure to rinse the chain thoroughly and dry it completely before reinstalling.
Reinstalling Your Chain
Alright, now let’s get that chain back on your bike. This process is essentially the reverse of removal, but here are some tips to make it easier:
- Start by draping the chain over the smallest cog on your cassette and around your chainring.
- If you have a rear derailleur, thread the chain through it according to your bike’s specific routing. Remember that photo you took earlier? Now’s the time to reference it!
- Bring the two ends of the chain together.
If you have a master link:
- Line up the two ends of the master link.
- Push them together until you hear a click.
- To ensure it’s secure, rotate the pedals and listen for any unusual noises.
If you don’t have a master link:
- Line up the chain ends where you pushed out the pin.
- Using your makeshift tool, push the pin back in.
- Make sure the pin is centered and the link moves freely.
- Once the chain is reconnected, slowly rotate the pedals by hand to ensure everything is moving smoothly.
Preventive Measures
Now that we’ve been through this adventure together, let’s talk about how to avoid finding ourselves in this situation again. Here are some tips I’ve learned (sometimes the hard way) over years of riding:
- Regular Maintenance: Clean and lubricate your chain regularly. A well-maintained chain lasts longer and is less likely to give you trouble on the trail.
- Carry a Multi-tool: Invest in a good quality multi-tool that includes a chain tool. They’re compact and can be a real lifesaver.
- Master Links are Your Friend: If your chain doesn’t already have a master link, consider adding one. They make chain removal and cleaning so much easier.
- Learn Your Bike: Familiarize yourself with your bike’s components. Knowing how your drivetrain works can help you spot potential issues before they become problems.
- Pre-Ride Check: Before heading out, give your bike a quick once-over. Check that the chain is clean, properly lubricated, and running smoothly.
Wrapping It Up
You know, writing this article has reminded me that I need to restock my toolkit. I think I’ll head to the bike shop tomorrow and pick up a new multi-tool. Maybe I’ll see you there!
So there you have it, folks – how to remove a bike chain without a tool. It’s not pretty, it’s not perfect, but it works when you’re in a pinch. Remember, this method is for emergencies only. Always try to have the proper tools with you when you ride.
Until next time, keep those pedals turning and those chains clean. Happy riding!


