Alright, let’s get into it. You’re out for a ride, enjoying the breeze, and suddenly, you hit a pothole or curb a bit too hard—bam! Your bike’s rim takes a hit. Now, you’ve got a wobble in your wheel that’s making your ride less than smooth. Been there, done that, and let me tell you, it’s not the end of the world. Repairing a broken bike rim is doable with a little patience and the right approach.
In this article, I’m going to walk you through the steps to repair a broken bike rim. We’re talking about the kind of damage that’s fixable—slight bends, small cracks, or a wobble that can be tried out. If your rim is shattered or severely bent, it might be time for a replacement, but for everything else, let’s get to work!
Why Repairing Your Rim Matters
Before we dive into the details, let’s talk about why it’s important to repair your rim. When I first started biking, I didn’t realize just how crucial the rims are to the overall performance of the bike. The rim is what holds your tire in place and keeps your ride smooth and stable. A damaged rim can lead to uneven tire wear, poor handling, and even safety issues if left unchecked.
Plus, repairing a rim is often more cost-effective than replacing it entirely. So, if you’re like me and you’d rather spend your hard-earned cash on something more exciting—like a new bike gadget or a post-ride snack—learning to fix your rim is a valuable skill.
What You’ll Need
Alright, I’m going to go this side and grab my tools. Here’s what you’ll need to get started:
- Spoke Wrench: This is essential for truing your wheel.
- Pliers: Useful for bending the rim back into shape.
- Sandpaper or a Metal File: For smoothing out any rough edges.
- Lubricant: To keep everything moving smoothly.
- A Truing Stand (Optional): If you have one, great! If not, you can use your bike frame as a makeshift truing stand.
- Patience and a Steady Hand: Seriously, these are just as important as the tools!
Got everything? Awesome. Let’s get started!
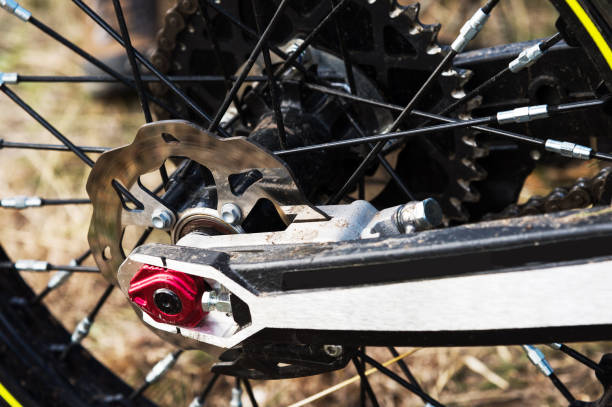
Step 1: Assess the Damage
First things first, take a good look at your rim. Spin the wheel and watch how the rim moves. Is there a wobble? Is it bent to one side? Are there any visible cracks? The type of damage will determine how you approach the repair.
If the rim is only slightly bent, we can probably fix it without too much trouble. However, if there’s a crack that’s more than superficial, you might need to replace the rim altogether. But let’s not get ahead of ourselves—most of the time, a little TLC can go a long way.
Step 2: Loosen the Spokes
Before we start bending anything back into shape, you’ll need to loosen the spokes around the damaged area. The spokes are what give your rim its tension and keep it true (that is, straight and round). When your rim is bent or damaged, the tension in the spokes can become uneven, making the problem worse.
Using your spoke wrench, carefully loosen the spokes on either side of the damage. You don’t need to remove them completely—just loosen them enough to relieve the tension. This will make it easier to manipulate the rim back into shape.
Step 3: Straighten the Rim
Now comes the fun part. I’m going to dinner soon, but we’ve got time to fix this up. Grab your pliers and carefully bend the rim back into shape. If the rim is bent to one side, you’ll want to bend it back in the opposite direction. Work slowly and methodically, applying just a little pressure at a time.
If the rim has a flat spot (where it’s been pushed inward), you can use your pliers to gently pull it back out. Be patient—this is where that steady hand comes into play. It’s better to make small adjustments and check your progress frequently than to try and fix it all in one go.
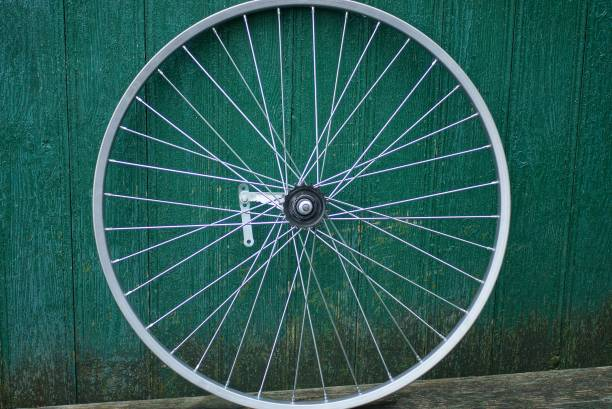
Step 4: True the Wheel
Once you’ve got the rim back into a roughly circular shape, it’s time to true the wheel. Truing is the process of adjusting the tension in the spokes to bring the rim back into alignment. This is where that truing stand (or your bike frame) comes in handy.
With the wheel in place, spin it and watch for any wobbles. Use your spoke wrench to tighten or loosen the spokes as needed to straighten the rim. Tighten the spokes on the side opposite the wobble to pull the rim back into alignment. Again, take your time—small adjustments are key.
If you’re using your bike frame as a truing stand, you can use a zip tie or a piece of tape as a reference point. Place it close to the rim and watch how the rim moves relative to it as you spin the wheel.
Step 5: Smooth Out the Edges
If your rim took a hard hit, there might be some rough edges or burrs where the metal was bent. These can cause problems later on, so it’s best to smooth them out now.
Grab your sandpaper or metal file and gently smooth out any rough spots. Be careful not to remove too much material—you just want to take off the sharp edges. Once you’re done, give the rim a quick wipe-down to remove any metal shavings.
Step 6: Re-tighten the Spokes
Now that your rim is straightened and smoothed out, it’s time to re-tighten the spokes. This is where you’ll bring the wheel back up to tension and ensure that everything is evenly balanced.
Start by tightening the spokes around the area you loosened earlier. Work in small increments, tightening each spoke by the same amount. As you do this, keep spinning the wheel and checking for any remaining wobbles. If you notice any, adjust the spokes accordingly until the wheel spins true.
Step 7: Check for Cracks
Before you call it a day, take a moment to inspect the rim one last time. Look closely for any cracks that might have formed during the repair process. Small hairline cracks can often be smoothed out with a bit of sanding, but larger cracks are a sign that the rim might need to be replaced.
If everything looks good, you’re almost done!
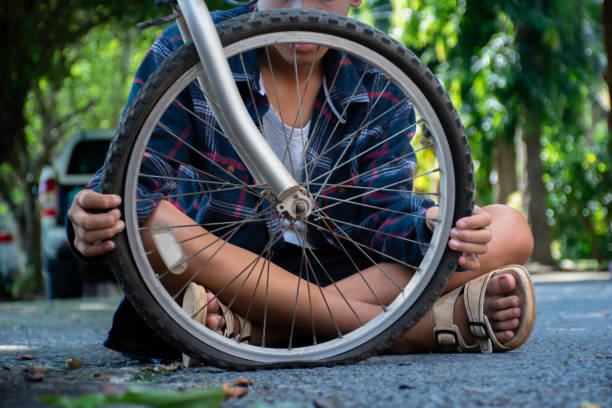
Step 8: Test Ride
Alright, time to take your bike for a test ride. This is the moment of truth. When I come back from a ride after fixing a rim, I’m always a bit anxious but excited too. Start with a gentle ride around the block, paying close attention to how the bike feels.
If the wheel wobbles or you notice any strange noises, you might need to go back and make some minor adjustments. But if everything feels smooth, congrats—you’ve successfully repaired your rim!
Extra Tips for Rim Maintenance
Now that you’ve got your rim back in shape, here are a few extra tips to keep it that way:
- Regular Inspections: I try to inspect my rims regularly, especially after rough rides. Catching small issues early can prevent bigger problems down the line.
- Avoid Potholes and Curbs: Easier said than done, right? But seriously, avoiding major impacts can help extend the life of your rims.
- Keep Your Spokes Tensioned: Regularly check the tension in your spokes to ensure your wheel stays true. Loose spokes can cause your rim to warp over time.
- Replace When Necessary: If your rim is showing signs of serious wear or damage, it’s better to replace it than risk a failure while riding.
Final Result
And there you have it—a complete guide on how to repair a broken bike rim. I hope this guide has been helpful and that you feel confident tackling this repair on your own. Remember, patience is key, and taking your time will pay off in the end.
As I head off to dinner, I’m feeling pretty good about knowing that my bike is ready for the next adventure. Fixing a rim might seem daunting at first, but once you’ve done it a few times, it becomes second nature. So, get out there, keep your bike in top shape, and most importantly, enjoy the ride!


