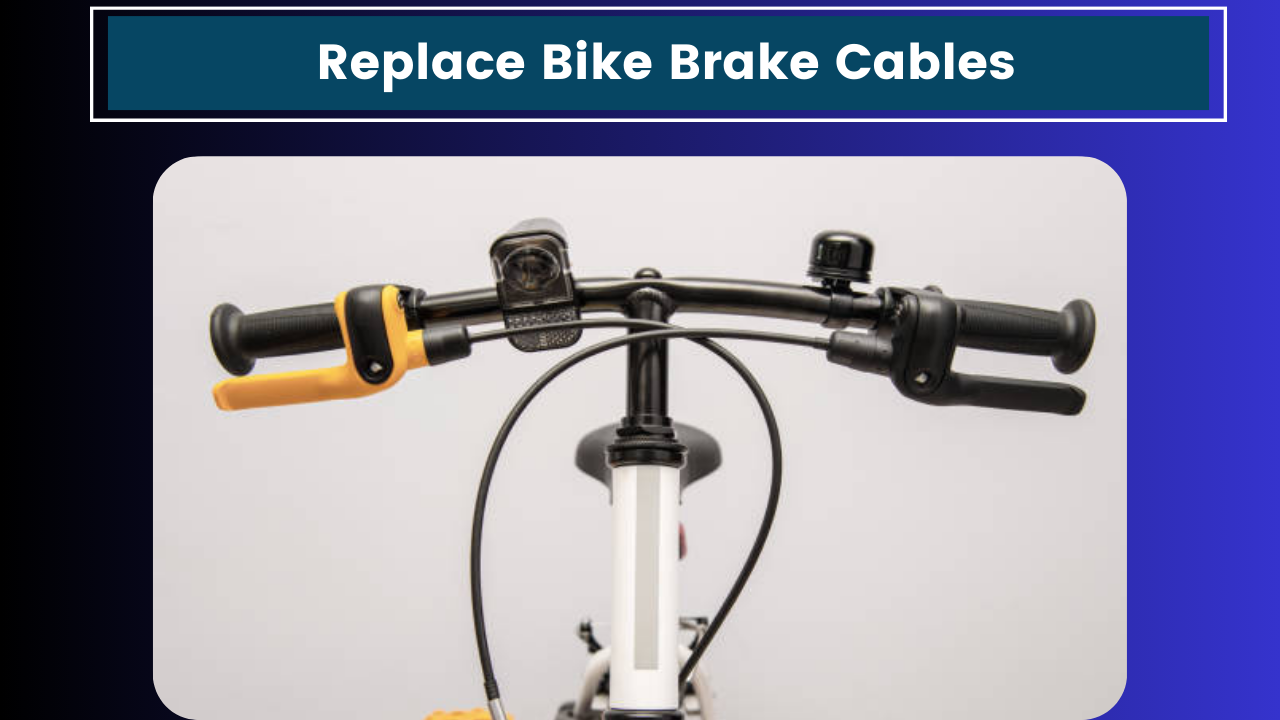
Hey there, fellow cyclists! It’s Mike from Mike’s Bike Shed. Today, I’m gonna walk you through replacing your bike’s brake cables. I know, I know – it sounds daunting, but trust me, it’s not as tricky as you might think. I’ve done this countless times in my garage, and I’m here to share all my tips and tricks with you.
Before we dive in, let me tell you why I decided to write this guide. Last weekend, I was out on a ride with my buddy Steve when his brakes started acting up. We limped back home, and I offered to help him fix them. As we worked on his bike, I realized that a lot of riders might benefit from knowing how to do this themselves. So, here we are!
Why Replace Your Brake Cables?
First things first – why bother replacing your brake cables? Well, over time, brake cables can stretch, fray, or accumulate gunk inside the housing. This can lead to spongy brakes, reduced stopping power, or even complete brake failure. Not good when you’re bombing down a hill, right?
Regular maintenance, including cable replacement, keeps your brakes working smoothly and reliably. Plus, it’s way cheaper to do it yourself than to take it to a bike shop. Speaking of which, I gotta run to the hardware store real quick to grab some supplies for this guide. Be right back!
Alright, I’m back with everything we need. Let’s get started!
What You’ll Need:
- New brake cables (inner wire and housing)
- Cable cutters
- Allen wrenches (hex keys)
- Needle-nose pliers
- Grease or lubricant
- Electrical tape
- A clean rag
Optional but helpful:
- Cable end caps
- A workstand (or a friend to hold the bike)
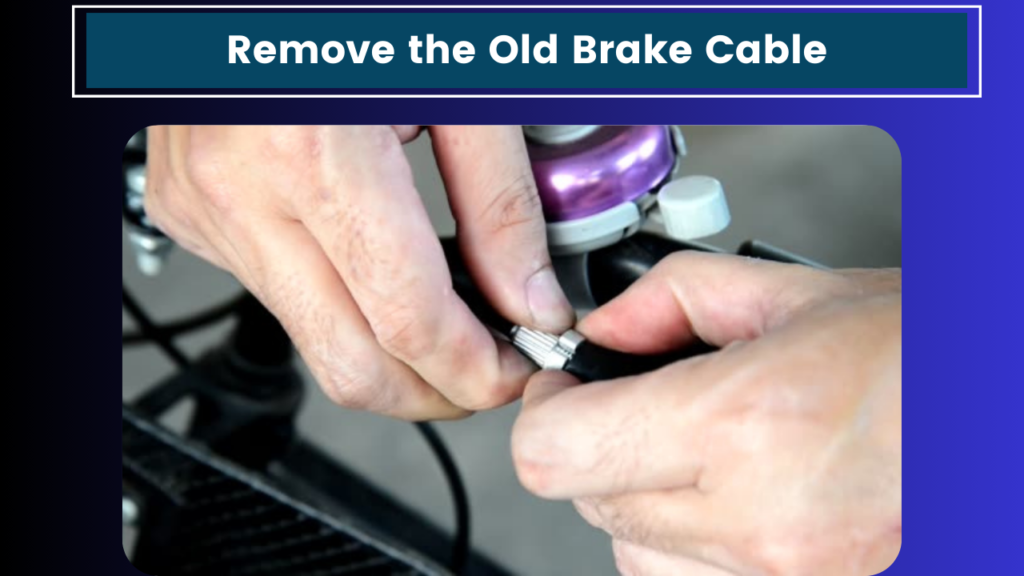
Step 1: Remove the Old Brake Cable
First things first, we need to get that old cable out of there. Here’s how:
- Shift your bike into the smallest chainring and smallest rear cog. This slackens the cables and makes our job easier.
- Find the cable anchor bolt on your brake caliper. It’s usually a small Allen bolt or a nut. Loosen it up, but don’t remove it completely.
- Now, follow the cable up to the brake lever. You’ll see a barrel adjuster where the cable enters the lever. Unscrew this all the way.
- Squeeze the brake lever to create some slack in the cable. While holding it, use your other hand to pull the cable housing out of the lever.
- Release the lever and let the inner wire slide out. You might need to wiggle it a bit if it’s stuck.
- Now you can pull the cable out from the brake caliper end.
Whew! That’s the first part done. I don’t know about you, but I’m feeling a bit peckish. I’m gonna grab a quick snack before we move on to the next step.
Step 2: Prepare the New Cable
Okay, I’m back with a sandwich and ready to tackle the next part. Let’s get that new cable ready:
- If your new cable didn’t come pre-cut, measure it against the old one and cut it to length. Always cut a bit longer than you think you need – we can trim it later if necessary.
- If you’re reusing the old housing, clean it out with a rag wrapped around a thin stick or old cable. If you’re using new housing, cut it to match the old sections.
- Use your cable cutters to make clean, straight cuts on the housing. A jagged cut can interfere with smooth cable movement.
- After cutting, use a pick or a small screwdriver to open up the end of the housing. This helps the cable slide through more easily.
- If you have them, pop on some cable end caps to keep the housing from fraying.

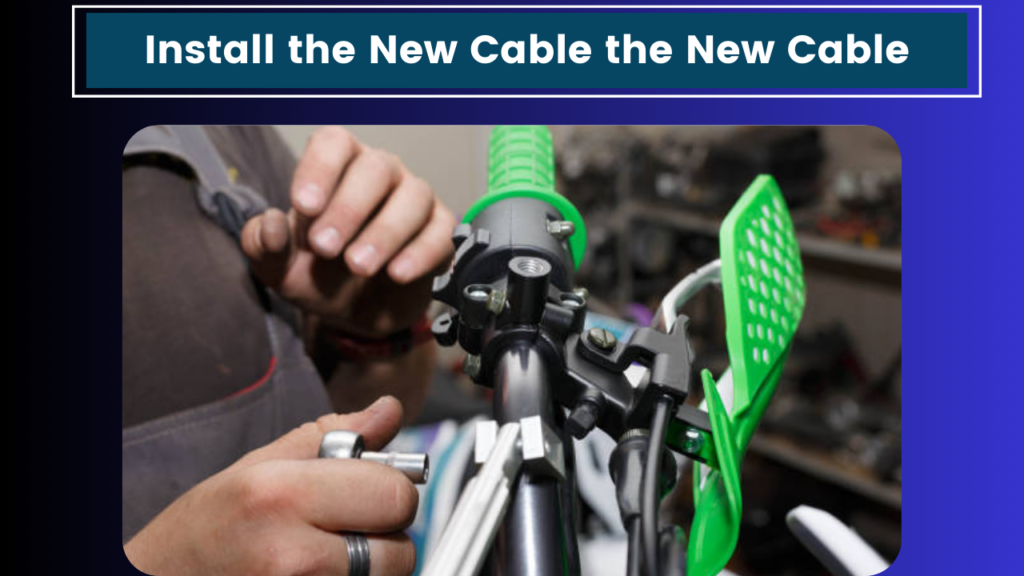
Step 3: Install the New Cable
Now comes the fun part – getting that shiny new cable in place:
- Start by threading the cable through the brake lever. Make sure it’s seated properly in the lever mechanism.
- Reattach the housing sections, following the same routing as the old cable.
- As you go, make sure the cable runs smoothly through the frame’s cable stops. No kinks or sharp bends allowed!
- When you reach the brake caliper, thread the cable through the anchor bolt, but don’t tighten it yet.
- Pull the cable taut with your pliers and tighten the anchor bolt. Not too tight, though – we’ll need to make adjustments later.
Phew! The main part is done. I don’t know about you, but I’m ready for a quick break. I’m gonna step outside for some fresh air. Back in a few!
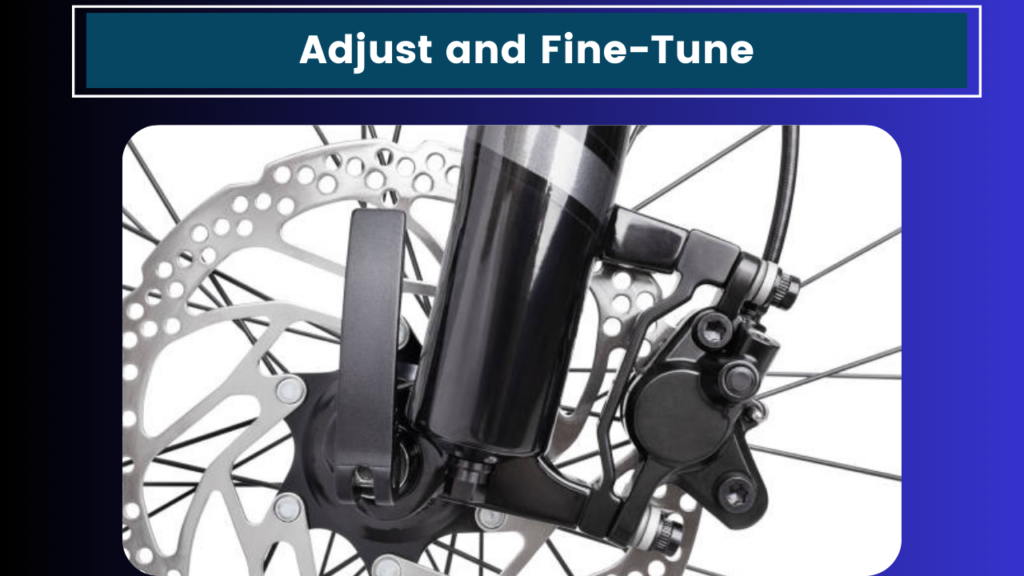
Step 4: Adjust and Fine-Tune
Alright, I’m back and recharged. Let’s finish this thing up:
- With the cable installed, it’s time to adjust the tension. Start by screwing in the barrel adjuster at the brake lever about halfway.
- Squeeze the brake lever firmly a few times. This helps seat the cable and housing.
- Now, adjust the cable tension. You want the brake pads to sit about 2-3mm away from the rim when the lever is released.
- Use the barrel adjuster to fine-tune. Turning it clockwise increases tension, counterclockwise decreases it.
- Once you’re happy with the tension, tighten the anchor bolt fully.
- Trim any excess cable, leaving about 2 inches (5cm) beyond the anchor bolt.
- Use your pliers to crimp a cable end cap onto the cut end. This prevents fraying and looks neater.
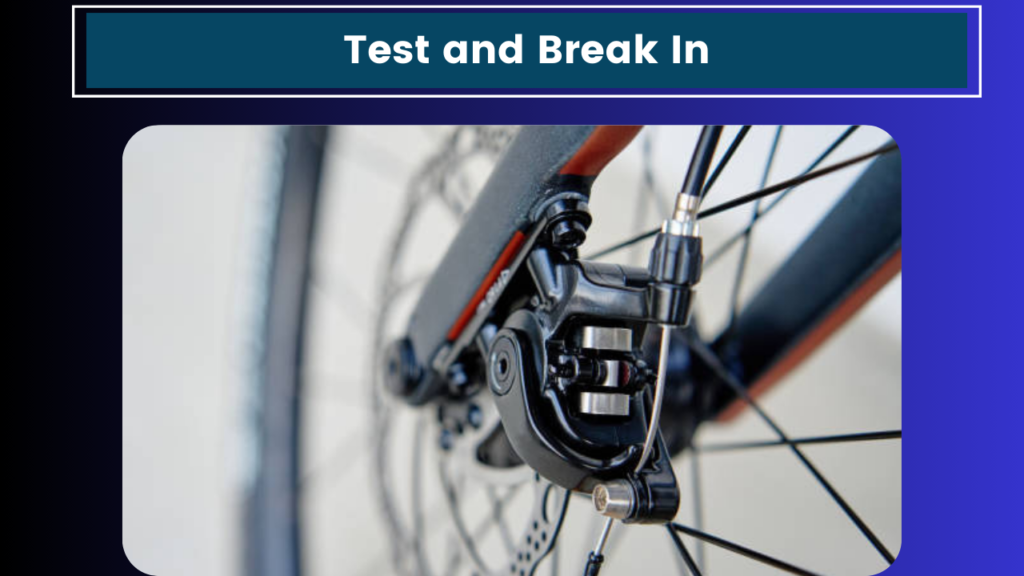
Step 5: Test and Break In
We’re almost there! Just a few more steps:
- Spin the wheel and apply the brake. It should stop smoothly and quickly.
- Check that the brake pads hit the rim squarely. If not, you may need to adjust the caliper alignment.
- Take the bike for a short test ride in a safe area. Apply the brakes gently at first, then gradually increase force.
- Remember, new cables may stretch slightly during the first few rides. You might need to make minor adjustments after a week or so.
Troubleshooting Common Issues
Even with the best instructions (if I do say so myself), things can sometimes go awry. Here are a few common issues and how to fix them:
- Brake feels spongy: This usually means there’s not enough tension. Tighten the cable using the barrel adjuster.
- Brake lever pulls all the way to the handlebar: Again, increase tension using the barrel adjuster or by pulling more cable through the anchor bolt.
- Brake pads rub the rim: Decrease tension slightly using the barrel adjuster.
- Cable feels sticky: Make sure there are no kinks in the housing and that it’s properly seated in all the stops. You might need to add some lubricant.
- Squealing brakes: This could be due to contamination on the rim or brake pads. Clean both with rubbing alcohol and sandpaper if necessary.
Maintenance Tips
To keep your new brake cables working smoothly:
- Clean and lubricate your cables every few months, or more often if you ride in wet or muddy conditions.
- Check cable tension regularly and adjust as needed.
- Inspect cables for fraying or kinking, especially near the anchor bolts.
- Replace cables and housing annually if you ride frequently, or every 2-3 years for casual riders.
Wrapping Up
And there you have it, folks! You’ve successfully replaced your bike’s brake cables. Give yourself a pat on the back – you’ve just saved yourself a trip to the bike shop and learned a valuable skill.
Remember, practice makes perfect. The first time I did this, it took me ages and I made a right mess of it. But now? I can knock it out in no time. So don’t get discouraged if it feels tricky at first. You’ll get the hang of it.
I hope you found this guide helpful. If you have any questions, feel free to drop them in the comments below. I’ll do my best to answer them when I’m not out riding or tinkering in my shed.
Speaking of which, I think I hear my bike calling me. The sun’s out, and there’s a trail with my name on it. Time to put these newly installed brake cables to the test!
Ride safe, everyone, and happy wrenching!


