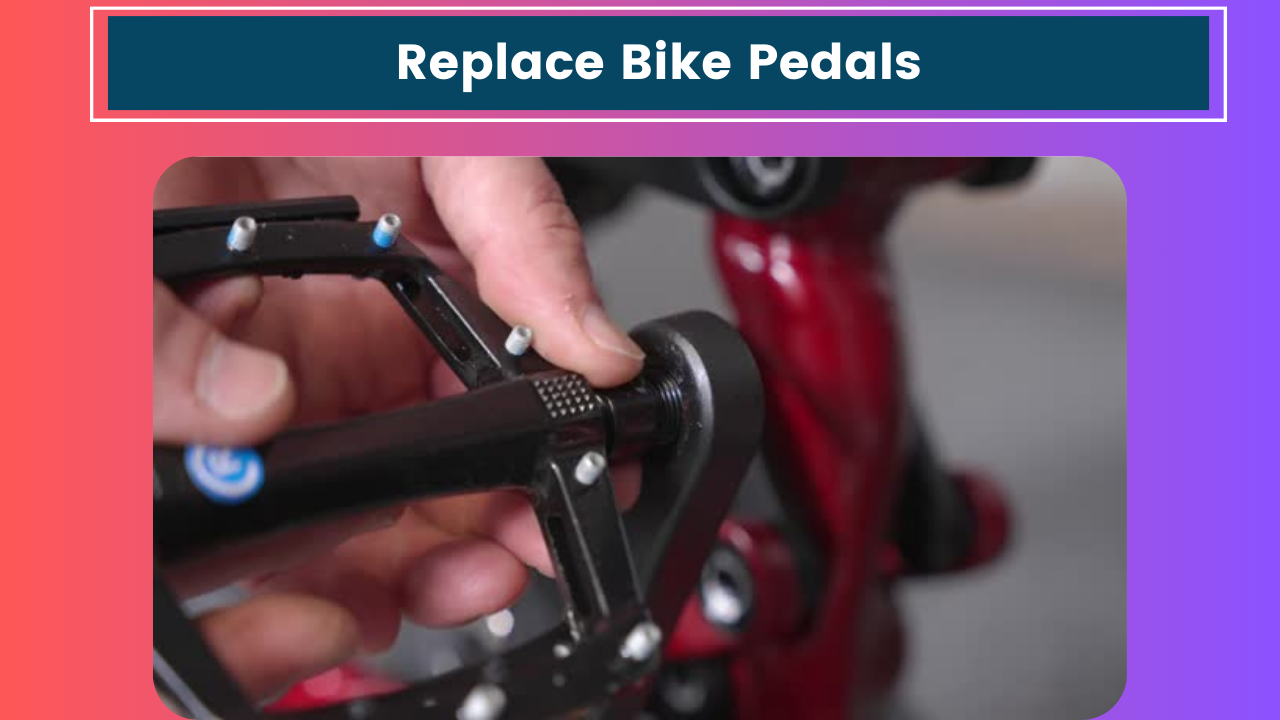
Hey there, fellow cyclists! It’s been a while since I’ve written an article, but I’m back and ready to share some knowledge. Today, we’re diving into the world of bike maintenance – specifically, how to replace those worn-out pedals. Trust me, I’ve been there. Last week, I was out on a ride when I noticed my pedals weren’t feeling quite right. So, I decided it was time for an upgrade. Let me walk you through the process I used to swap out my old pedals for some shiny new ones.
Why Replace Your Pedals?
Before we get into the nitty-gritty, let’s talk about why you might want to replace your pedals in the first place. There are a few reasons:
- Wear and tear: Over time, pedals can become worn, leading to decreased performance and potential safety issues.
- Upgrade: Maybe you’re looking to switch to clipless pedals or just want something with a better grip.
- Style: Let’s face it, sometimes we just want our bikes to look cooler.
- Damage: If you’ve had a crash or your pedals have taken a beating, it might be time for a replacement.
In my case, I noticed some play in the bearings, and the grip wasn’t what it used to be. Plus, I’d been eyeing a new set of pedals for a while, so it seemed like the perfect excuse to make a change.
What You’ll Need
Alright, before we dive in, let’s gather our tools. Here’s what you’ll need:
- New pedals (obviously)
- Pedal wrench or Allen key (depending on your pedals)
- Grease
- Clean rag
- Optional: Anti-seize compound
I grabbed my tools and headed out to the garage. It was a beautiful Saturday afternoon, and I figured this would be a quick project before heading out to dinner with friends later.
Step-by-Step Guide to Replacing Your Bike Pedals
Identify Your Pedal Type
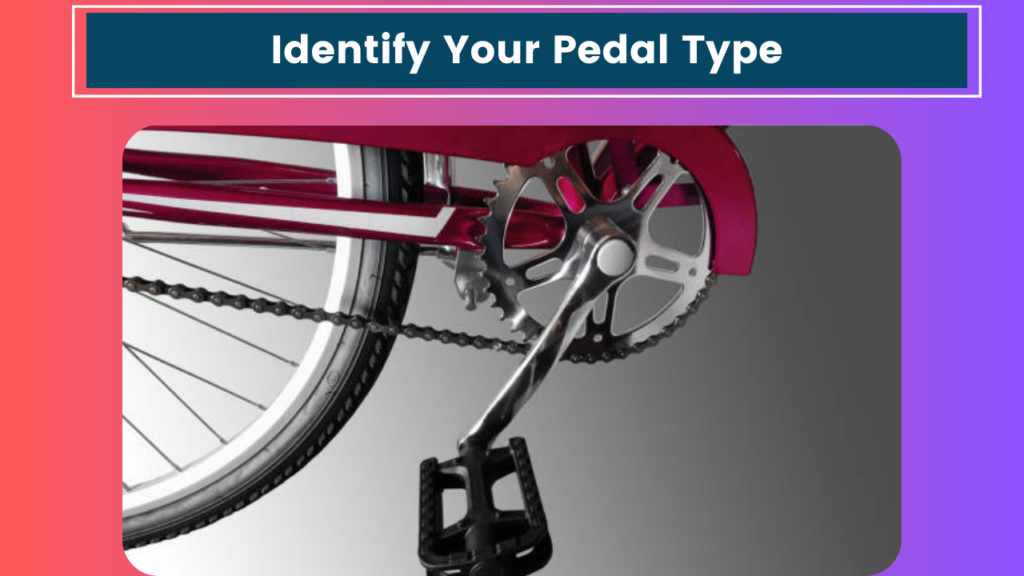
First things first, you need to know what type of pedals you’re dealing with. Most pedals are either removed with a pedal wrench or an Allen key. Take a look at the back of the pedal spindle (the part that attaches to the crank arm). If you see flats for a wrench, you’ll need a pedal wrench. If you see a hexagonal hole, you’ll need an Allen key.
My old pedals used an Allen key, which made things a bit easier. I remember the first time I changed pedals and spent way too long trying to figure out which tool I needed. Learn from my mistakes, folks!
Position Your Bike
To make this job easier, you’ll want to position your bike in a way that gives you easy access to the pedals. I like to either flip the bike upside down (resting on the seat and handlebars) or use a bike stand if you have one. Just make sure it’s stable – you don’t want your pride and joy toppling over mid-project!
I opted for the upside-down method this time. It’s not the fanciest setup, but it gets the job done.
Loosen the Pedals
Here’s where things can get a bit tricky. Pedals are threaded differently on each side of the bike to prevent them from loosening as you ride. The right pedal loosens counter-clockwise (the usual “lefty-loosey” way), but the left pedal loosens clockwise. I know it’s confusing, but trust me on this one.
Position your wrench or Allen key and apply steady pressure to break the initial resistance. If it’s been a while since the pedals were installed, this might take some effort. Don’t be afraid to use a bit of muscle, but be careful not to slip and scrape your knuckles on the chainring. Been there, done that, and let me tell you, it’s not fun explaining to your dinner date why your hands look like you’ve been in a fight with a cheese grater.
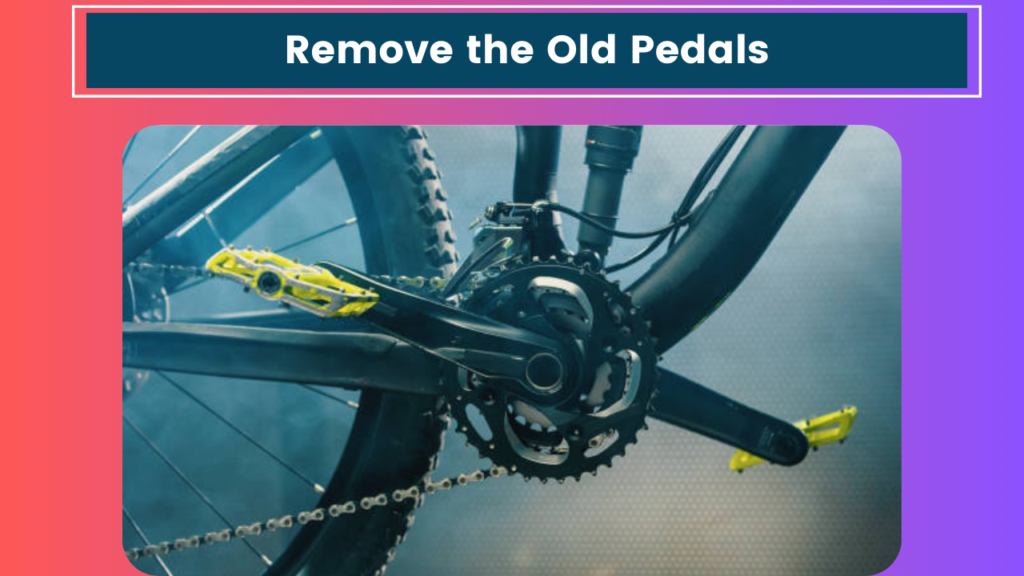
Remove the Old Pedals
Once you’ve broken that initial resistance, unscrew the pedals the rest of the way by hand. Be careful as you near the end of the threads – you don’t want the pedal to fall and bonk you on the head (speaking from experience here).
As I was removing my old pedals, I couldn’t help but reminisce about all the miles we’d ridden together. It’s funny how attached we can get to bike parts, isn’t it?
Clean and Inspect the Crank Arms
With the old pedals off, take a moment to clean the crank arms. Use your rag to wipe away any dirt or old grease. This is also a good time to inspect the threads on the crank arms. If you see any damage, it might be worth having a bike shop take a look before you install the new pedals.
I noticed a bit of gunk built up on my crank arms, so I took a few extra minutes to clean them thoroughly. Might as well do the job right, you know?
Prepare the New Pedals
Take your new pedals out of the package and identify which is left and which is right. They should be marked with an “L” or “R” somewhere on the spindle. This is crucial – don’t mix them up!
Apply a thin layer of grease to the threads of each pedal. This will help prevent them from seizing and make them easier to remove in the future. If you’re using an anti-seize compound, you can use that instead of grease.
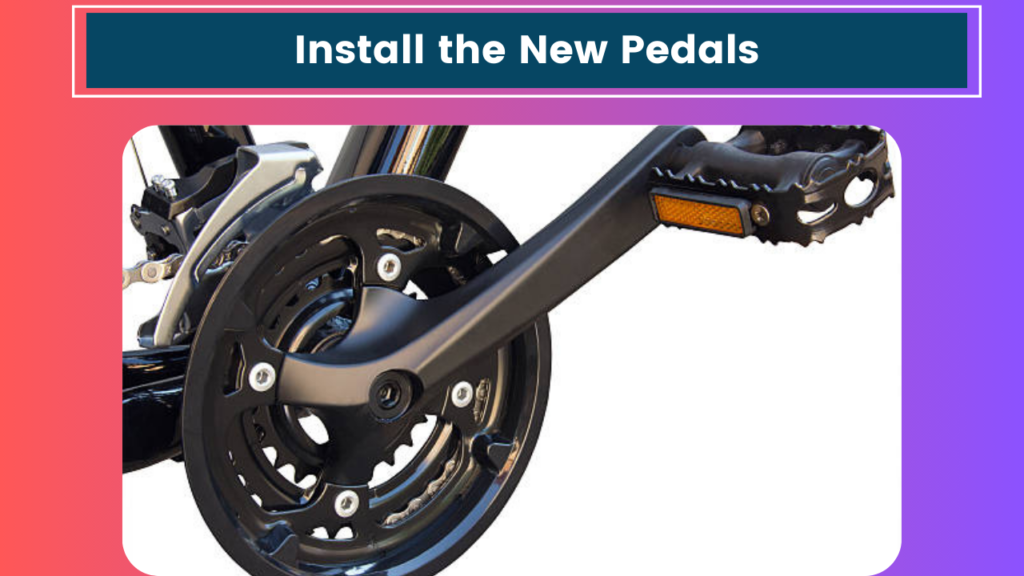
Install the New Pedals
Start threading the pedals into the crank arms by hand. Remember, the right pedal tightens clockwise, and the left pedal tightens counterclockwise. Go slowly and make sure you’re not cross-threading.
Once you’ve got them hand-tight, use your wrench or Allen key to finish tightening them. They should be snug, but don’t go overboard – you’re not trying to win a strongman competition here.
Double-Check Your Work
Before you flip your bike back over, give each pedal a spin to make sure they’re moving freely. Check that they’re tightened securely and that there’s no play in the connection to the crank arm.
I always like to do a quick visual inspection at this point, just to make sure everything looks right. Call me paranoid, but I’d rather catch any issues now than when I’m halfway through a ride!
Take Them for a Spin
The moment of truth! Flip your bike back over (or take it off the stand) and take it for a quick spin around the block. Pay attention to how the new pedals feel and listen for any unusual noises.
I hopped on my bike and did a quick lap around the neighborhood. The new pedals felt great – smooth, secure, and with that satisfying “new bike part” feel. It’s the little things that make us cyclists happy, right?
Final Thoughts
And there you have it – that’s how you replace your bike pedals! It’s a relatively simple job that can make a big difference in your riding experience. Plus, there’s something satisfying about doing your bike maintenance. It gives you a deeper connection to your ride and can save you some money in the long run.
After I finished up, I cleaned up my tools, washed the grease off my hands (pro tip: keep some of that heavy-duty hand cleaner in your garage), and got ready for dinner. I couldn’t wait to tell my friends about my bike upgrade – though I’m pretty sure they’re tired of hearing about my cycling adventures by now.
Remember, if you’re ever unsure about a bike maintenance task, don’t be afraid to ask for help. Your local bike shop or a more experienced cycling buddy can be a great resource. And always prioritize safety – a properly maintained bike is a safer bike.
Well, that’s all for now. I hope you found this guide helpful. Now, if you’ll excuse me, I’m off to enjoy my new pedals on a Sunday morning ride. Happy cycling, everyone!


