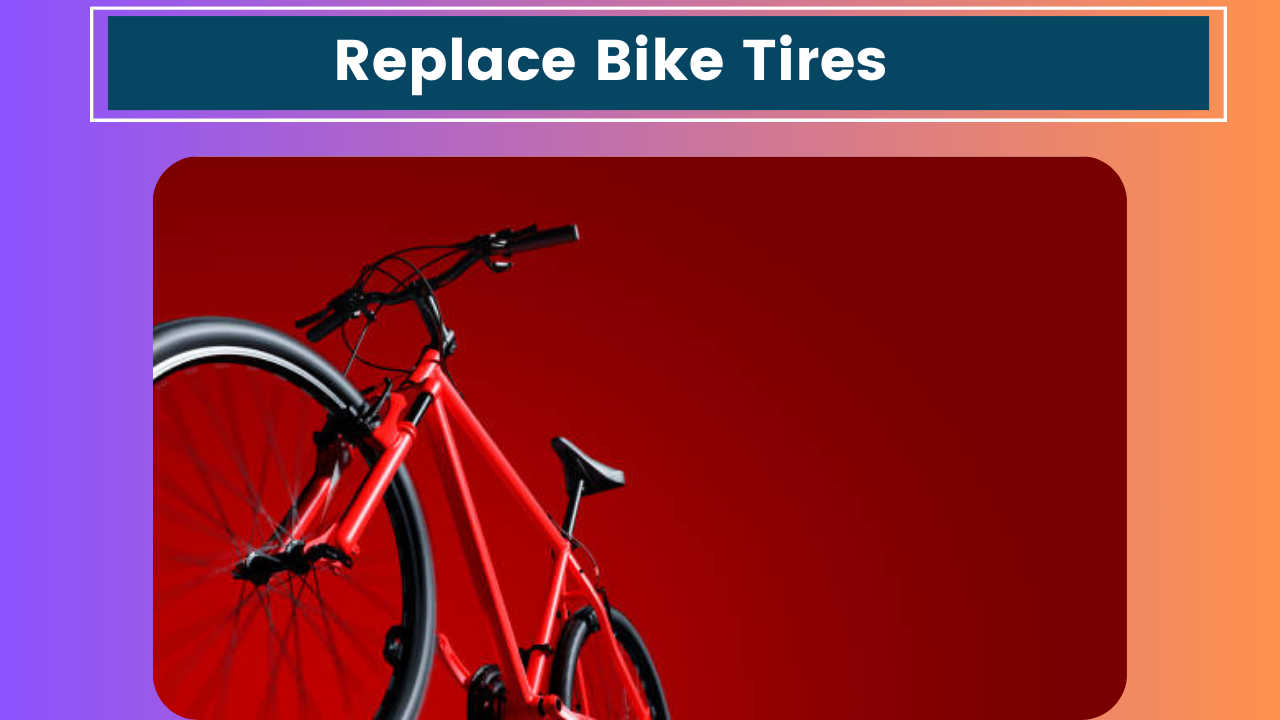
Hey there, fellow cyclists! It’s Mike from Mike’s Bike Blog. I’ve been meaning to write this article for a while now, but you know how it goes – life gets busy, and before you know it, weeks have passed. Anyway, I finally got around to it last weekend after I helped my neighbor replace her bike tires. It reminded me how daunting this task can seem if you’ve never done it before, so I thought I’d share my experiences and some tips to help you out.
Before we dive in, let me tell you a quick story. Last summer, I was out on a long ride when I got a flat tire about 20 miles from home. I hadn’t replaced my tires in ages, and to be honest, I was a bit rusty on the whole process. It took me way longer than it should have, and I ended up missing dinner with my family. Not cool. So, trust me when I say that knowing how to replace your bike tires efficiently is a valuable skill!
Alright, let’s get into it. I’ll break this down into easy-to-follow steps and throw in some pro tips along the way.
What You’ll Need
- Patience (trust me, you’ll need it your first few times)
- New tires (obviously!)
- Tire levers (2-3 should do the trick)
- A bike pump
- A wrench (if your wheels don’t have quick-release skewers)
Optional but helpful
- Talcum powder
- Gloves to keep your hands clean
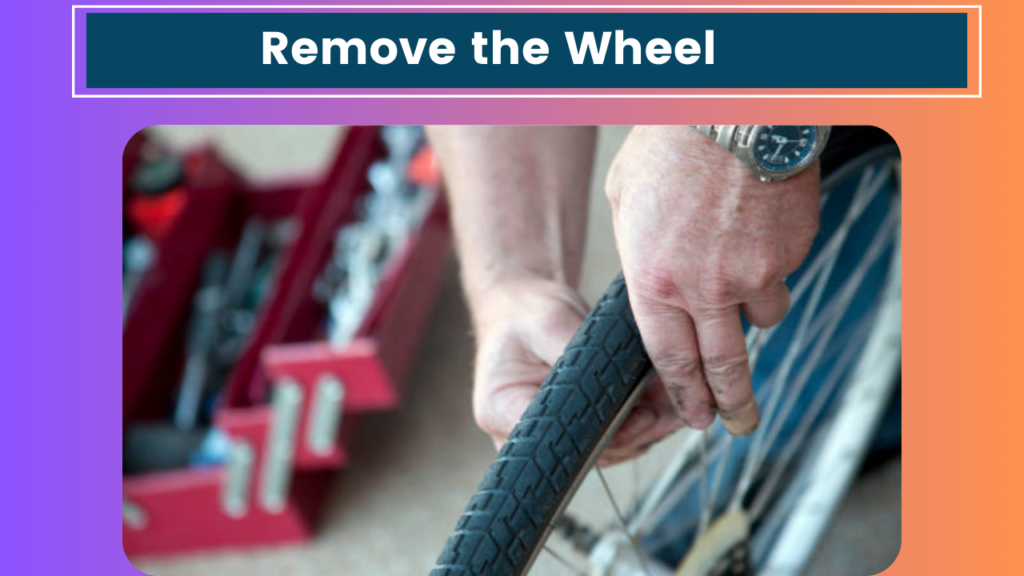
Step 1: Remove the Wheel
First things first, we need to get that wheel off the bike. If you’ve got quick-release skewers, this part’s a breeze. Just open the lever and unscrew it a bit, then pull the wheel out. If you’re dealing with nuts, you’ll need to use your wrench to loosen them.
For the rear wheel, don’t forget to shift your bike into the smallest gear first. This makes it easier to remove and reinstall the wheel without the chain getting in the way. I learned this the hard way once and spent a good 10 minutes wrestling with the chain. Not fun.
Pro tip: If you’re working on the rear wheel, it’s helpful to turn your bike upside down and rest it on the seat and handlebars. Just make sure to put down a towel or something to protect them.
Step 2: Deflate the Tire
This might seem obvious, but you’d be surprised how many people forget this step. Trust me, I’ve been there! Deflate the tire completely by pressing down on the valve stem. If it’s a Presta valve, unscrew the little nut at the top first.
Step 3: Remove the Old Tire
Now comes the part that can be a bit tricky, especially if you’re new to this. We’re going to use the tire levers to pry the tire off the rim. Start by inserting one lever between the tire and the rim, and hook it onto a spoke to keep it in place. Then, take the second lever and insert it next to the first, working your way around the rim to separate the tire.
I remember the first time I did this, I was so worried about damaging the rim that I was being way too gentle. Don’t be afraid to use a bit of force, but be careful not to pinch the inner tube if you’re planning to reuse it.
Once you’ve got one side of the tire off, the other side should come off easily. You can usually just pull it off with your hands at this point.
Step 4: Inspect the Rim
Before we put on the new tire, it’s a good idea to check the rim for any damage or sharp edges. Run your finger along the inside of the rim to feel for any problems. If you find any, you might want to smooth them out with some sandpaper or replace the rim tape.
This is also a good time to clean the rim if it’s dirty. A little soap and water can go a long way in keeping your bike in good shape.
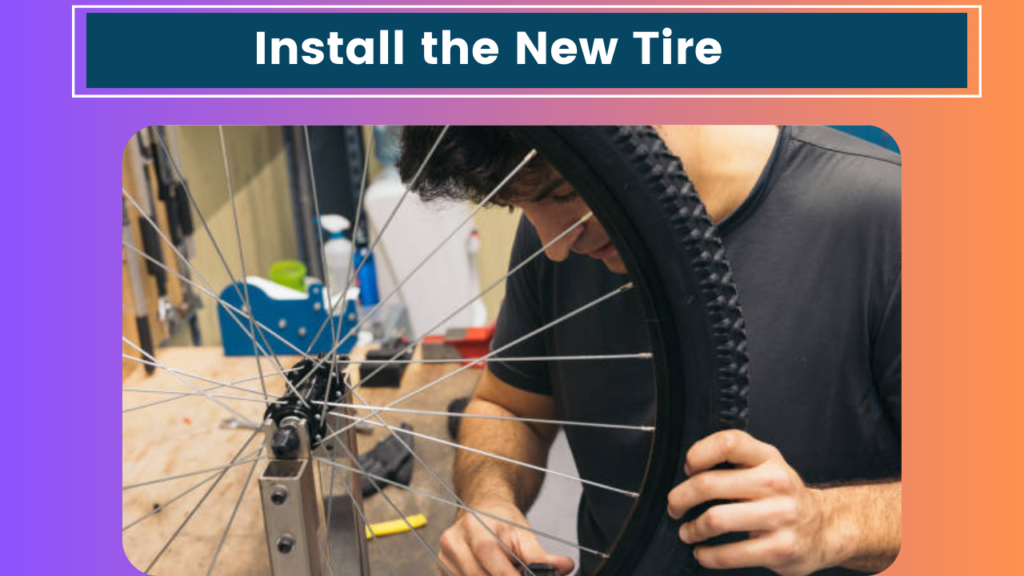
Step 5: Install the New Tire
Alright, now for the fun part! Take your new tire and start by fitting one side onto the rim. This should be pretty easy – just work your way around, pushing the tire into the rim as you go.
Now, if you’re using an inner tube (which most of us are), this is when you’ll want to partially inflate it and place it inside the tire. Make sure it’s not twisted and that the valve stem is straight.
Here’s where things can get a bit tricky. We need to get the other side of the tire onto the rim, and it can be a tight fit. Start at the valve stem and work your way around, using your thumbs to push the tire into place. You might need to use the tire levers for the last bit, but be careful not to pinch the inner tube.
Pro tip: If you’re having trouble getting the tire on, try using some talcum powder. It can help the tire slide onto the rim more easily. Just don’t go overboard – a little goes a long way!
Step 6: Inflate the Tire
We’re almost there! Before you fully inflate the tire, pump it up just enough to give it some shape. Then, go around both sides of the tire and make sure it’s seated properly on the rim. You don’t want any part of the inner tube peeking out!
Once you’re sure everything’s in place, go ahead and inflate the tire to the recommended pressure. You can usually find this printed on the sidewall of the tire.
Step 7: Reinstall the Wheel
Last step! Put the wheel back on the bike, making sure it’s seated properly in the dropouts. If you’ve got quick-release skewers, tighten them up and close the lever. For nuts, use your wrench to tighten them securely.
If you’re working on the rear wheel, don’t forget to reattach the chain to the gears. Give the wheel a spin to make sure everything’s running smoothly.
And there you have it! You’ve successfully replaced your bike tire. Give yourself a pat on the back – you’ve just learned a valuable skill that’ll serve you well in your cycling adventures.
Some Final Thoughts
Now that we’ve gone through the process, I want to share a few extra tips that I’ve picked up over the years:
- Practice makes perfect: The first few times you replace a tire, it might take you a while. That’s normal! The more you do it, the faster and easier it’ll become. I can now change a tire in about 10 minutes, but it didn’t start that way.
- Carry a spare tube: Even if you know how to replace a tire, it’s a good idea to carry a spare inner tube when you’re out riding. It’s much quicker to swap out a tube than to patch one on the side of the road.
- Check your tires regularly: Don’t wait for a flat to inspect your tires. Every few weeks, take a close look at them. Check for wear, cuts, or any embedded objects that could cause a puncture. Catching problems early can save you from a lot of hassle down the road.
- Invest in good tires: While it might be tempting to go for the cheapest option, investing in quality tires can save you money and headaches in the long run. They’ll last longer and are less likely to get flats.
- Don’t forget your tire pressure: Proper tire pressure is crucial for a smooth, safe ride. Get in the habit of checking your tire pressure before each ride. It only takes a minute and can make a big difference in your cycling experience.
Wrapping Up
Well, folks, that about wraps it up for this guide on how to replace bike tires. I hope you found it helpful and not too long-winded. Writing this has made me realize I should probably go check my bike tires – they might be due for a change soon.
If you have any questions or your tire-changing tips to share, feel free to leave a comment below. I always enjoy hearing from fellow cyclists and learning new tricks of the trade.
Until next time, happy riding and may all your bike adventures be puncture-free! I’m off to grab some dinner now – all this tire talk has made me hungry. Catch you on the flip side!


