Setting up a bike tubeless tire system can seem challenging, but it’s easier than you might think. I’ll guide you through the steps to make your ride smoother and more enjoyable. A tubeless setup reduces the risk of flats, improves traction, and allows for lower tire pressures, which can enhance your biking experience.
In this post, I’ll share the tools and materials you’ll need, along with a step-by-step process to install your tubeless tires correctly. With the right preparation, you can enjoy the benefits of tubeless tires quickly and efficiently. Getting it done right will help you spend more time riding and less time fixing issues on the road.
Understanding Tubeless Tires
I find tubeless tires to be a great option for many cyclists. They offer unique benefits and require specific components to work effectively. Here is what I think is important about them.
Benefits of Going Tubeless
Using tubeless tires has several advantages. First, they are less likely to flat. When a puncture happens, the sealant inside helps to plug the hole. This means I can keep riding without always worrying about changing a tube.
Another benefit is reduced weight. Without an inner tube, my bike feels lighter. This can improve my speed and handling.
Additionally, tubeless tires can run at lower pressures. Lower pressure gives better traction and a smoother ride. This is great for rough trails or uneven roads. Overall, I believe many riders can benefit from switching to tubeless.
Components of a Tubeless Tire System
Setting up a tubeless tire system requires specific parts. The key components are the tire, rim, valve stem, and sealant.
1. Tubeless Tire: This tire is made to hold air without a tube. It usually has thicker sidewalls for added durability.
2. Tubeless Rim: This rim has a special design to help keep the tire secure. A tight fit is important for sealing air.
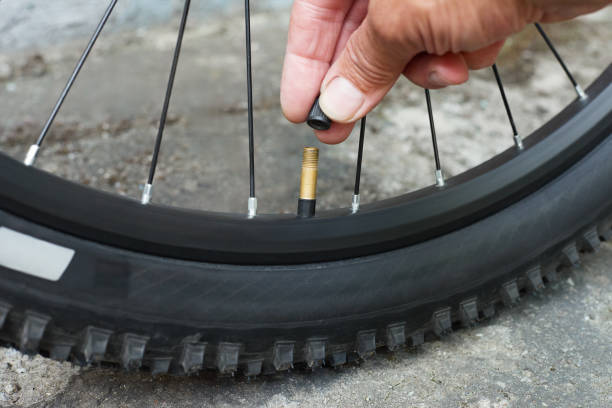
3. Valve Stem: I need a tubeless valve stem to allow air in. It’s also where I pour in the sealant.
4. Sealant: This liquid is crucial. It fills small holes and cracks, helping to prevent flats.
Having the right components is key to ensuring my tubeless system works well.
Preparing for Installation
I want to make sure I have everything I need before starting to set up my bike’s tubeless tire system. This involves gathering necessary tools, checking the compatibility of the wheel and tire, and inspecting the components to ensure they are clean and ready for installation.
Tools and Materials Needed
For a smooth installation, I gather the following tools and materials:
- Tire sealant: This helps to seal any small punctures in the tire.
- Tubeless valve stems: These are essential for holding air in the tire.
- Tire levers: Useful for installing the tire onto the rim.
- Air compressor or tubeless pump: Needed to seat the tire properly.
- Rim tape: This helps to create an airtight seal on the rim.
- Soapy water: It makes it easier to slide the tire on.
Having all these items on hand will make the installation faster.
Wheel and Tire Compatibility
Before I start, I check if my wheel and tire are compatible. Most modern mountain and road bike wheels support tubeless installation, but it’s good to verify.
I look for:
- Rim type: Tubeless-ready rims have a specific design to hold air better.
- Tire type: Ensure the tire is labeled “tubeless” or “tubeless-ready.”
- Size compatibility: Check that the tire size matches the rim size, which is usually printed on the tire sidewall.
This step is crucial to avoid issues during the installation process.
Initial Inspection and Cleaning
I perform an initial inspection of my wheel and tire. This includes looking for any damage such as cracks or dents on the rim. If I spot any issues, I avoid using that wheel for tubeless tires.
Next, I clean the rim and tire surfaces. I use a clean cloth and soapy water to remove dirt, grease, or old tape. Proper cleaning helps ensure a tight seal, preventing air leaks.
By checking everything carefully, I set myself up for a successful tubeless tire installation.
Installation Process
Setting up a bike tubeless tire system involves several essential steps. I will describe how to seat the tire bead, add sealant, inflate and seal the tire, and finally, make key adjustments.
Seating the Tire Bead
First, I place the tire onto the rim. I ensure it aligns properly. The tire bead must sit evenly against the rim. I start by pulling the bead over the edge, making sure there are no twists.
Next, I work my way around the tire, using my hands to push the bead into place. If needed, I can use tire levers, but I’m careful not to damage the tire or rim. With the bead seated, I check that it sits evenly all around.
Adding Sealant
I measure the correct amount of sealant. For most tires, about 2-4 ounces work well. I pour the sealant directly into the tire using a valve core removal tool. This helps prevent spills.
After adding sealant, I carefully reinsert the valve core. It’s important to make sure it’s tight to avoid leaks. I then rotate the tire to spread the sealant evenly along the inside.
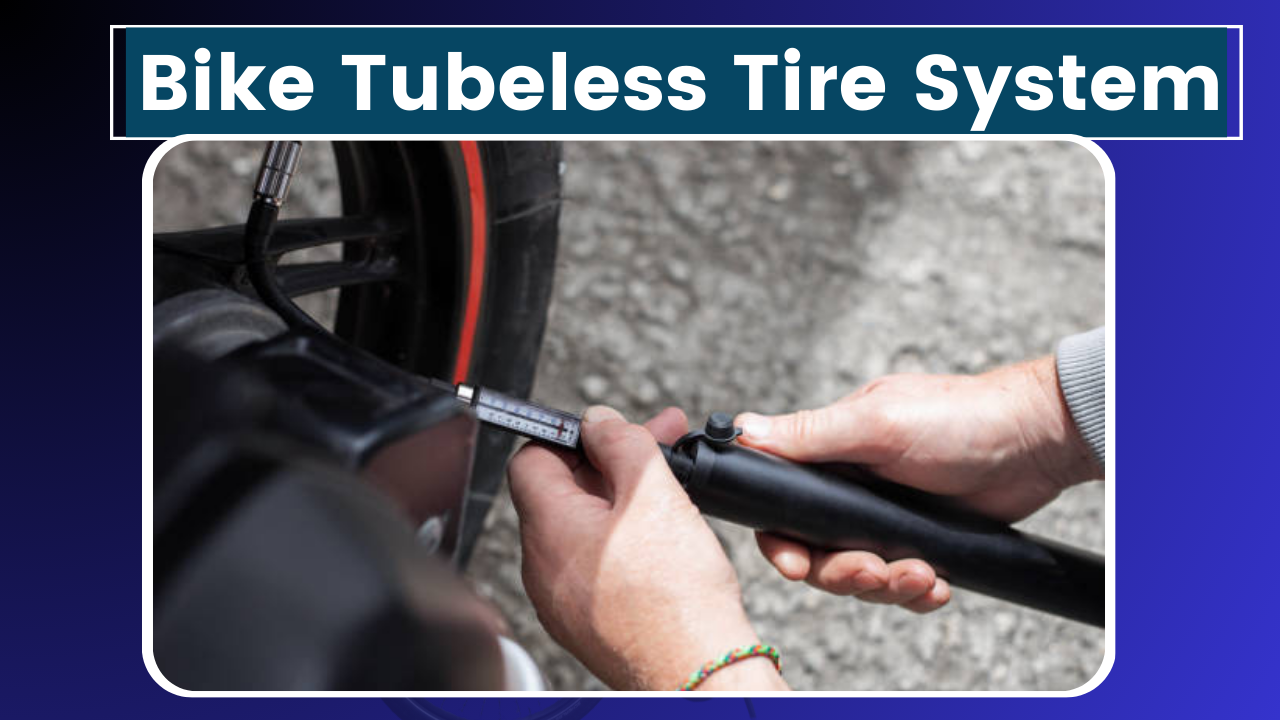
Inflating and Sealing the Tire
Now, I attach a pump or compressor to the valve. I quickly inflate the tire, listening for a snap as the bead seals against the rim. This can take a bit of air pressure, around 30-40 PSI, depending on the tire.
It’s normal for the tire to creak or pop as it seats. After inflation, I give the tire a spin. This helps distribute the sealant and ensures no air leaks. If I hear any hissing, I may need to add more sealant.
Final Adjustments and Inspection
Once the tire is inflated, I inspect it closely. I check for even seating and ensure there are no bubbles or gaps. The bead must be uniformly in place around the rim.
I shake the tire gently to have sealant coat the inner surface. Finally, I double-check the pressure. My goal is to have the tire correctly inflated before taking my bike for a ride.
Maintenance and Troubleshooting
Keeping a bike’s tubeless tire system in good shape requires regular care and awareness of common problems. I will highlight maintenance tips to help avoid issues and address solutions for problems that may arise.
Regular Maintenance Tips
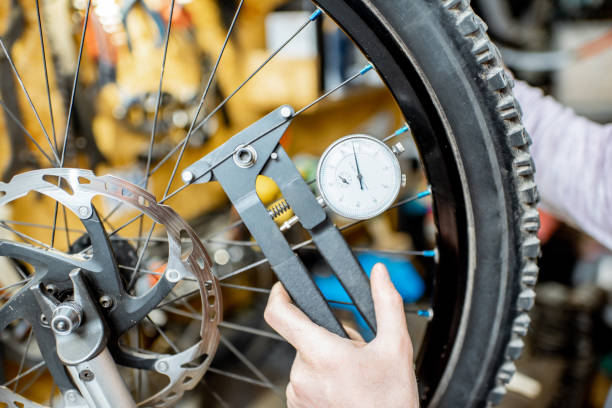
I check my tire pressure regularly. Tubeless tires typically lose air more slowly than traditional tires, but I still make it a habit to inspect the pressure every few weeks.
I also inspect the tire sealant. Sealants can dry out over time. I recommend adding new sealant every 3 to 6 months to keep it effective.
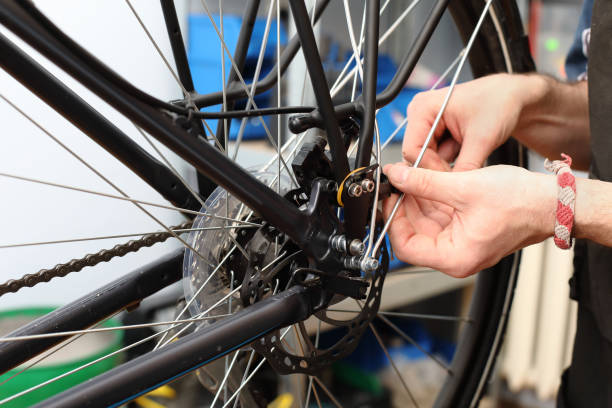
Additionally, I look for any signs of wear or damage. This includes checking for punctures or cuts in the tire tread. If I notice any issues, I take care of them quickly. I clean the rim and tire bead area to ensure a proper seal.
Common Issues and Solutions
One common problem is losing air pressure. If this happens, I first check for leaks. Spraying soapy water on the tire can show where air is escaping. If I find a small puncture, I can often seal it with the existing sealant.
Another issue is sealant clogging. If the valve gets blocked, it may not let air out properly. I solve this by cleaning the valve with warm water. If it doesn’t work, I may need to replace the valve core.
Lastly, if the tire is difficult to mount, I make sure the rim and tire beads are clean. I may need to use a tire lever or even soapy water to help it slide on. Keeping everything clean and well-maintained makes a big difference in performance.


