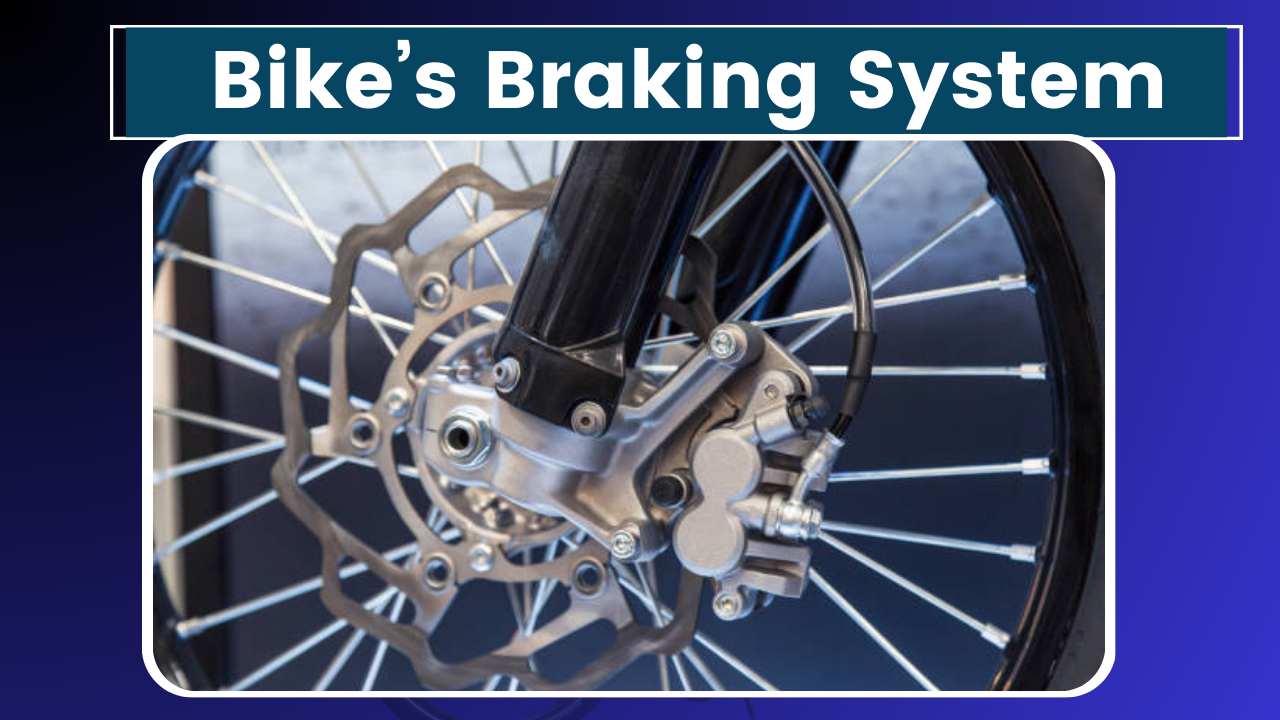
Alright, folks, let’s talk about something that’s been on my mind lately—upgrading your bike’s braking system. When I first got into cycling, I was all about speed, gears, and flashy accessories. But over time, I realized that the most important part of any bike is its braking system. After all, what’s the point of going fast if you can’t stop when you need to, right?
So, today, I’m going to walk you through how to upgrade your bike’s braking system. Whether you want to enhance your stopping power, reduce weight, or feel more confident on those steep descents, this guide is for you. Let’s dive in, and I’ll share some tips I’ve picked up along the way.
Why Upgrade Your Brakes?
Before we jump into the how-tos, let’s chat about why you might want to upgrade your bike’s brakes in the first place. For me, it was all about safety and control. I remember this one time I was bombing down a hill, and I realized my brakes weren’t quite up to the task. I had that heart-in-my-throat moment where I thought, “This could end badly.” That’s when I knew it was time to make some changes.
Upgrading your brakes can offer several benefits:
- Improved Stopping Power: Better brakes mean shorter stopping distances, which is crucial in emergencies.
- Increased Modulation: This is the ability to control the braking force more precisely, which is especially important on technical trails or in wet conditions.
- Reduced Weight: Some high-end braking systems are lighter, which can make a noticeable difference in your bike’s overall weight.
- Enhanced Durability: Upgraded components are often more durable, meaning they’ll last longer and perform better over time.
Types of Braking Systems
Okay, now that we’ve covered the why, let’s talk about the what. There are a few different types of braking systems you can choose from, depending on your bike and riding style. Here’s a quick rundown:
- Rim Brakes: These are the most common type, found on many road and hybrid bikes. They’re affordable, easy to maintain, and relatively lightweight. However, they can struggle in wet or muddy conditions.
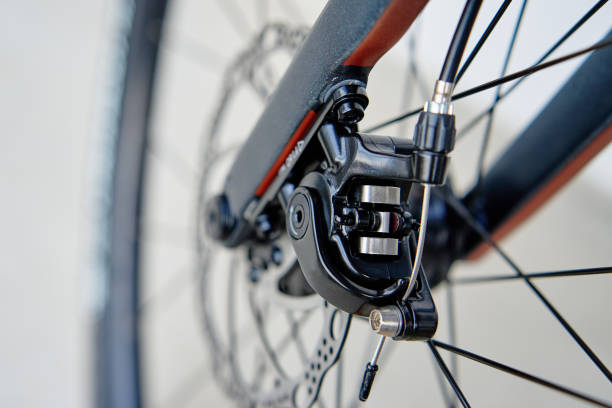
- Disc Brakes (Mechanical): Mechanical disc brakes use cables to actuate the braking force. They offer better-stopping power than rim brakes and perform well in all conditions, but they can be a bit heavier.
- Disc Brakes (Hydraulic): These are the gold standard when it comes to braking systems. Hydraulic disc brakes use fluid to transfer force, offering superior stopping power, modulation, and consistency. They’re more expensive and require a bit more maintenance, but if you’re serious about your riding, they’re worth it.
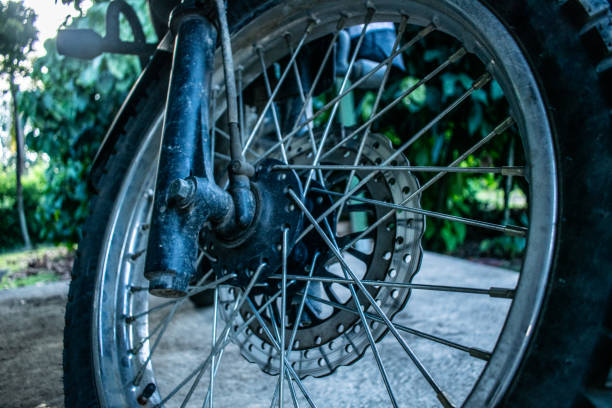
Step 1: Assess Your Current Braking System
Alright, so before you go out and start buying new parts, it’s important to assess your current braking system. Take a close look at your bike and figure out what type of brakes you currently have. Are they rim brakes or disc brakes? Are they mechanical or hydraulic? Understanding what you have will help you decide what upgrades make the most sense.
I like to take my bike for a quick spin and pay attention to how the brakes feel. Do they stop the bike quickly? Is there any squealing or grinding? How do they perform on hills? This will give you a good baseline to compare against once you’ve made your upgrades.
Step 2: Choose the Right Upgrade for Your Needs
Now that you’ve got a good understanding of your current braking system, it’s time to decide what kind of upgrade you want. Here are a few options:
- Upgrade to Better Pads: If you’re looking for a quick and affordable upgrade, start with the brake pads. High-performance pads can make a noticeable difference in stopping power and modulation. Look for pads made from advanced materials like sintered metal or ceramic.
- Upgrade to Disc Brakes: If your bike currently has rim brakes, upgrading to disc brakes is a big step up. You’ll need to consider whether your frame and fork are compatible with disc brakes, but if they are, this is one of the best upgrades you can make.
- Upgrade to Hydraulic Disc Brakes: If you already have mechanical disc brakes, consider upgrading to a hydraulic system. The improved performance and feel are well worth the investment, especially if you ride in challenging conditions.
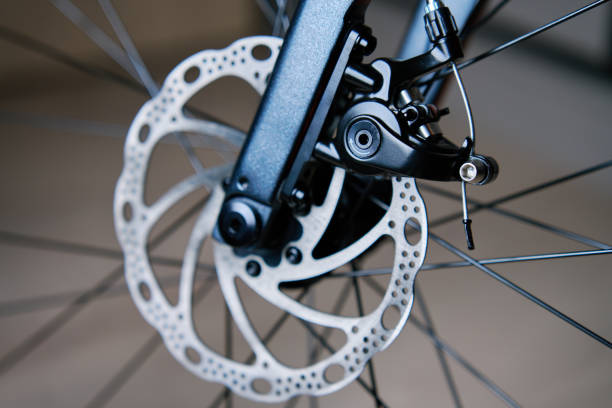
- Upgrade the Rotors: Larger rotors can increase your braking power, particularly on long descents. If you’re upgrading to hydraulic brakes, this might be a good time to go for larger rotors as well.
Step 3: Gather Your Tools and Parts
Alright, I’m going to dinner soon, so let me quickly go over what you’ll need. Depending on the upgrade you’ve chosen, you might need the following:
- Brake Pads: High-performance options for improved stopping power.
- Brake Calipers: If you’re upgrading to disc brakes.
- Brake Levers: Hydraulic levers for a full hydraulic system.
- Rotors: Consider upgrading to larger rotors.
- Bleed Kit: If you’re installing hydraulic brakes, you’ll need this to remove air from the system.
- Allen Wrenches and Screwdrivers: For installation and adjustments.
- Zip Ties: To secure brake cables and hoses.
Make sure you have everything you need before you start. There’s nothing worse than getting halfway through a job and realizing you’re missing a crucial part!
Step 4: Install the New Components
Okay, let’s get our hands dirty! Here’s how to go about installing your new braking components.
A. Installing New Brake Pads
If you’re just upgrading the pads, this is a pretty straightforward process:
- Remove the old pads by releasing the retaining pin or bolt.
- Clean the caliper with isopropyl alcohol to remove any dirt or residue.
- Insert the new pads, making sure they’re aligned properly.
- Secure the retaining pin or bolt and test the brakes to ensure everything’s working correctly.
B. Installing Disc Brakes
If you’re upgrading from rim brakes to disc brakes, it’s a bit more involved, but doable:
- Remove the Wheels: Start by removing both wheels from your bike.
- Install the Rotors: Attach the new rotors to your wheels using the provided bolts. Make sure they’re tightened to the correct torque specification.
- Install the Calipers: Mount the Calipers to your frame and fork. You might need to use adapters depending on your bike’s setup.
- Attach the Brake Levers: If you’re upgrading to hydraulic brakes, this will involve attaching the new levers to your handlebars and routing the hoses.
- Bleed the Brakes: For hydraulic systems, use a bleed kit to remove any air bubbles from the system. This ensures consistent braking performance.
- Reinstall the Wheels: Once everything is in place, reinstall the wheels and make sure the rotors are properly aligned with the calipers.
C. Adjusting the Brakes
After installing your new components, you’ll need to make some adjustments:
- Align the Calipers: Loosen the caliper mounting bolts and squeeze the brake lever. This will center the caliper on the rotor. Tighten the bolts while holding the lever down.
- Adjust the Lever Reach: Many brake levers have a reach adjustment screw. Adjust this to your preference, so the lever is comfortable for you to use.
- Test the Brakes: Before you hit the road or trail, make sure to test the brakes thoroughly. Check for any rubbing or unusual noises, and make sure the bike stops smoothly and quickly.
Step 5: Fine-Tune and Enjoy
Once you’ve got everything installed and adjusted, it’s time to fine-tune your setup. Take your bike for a spin and pay attention to how the brakes feel. You might need to make minor adjustments to the lever reach or caliper alignment, but that’s normal.
For the first few rides, brake gently to allow the pads to bed in. This process helps the pads conform to the shape of the rotor, ensuring maximum contact and performance.
Extra Tips for Maintaining Your New Brakes
I’m about to head out, but before I go, here are a few tips to keep your upgraded brakes in top shape:
- Regular Cleaning: Keep your rotors and pads clean to ensure consistent performance. Use isopropyl alcohol to remove any dirt or oil.
- Inspect for Wear: Regularly check your brake pads and rotors for wear. Replace them as needed to maintain optimal performance.
- Brake Gently at First: After installing new pads or rotors, brake gently for the first few rides to allow everything to bed in.
- Check for Air Bubbles: If you notice spongy braking performance, you might need to bleed your hydraulic brakes to remove any air bubbles from the system.
Wrapping Up
Upgrading your bike’s braking system is one of the best investments you can make in your ride. Whether you’re looking for better performance, increased safety, or just a more enjoyable riding experience, the right brakes can make all the difference.
As I’m about to head out for dinner, I can’t help but feel a sense of satisfaction knowing that my bike is equipped with the best possible brakes. I hope this guide has been helpful, and that you’re feeling confident about making your upgrades. Happy riding, and remember—when it comes to brakes, better safe than sorry!


