
Hey there, fellow cyclists! It’s been a while since I’ve written about bike maintenance, but today I want to dive into a topic that’s often overlooked: checking your bike chain. I know, I know – it’s not the most exciting part of owning a bike, but trust me, it’s crucial if you want to keep your ride running smoothly and avoid costly repairs down the road.
I remember when I first started cycling seriously. I’d spend hours polishing my frame and adjusting my gears, but I completely ignored my chain. Big mistake! It wasn’t until a more experienced rider pointed out how worn my chain was that I realized I needed to step up my game. That’s when I discovered the magic of chain checker tools.
So, grab a cup of coffee (or your beverage of choice), and let’s chat about how to use these nifty little gadgets to keep your bike in top shape.
What is a Chain Checker Tool?
Before we get into the nitty-gritty, let’s talk about what a chain checker tool is. It’s a small, simple device designed to measure the wear on your bike chain. As you ride, your chain stretches over time – it’s just a natural part of cycling life. But if you let it stretch too far, it can damage other parts of your drivetrain, like your cassette and chainrings. That’s where the chain checker comes in handy.
There are a few different types of chain checkers out there, but they all work on the same basic principle: measuring the distance between chain links. The most common types are:
- Go/No-Go tools: These have two sides, one that should fit between the links of a good chain and one that shouldn’t.
- Graduated tools: These have measurements marked on them, usually showing 0.5%, 0.75%, and 1% wear.
- Digital tools: These give you a precise readout of your chain wear.
For this article, I’ll focus on using the go/no-go style, since it’s the most common and easiest to use.
Getting Started: What You’ll Need
Alright, so you’re ready to check your chain. Here’s what you’ll need:
- A chain checker tool (obviously)
- A clean rag
- Some degreaser (optional, but helpful)
- A bit of patience (trust me, it’s worth it)
Before we dive in, I should mention that it’s best to do this when your bike is clean and dry. If you’ve just come back from a muddy ride, give your bike a quick wash first. It’ll make the whole process easier and more accurate.
Step-by-Step Guide to Using a Chain Checker
Now, let’s get down to business. Here’s how to use that chain checker tool:
Clean Your Chain
I know, I know – I just said to start with a clean bike. But even if your bike looks clean, give your chain a quick once-over with a rag. If it’s grimy, you might want to use a bit of degreaser. A clean chain will give you the most accurate measurement.
Position Your Bike
You’ll want easy access to your chain, so either flip your bike upside down (resting on the saddle and handlebars) or put it in a bike stand if you have one. I prefer using a stand because it’s easier on my back, but either way works.
Find a Straight Section of Chain
Look for a section of the chain that’s not sitting on any gears. The straighter the section, the better your measurement will be.
Insert the Chain Checker
Take your go/no-go tool and insert the “go” side between the inner plates of the chain. It should slip in easily. If it doesn’t, your chain might be worn, or you might need to clean it better.
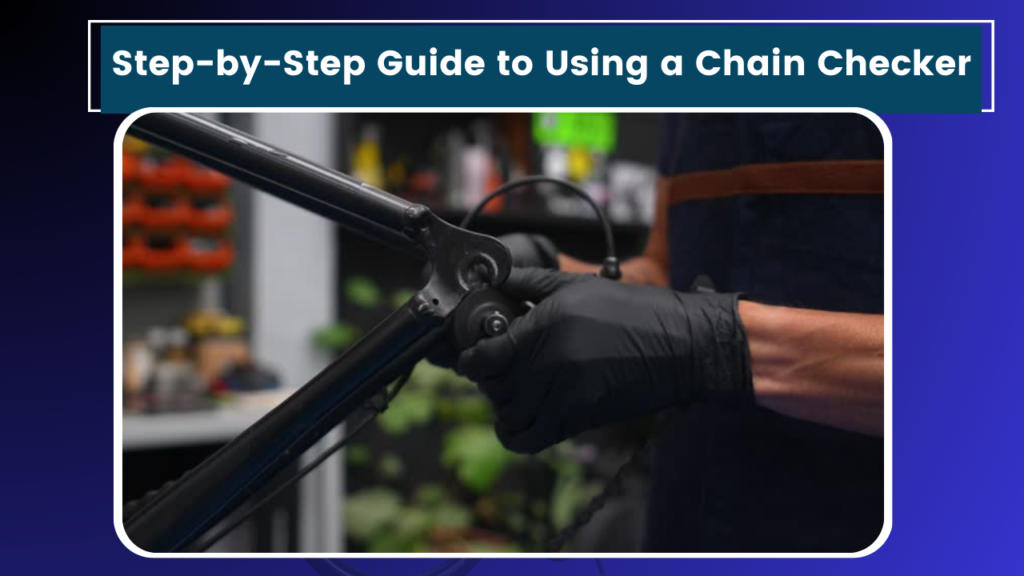
Check the Fit
Once the “go” side is in, try to insert the “no-go” side. This is where the magic happens. If the “no-go” side doesn’t fit, congratulations! Your chain is still in good shape. If it does fit, well… it might be time for a new chain.
Repeat the Process
Don’t just check one spot. Move the tool to a few different sections of the chain and repeat the process. This will give you a more accurate overall picture of your chain’s condition.
Interpret the Results
If the “no-go” side fits in multiple spots, it’s time for a new chain. If it’s close but not quite fitting, you might have some life left in your chain, but you should start thinking about a replacement soon.
Common Mistakes to Avoid
Now that we’ve gone through the steps, let’s talk about some common mistakes I see people make (and, let’s be honest, mistakes I’ve made myself):
- Not cleaning the chain first: A dirty chain can give you inaccurate results. Take the extra minute to wipe it down.
- Only checking one spot: Chains don’t always wear evenly. Check a few different sections to get a complete picture.
- Forcing the tool: If the “go” side doesn’t fit easily, don’t force it. Clean the chain and try again.
- Ignoring the results: If your chain checker is telling you it’s time for a new chain, listen to it! Riding on a worn chain can damage other, more expensive parts of your bike.
- Checking too often: While it’s good to keep an eye on your chain, you don’t need to check it after every ride. For most riders, checking once a month or every 500 miles is plenty.
When to Replace Your Chain
So, your chain checker is telling you your chain is worn. What now? Well, it depends on how worn it is and what kind of riding you do.
If you’re a casual rider who mostly sticks to flat roads, you might be able to squeeze a bit more life out of your chain. But if you’re putting in serious miles or tackling lots of hills, it’s best to replace your chain sooner rather than later.
As a general rule:
- 0.5% wear: Your chain is starting to stretch, but you’ve still got some life left in it.
- 0.75% wear: This is the sweet spot for replacement. Your chain is worn, but you probably haven’t damaged your cassette or chainrings yet.
- 1% wear or more: You’re in the danger zone. Replace your chain ASAP to avoid damaging other parts of your drivetrain.
Remember, a new chain is much cheaper than a new cassette or chainring!
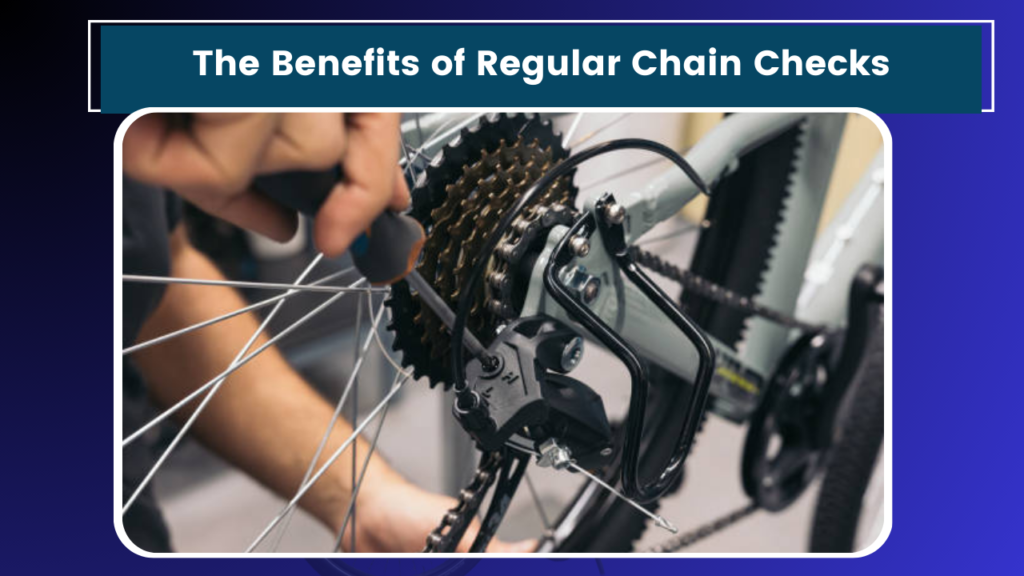
The Benefits of Regular Chain Checks
Now, you might be thinking, “Do I need to bother with all this?” Trust me, I get it. When I first started cycling, I thought chain maintenance was just for the pros or the super-serious riders. But here’s the thing: regular chain checks can save you a ton of hassle (and money) in the long run.
Here are just a few benefits of keeping an eye on your chainwear:
- Smoother rides: A well-maintained chain shifts better and runs more quietly.
- Better efficiency: A worn chain can waste your pedaling power. A good chain means more of your effort goes into moving you forward.
- Longer component life: Replacing your chain before it’s too worn can extend the life of your cassette and chainrings.
- Fewer unexpected breakdowns: There’s nothing worse than a snapped chain in the middle of a ride. Regular checks can help you avoid this.
- Cost savings: While you might spend a bit more on chains, you’ll save money on more expensive drivetrain components in the long run.
Beyond the Chain Checker: Other Maintenance Tips
While we’re on the topic of maintenance, let’s talk about a few other quick checks you can do to keep your bike running smoothly:
- Lube your chain: After you check your chain, give it a quick lube. Just a drop on each roller is plenty.
- Check your tire pressure: Low tire pressure can lead to flats and poor performance.
- Inspect your brake pads: Worn brake pads can be dangerous. Give them a quick look while you’re checking your chain.
- Tighten any loose bolts: A quick once-over with a multi-tool can catch any loose bolts before they become a problem.
Wrapping Up
Whew! We’ve covered a lot of ground here. Who knew there was so much to say about chain checkers? But hey, that’s the beauty of cycling – there’s always something new to learn.
I hope this guide has been helpful. Remember, taking care of your bike doesn’t have to be a chore. Think of it as a way to get to know your bike better. Plus, there’s something satisfying about knowing you’re keeping your ride in top shape.
Next time you’re out for a spin, take a moment to appreciate your smooth-running drivetrain. And if you hear any weird noises or feel like your bike isn’t shifting as well as it used to, you know what to do – break out that chain checker!
Alright, I’ve got to run – my riding buddies are waiting for me at the trailhead. Happy riding, and don’t forget to check that chain!


