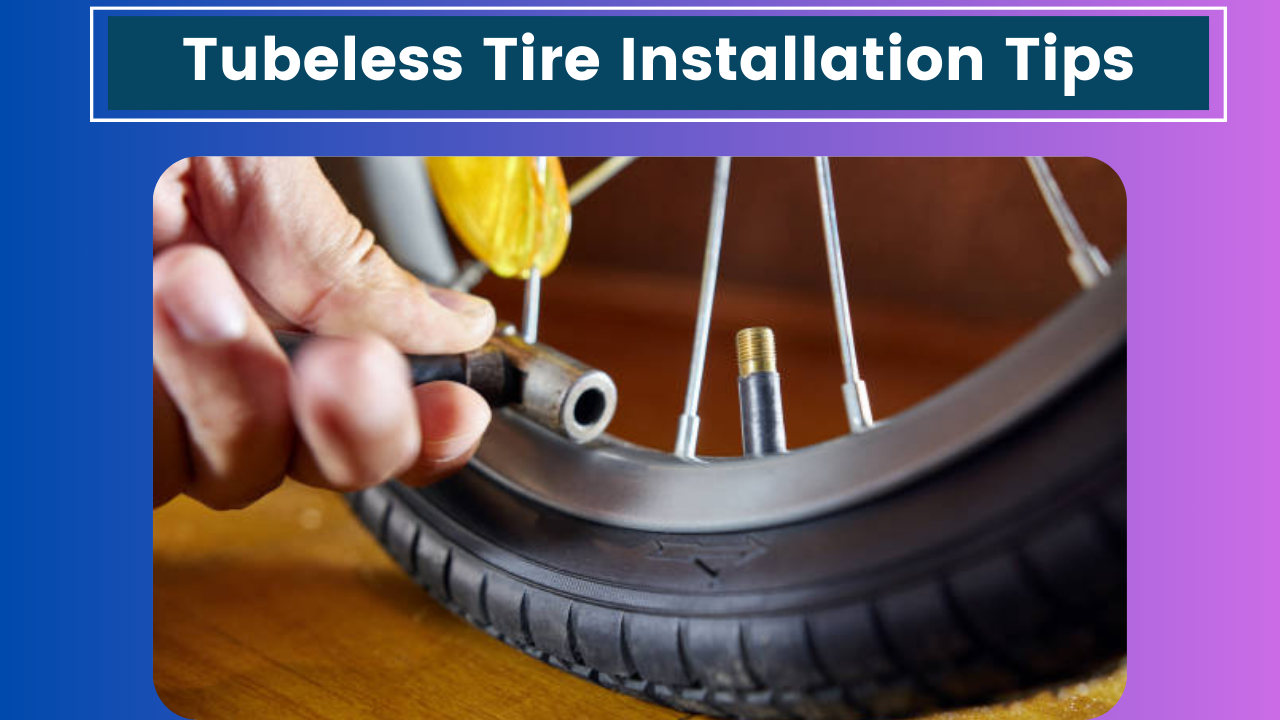
Hey there, fellow gearheads! It’s been a while since I’ve written anything, but I’ve just wrapped up a pretty intense weekend of wrenching on my bike, and I thought I’d share some hard-earned wisdom about tubeless tire installation. Trust me, I’ve been there – covered in sealant, questioning my life choices, and wondering why I didn’t just stick with tubes. But now that I’m on the other side, I can confidently say that tubeless is the way to go. So, grab a coffee (or a beer, I won’t judge), and let’s dive into the world of tubeless tire installation.
Before we get started, let me set the scene. It’s Saturday morning, and I’ve got my bike up on the stand, wheels off, and a brand new set of tubeless-ready tires sitting on the workbench. I’m feeling pretty confident, maybe a little too confident. Little did I know I was in for quite the adventure.
Step 1: Gather Your Arsenal
First things first, you’re gonna need some specialized gear for this job. Here’s what I had on hand:
- Tubeless-ready rims and tires (duh)
- Tubeless valve stems
- Tubeless sealant
- Rim tape (if your rims aren’t already taped)
- Tire levers
- Floor pump (a compressor is even better, but we’ll get to that)
- Soapy water in a spray bottle
- Clean rags
- Patience (trust me, you’ll need it)
Now, I know what you’re thinking – “Do I need all this stuff?” The answer is yes, yes you do. Learn from my mistakes and don’t try to cut corners. I once thought I could get away without proper rim tape, and let’s just say it didn’t end well. I’m still finding dried sealant in weird places.
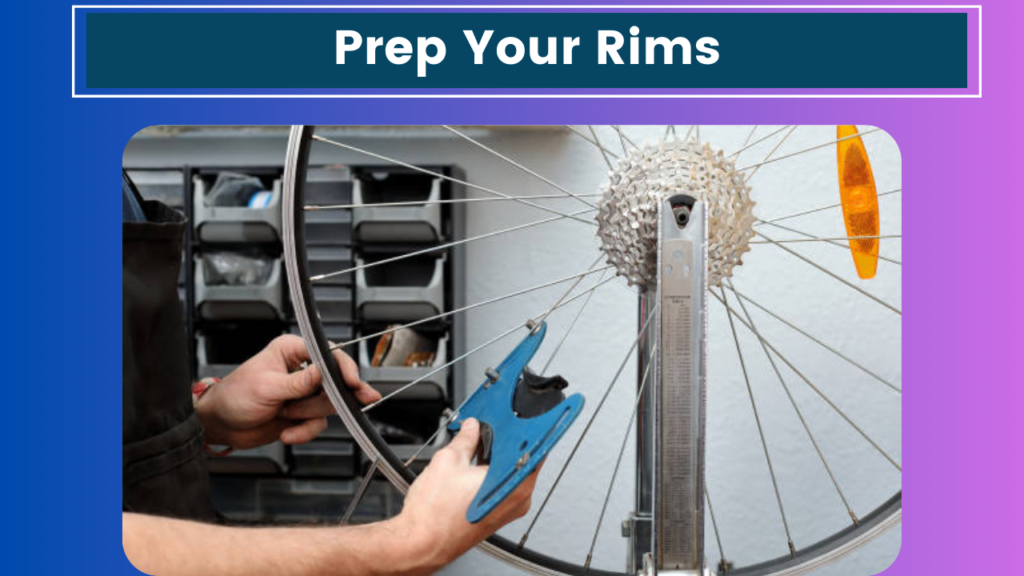
Step 2: Prep Your Rims
Alright, so you’ve got all your gear laid out, and you’re ready to go. The first thing you need to do is make sure your rims are properly prepped. If they’re not already taped for tubeless use, you’ll need to apply rim tape. This is crucial for creating an airtight seal.
I learned this the hard way when I tried to rush through this step. I thought I could get away with a quick, sloppy tape job, but all I got was a lot of frustration and a floor covered in sealant. Take your time here, folks. Make sure the tape is centered and smooth, with no bubbles or wrinkles. It should cover the entire width of the rim bed and overlap at the valve hole.
Speaking of valve holes, this is where you’ll install your tubeless valve stems. Make sure they’re nice and tight – you don’t want any air escaping here.
Step 3: Mount That Tire
Now comes the fun part – getting the tire onto the rim. And by fun, I mean potentially frustrating but stick with me.
Start by mounting one side of the tire onto the rim. This should be relatively easy. It’s the second side that can be a real pain. I like to start at the valve stem and work my way around. Use your thumbs to push the tire bead into the center of the rim – this gives you a bit more slack to work with.
If you’re having trouble getting that last bit of tire over the rim, don’t be afraid to use tire levers. Just be careful not to pinch the tube or damage the rim tape. I’ve put a few scratches on my rims in moments of desperation.
Pro tip: If you’re struggling, try leaving the tire in the sun for a bit to warm it up. This can make it more pliable and easier to work with. Just be careful not to burn yourself – I may or may not have done that once or twice.
Step 4: The Great Inflation
Alright, you’ve got your tire mounted. Now it’s time for the moment of truth – getting it to sit on the rim and hold air. This is where things can get interesting.
Start by removing the valve core from the valve stem. This allows more air to flow in quickly, which can help seat the tire. Now, hit it with your floor pump. You’re going to want to pump fast and hard here. If you’re lucky, you’ll hear a satisfying “pop” as the tire bead seats against the rim.
If you’re not so lucky (like me, more often than I’d like to admit), you might need to get creative. This is where a compressor can be a lifesaver. If you don’t have one, try wrapping a tie-down strap around the circumference of the tire. This can help push the tire out against the rim, making it easier to seat.
Another trick I’ve used in desperate times is the good old soapy water method. Spray some soapy water around the bead of the tire – this can help it slide into place more easily.
If all else fails, don’t be too proud to ask for help. I’ve had to call in reinforcements before. There’s no shame in admitting defeat and heading to your local bike shop. They’ve seen it all, trust me.
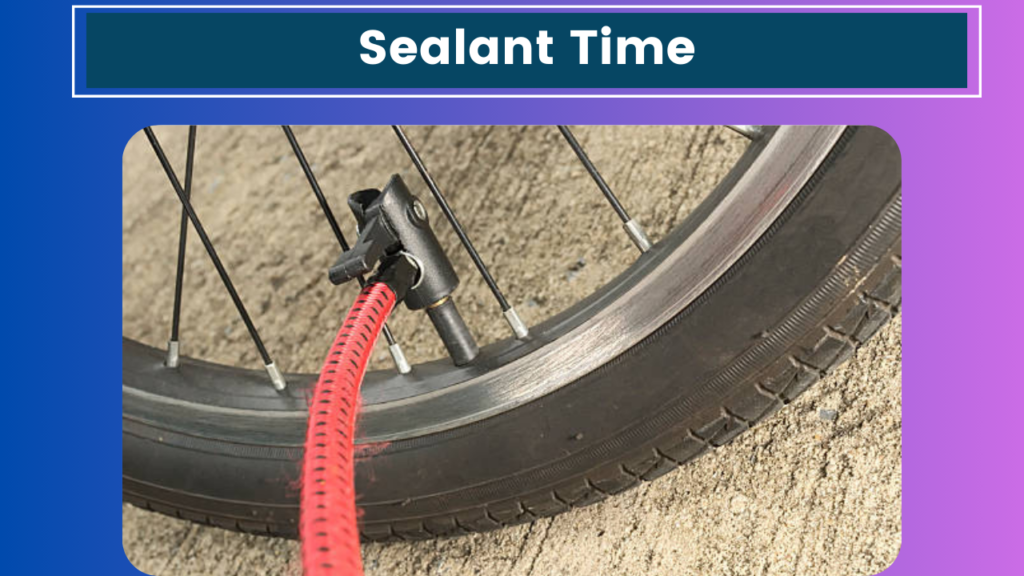
Step 5: Sealant Time
Once you’ve got the tire seated and holding air, it’s time to add sealant. Remove the valve core again (if you haven’t already) and pour in your sealant through the valve stem. How much you need will depend on your tire size, but generally, about 2-3 ounces per tire is a good starting point.
Now, here’s where things can get messy. You need to distribute that sealant around the inside of the tire. I like to hold the wheel horizontally and slowly rotate it, letting gravity do the work. Some people prefer the “shake and bake” method – literally shaking the wheel to spread the sealant. Just be prepared for some sealant to escape. I’ve ruined more than one T-shirt this way.
Step 6: The Waiting Game
Congratulations! You’ve successfully installed your tubeless tire. But we’re not done yet. Now comes the part that tests your patience – waiting for the sealant to do its job.
Inflate the tire to your desired pressure and then spin the wheel, making sure to rotate it through all positions. This helps distribute the sealant and seal up any small leaks. You might see some sealant bubbling out in places – this is normal. It means the sealant is doing its job.
Now, and this is important, go do something else for a while. Go grab lunch, watch a movie, take a nap. Give that sealant time to work its magic. I know it’s tempting to jump right on your bike and hit the trails, but trust me, a little patience now will save you a lot of headaches later.
When you come back, check the tire pressure. If it’s held air, you’re good to go. If not, you might need to add more sealant or check for any obvious leaks.
Final Thoughts
Well, there you have it – my guide to tubeless tire installation. It might seem like a lot of work, and honestly, sometimes it is. But once you get the hang of it, it becomes second nature. And the benefits – fewer flats, lower tire pressures for better traction, and a smoother ride – make it all worthwhile.
Remember, practice makes perfect. Don’t get discouraged if your first attempt doesn’t go smoothly. I’ve been doing this for years, and I still have days where everything seems to go wrong. But when it all comes together, and you’re out on the trail, enjoying that sweet tubeless ride, it’s all worth it.
Now, if you’ll excuse me, I’ve got a date with my newly tubeless bike and some sweet singletrack. Happy wrenching, everyone!


